A Bare-Rock Ridge with Earth-Trail Approach and Imjin River Views: Gamaksan, Paju
Hiking · Published 8/8/2026 ·
등산로 트랙·시설 (공공데이터: 전국등산로 공간정보) · 🚩시종점 💧음수대 👁️조망점 🏠대피소 🅿️주차장 ⚠️위험 · 지도 © OpenStreetMap ⤓ GPX 다운로드
At a Glance
| Metric | Rating |
|---|---|
| Accessibility (public transit/parking) | ★★★☆☆ |
| Trail difficulty | ★★☆☆☆ |
| Water/springs on the mountain | ★☆☆☆☆ |
| Overnight stay needed | ★☆☆☆☆ (a day trip is plenty) |
| Seasonal difficulty – Spring | ★★☆☆☆ |
| Seasonal difficulty – Summer | ★★★☆☆ |
| Seasonal difficulty – Fall | ★★☆☆☆ |
| Seasonal difficulty – Winter | ★★★★☆ |
※ Source: Korea Forest Service trail spatial data · accessibility and seasonal ratings are for reference only
Overview
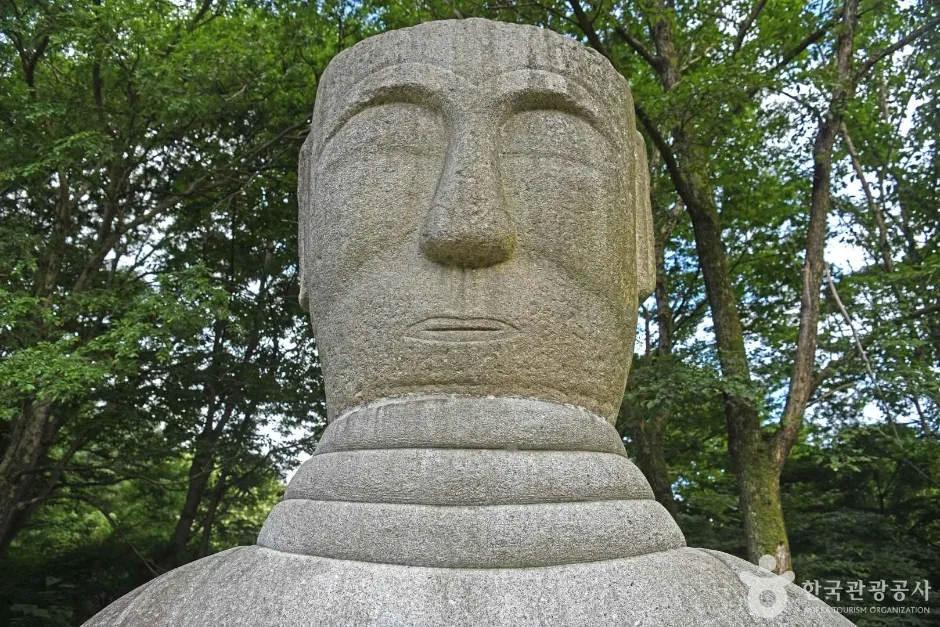
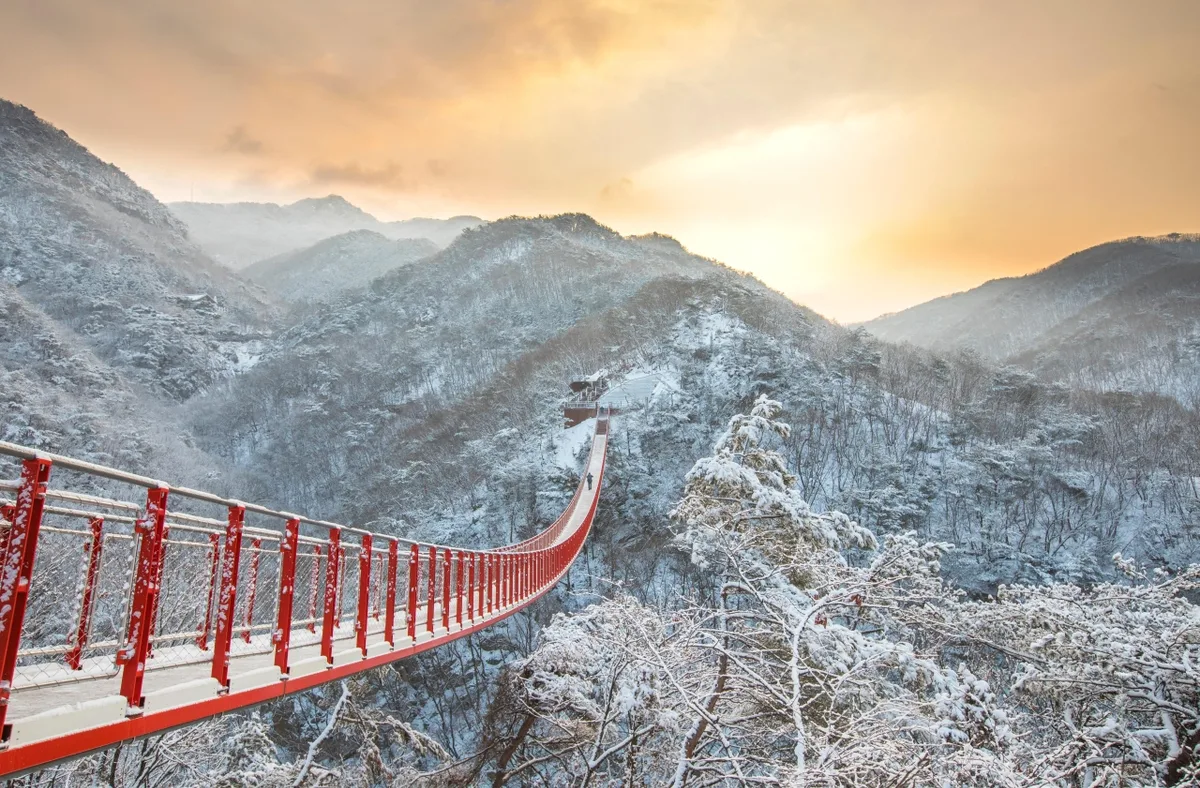 Photo: Korea Tourism Organization Photo Gallery (경기도 파주시 적성면) · KOGL
Gamaksan sits along the boundary where Jeokseong-myeon in Paju, Nam-myeon in Yangju, and Wangjing-myeon in Yeoncheon all meet, in Gyeonggi Province. Its summit is commonly cited at around 675m above sea level, though the peaks registered in the trail geospatial data around the summit area actually range from 689m to 699m depending on the exact point measured. The mountain has the build of a gentle earthen peak topped with a rocky ridge near the top, and it’s considered one of the go-to nearby mountains in northwestern Gyeonggi. According to the trail geospatial data, the hardest trail within the mountain’s boundaries is rated “Easy,” and the combined length of all registered trail segments comes to 18.27km. Pick one of the gentler routes and even beginners or families can manage a comfortable day hike; even if you go for a longer route all the way up to the summit area, it’s still an easy there-and-back in a single day.
Mountain Shape and Terrain
Gamaksan is mostly a gentle, soil-covered mountain with low vegetation, but as you approach the summit, rocky ridgelines and exposed bedrock start to show through. The ridge runs long from north to south, forming the boundary between Paju, Yangju, and Yeoncheon, and beyond the point marked by the summit stone, several other peaks rise along the same ridgeline. The trail-peak data lists a cluster of closely spaced points near the top with slightly varying labels — Gamaksan Summit (689m), Summit (694m), and Gamaksan Summit (697m) — and further south along the ridge sits Imkkeokjeongbong (690m). This peak takes its name from the legend that Im Kkeok-jeong, the Joseon-era outlaw often likened to a Robin Hood figure, once hid out here, and it’s considered one of the signature landmarks along the Gamaksan ridge. Near the summit there’s also a weathered, tombstone-like rock formation — commonly called the “Gamaksan Stele” — whose inscriptions have worn away so thoroughly that its origins remain a mystery, adding one more point of interest to the hike. The valleys don’t carry much water, so this is more of a walk-through-the-woods kind of mountain than one built around swimming holes.
The Feel of the Hike
Gamaksan is one of those mountains where a long, gentle dirt-and-forest path carries you gradually from the trailhead almost all the way up, and only near the summit ridge does the view suddenly open up into rocky lookout points and ridgeline trails. The lower, forested stretch stays shaded enough to make summer hikes pleasant — a good spot to cool off as you walk — and in autumn the fall colors climb all the way up to the ridge, which is why people rate it as a great pick for combining an easy hike with some solid foliage-viewing. From the summit, you’re supposedly able to take in the Imjin and Hantan river basins, and on a clear day even the ridgelines toward Gaeseong — which makes it a popular spot for anyone who wants a sweeping view of the terrain across northern Gyeonggi. Rather than throwing a series of short, steep climbs at you, the trail keeps a gentle grade going for a long stretch, so it’s not particularly demanding on the legs — though if you pick one of the longer route options, your total hiking time can add up, so it’s worth building some slack into your schedule.
Main Trails (by Starting Point)
Local Trail Segments (by Administrative District, for Reference)
| Segment (by administrative district) | Total Length | Difficulty | Surface |
|---|---|---|---|
| Hwangdun-ri Segment | 6.96km | Easy | - |
| Sinrim-ri Segment | 5.79km | Easy | - |
| Yongam-ri Segment | 5.52km | Easy | - |
※ These segments represent total trail length aggregated by administrative district, not the distance of a single route. Source: Korea Forest Service Trail Spatial Information.
Summit Route Summary (Trailhead → Summit)
| Route (Trailhead → Summit) | Distance | Elevation Gain | Est. Time (one-way) | Difficulty | Popularity |
|---|---|---|---|---|---|
| Borian Entrance → Janggunbong | 5.5km | ↕553m | About 2h 18m | ★★★★☆ | ★★★☆☆ |
| Jo So-ang Memorial Hall Entrance → Summit | 8.87km | ↕552m | About 3h 8m | ★★★★☆ | ★★★★☆ |
| Entrance Rest Area → Gamaksan Summit | 7.54km | ↕634m | About 2h 57m | ★★★★☆ | ★★★☆☆ |
| Trailhead → Imkkeokjeongbong | 11.06km | ↕533m | About 3h 39m | ★★★★★ | ★★☆☆☆ |
| Trailhead → Summit | 8.28km | ↕530m | About 2h 57m | ★★★★☆ | ★★☆☆☆ |
| Biryong Training Center Entrance → Summit | 6.69km | ↕563m | About 2h 37m | ★★★★☆ | ★★★★★ |
| Yullim Seonwon → Viewpoint | 7.55km | ↕439m | About 2h 37m | ★★★★☆ | ★★☆☆☆ |
※ Source: Korea Trekking Support Center’s Top 100 Mountains GPX data (distance, elevation, time, difficulty) · Popularity is a reference figure only
Course 1 — Borimam Entrance → Janggunbong
Waypoints: Junction 4 → Junction 5 → Borimam Temple and stone tower → Borimam Entrance → Junction 9 → Junction 10 → Junction 12 → Rock Gate → Reservoir view → 1 → Janggunbong → Junction 20 → Junction 26 → Kkachibong → Lookout point
Getting to the trailhead: The Borimam Entrance trailhead appears to sit on the southern flank of Gamaksan, but detailed info on public transit routes and parking is pretty limited. Before you go, I’d check the actual approach route and nearby parking availability on KakaoMap or Naver Map.
Highlights and who it’s for: This is a ridge-view course that passes through the “Rock Gate,” takes in a reservoir view, and continues over Janggunbong to Kkachibong and a lookout point. Since the views open up again and again along the ridge, it’s a great pick for hikers who love photography or just soaking in the scenery — and it suits people who’d rather enjoy the whole flow of a ridgeline than chase a single summit.
Course 2 — Josoang Memorial Hall Entrance → Summit
Waypoints: Josoang Memorial Hall Entrance → Yangju Gamaksan Forest Trail/hiking route map → Reservoir → Chorokjigi Village Information Center, Experience Hall → Junction 5 → Junction 6 → Josoang Memorial Hall → Josoang Memorial Hall Parking Lot → Yangju Hwangbang-ri Zelkova Tree → Junction 10 → Junction 11 → Junction 12 → Wondaengi Rest Area → Fire Watch Post → Junction 15
Getting to the trailhead: The Josoang Memorial Hall Entrance bus stop sits right near the trailhead, so getting here by public transit is fairly easy. Since the route also passes the Josoang Memorial Hall parking lot, driving in looks like a workable option too.
Highlights & who it’s for: This course takes you past a memorial hall honoring independence activist Jo So-ang along with the old zelkova tree at Yangju Hwangbang-ri, mixing in some history and nature along the way. At 8.87 km, it’s the longest of the summit-route courses — a gentle stroll through cultural sights at the start before the real climbing kicks in later. Good fit if you want to ease into the walk before tackling a proper hike.
Course 3 — Entrance Rest Area → Gamaksan Summit
Route: Gaekhyeon-ri Village Hall → village restaurant/store → village parking lot → junction 4 → junction 5 → Sanmeoru Village parking lot → Sanmeoru Farm → junction 8 → junction 9 → entrance rest area → junction 15 → junction 16 → Bongamsa junction → rest area → viewpoint
Getting to the trailhead: The Sanmeoru Farm bus stop is near the trailhead, so you can get here by bus. The route also passes through the Sanmeoru Village parking lot and the village parking lot, so there seems to be parking available too.
Highlights & who it’s for: This route is well stocked with amenities right at the start — a village restaurant, a store, and Sanmeoru Farm — and rounds out with the Bongamsa junction and a viewpoint toward the end. Since it’s easy to grab a quick meal or snack before or after your hike, this one suits anyone who prefers a day hike with some conveniences built in.
Course 4 — Trailhead → Imkkeokjeong Peak
Waypoints: Yeondae-ap → Dongsan Chueotang → Junction 3 → Village bus stop → Junction 7 → Waypoint 8 → Sinam Reservoir → Convenience store → Junction 12 → Junction 13 → Trailhead → Trail entrance → Public restroom → Fire lookout post → Junction 19
Getting to the trailhead: Since the route includes a village bus stop, it looks like you can get here by village bus, but you’ll want to check the actual schedule locally since it’s not something I can confirm from here. There also seems to be room for a small amount of parking near the convenience store by Sinam Reservoir.
Highlights & who it’s for: At 11.06 km and a difficulty of ★★★★★, this is the longest and toughest of the summit-area courses. It’s a through-hike style route that runs past Sinam Reservoir all the way to Imkkeokjeong Peak, so it’s best suited to experienced hikers with the stamina and time to spare — if you’re doing it as a there-and-back day hike, plan for a generous schedule.
Course 5 — Trailhead → Summit
Waypoints: Sunbakgol/Neulmok 1-ri → Dream Kisa Restaurant, convenience store → parking lot → outdoor education center → junction 5 → junction 6 → Typhoon Commando Training Ground → junction 9 → trailhead → junction 10 → wooden bench → falling rocks caution zone → Jeongin Rock → junction 14 → junction 20
Getting to the trailhead: With Dream Kisa Restaurant, a convenience store, and a parking lot right at the start, this one’s pretty convenient if you’re driving in. If you’re relying on public transit, I’d check a map app ahead of time to confirm the routes.
Highlights & who it’s for: The trail passes through the old Typhoon Commando Training Ground, a former military training facility, and the back half brings you through a stretch marked by falling-rock warning signs and named rock formations like Jeongin Rock. It’s a fun course if you like a mix of historical remnants and distinctive rock features, but do watch your footing through the rockfall-caution section.
Course 6 — Birong Education Center Entrance → Summit
Route: 4th Large Parking Lot → Birong Education Center Entrance → Chunghontap Memorial Tower → Seolmari → Helipad 6-2 → Rest Area → Bench → Junction 10 → Junction 12 → Junction 13 → Junction 14 → Junction 16 → Junction 17 → Junction 18 → Junction 19
Getting to the trailhead: The 4th Large Parking Lot sits right near the trailhead, so there’s plenty of parking. The Seolmari area is also one of the better-known entry points onto Gamaksan, and it’s said to be reachable by bus as well. That said, be sure to check the exact routes and schedules before you head out, since these things change.
Highlights & who it’s for: This is one of Gamaksan’s most popular routes, passing through the Seolmari area and its Chunghontap Memorial Tower, a site tied to fierce fighting during the Korean War. With a helipad, a rest area, and benches scattered along the way, there’s no shortage of spots to catch your breath — which makes it a solid pick if you’re visiting Gamaksan for the first time, or if you’d like your hike to carry a bit of historical weight along with the scenery.
Course 7 — Yullimseonwon → Lookout Point
Waypoints: (no signpost waypoint data available)
Trailhead access: The Yullimseonwon trailhead appears to be located near the temple, though detailed public transit and parking information is limited. It’s a good idea to double-check the actual approach route on a map app before heading out.
Highlights & who it’s for: This course heads to a lookout point rather than the summit, with a net elevation gain of just 439m — the gentlest of all the summit-area courses. It suits hikers starting from the temple who want a relaxed walk with good views, or anyone who’d rather skip the tough summit push and simply enjoy the scenery.
Difficulty, Terrain & Cautions
According to the district’s registered trail data, the highest difficulty rating logged is “Easy,” and surface conditions aren’t recorded separately by section. The number of registered POIs for hazard zones or viewpoints comes up as zero, but the actual on-the-ground course survey tells a different story — named rock features and lookout points show up in several places, including a rockfall-caution sign, Jeongin Rock, Bawimun (Rock Gate), a viewing point, and an observation deck. So the trail’s rugged character is clearly there, just not captured in the POI count. The rockfall-caution/Jeongin Rock stretch on Course 5 and the Bawimun stretch on Course 1 are the standout spots that reveal the rocky-ridge nature of the summit area. In wet weather, the rock sections can get slippery, so watch your footing, and in winter, ice can form on the shaded parts of the ridge, making it tough to get through without crampons.
Distance & Time Needed
Gamaksan is a mountain you can easily knock out in a day. One-way distances to the summit area range from 5.5km to 11.06km depending on the route, with estimated one-way hiking times running anywhere from about 2 hours 18 minutes to 3 hours 39 minutes. If you’re doing a round trip, it’s smart to plan for somewhere between 4 and 7 hours total. There’s also cumulative data covering the entire trail network — 407 minutes ascending and 287 minutes descending — but that’s a sum across multiple sections combined, not the time for any single route, so don’t mistake it for one. If you convert that cumulative figure into a pace, it works out to roughly 22 minutes per kilometer going up, which gives you a rough general sense of pace you can use when eyeballing the one-way times in the course summary table above.
Getting There (Public Transit & Parking)
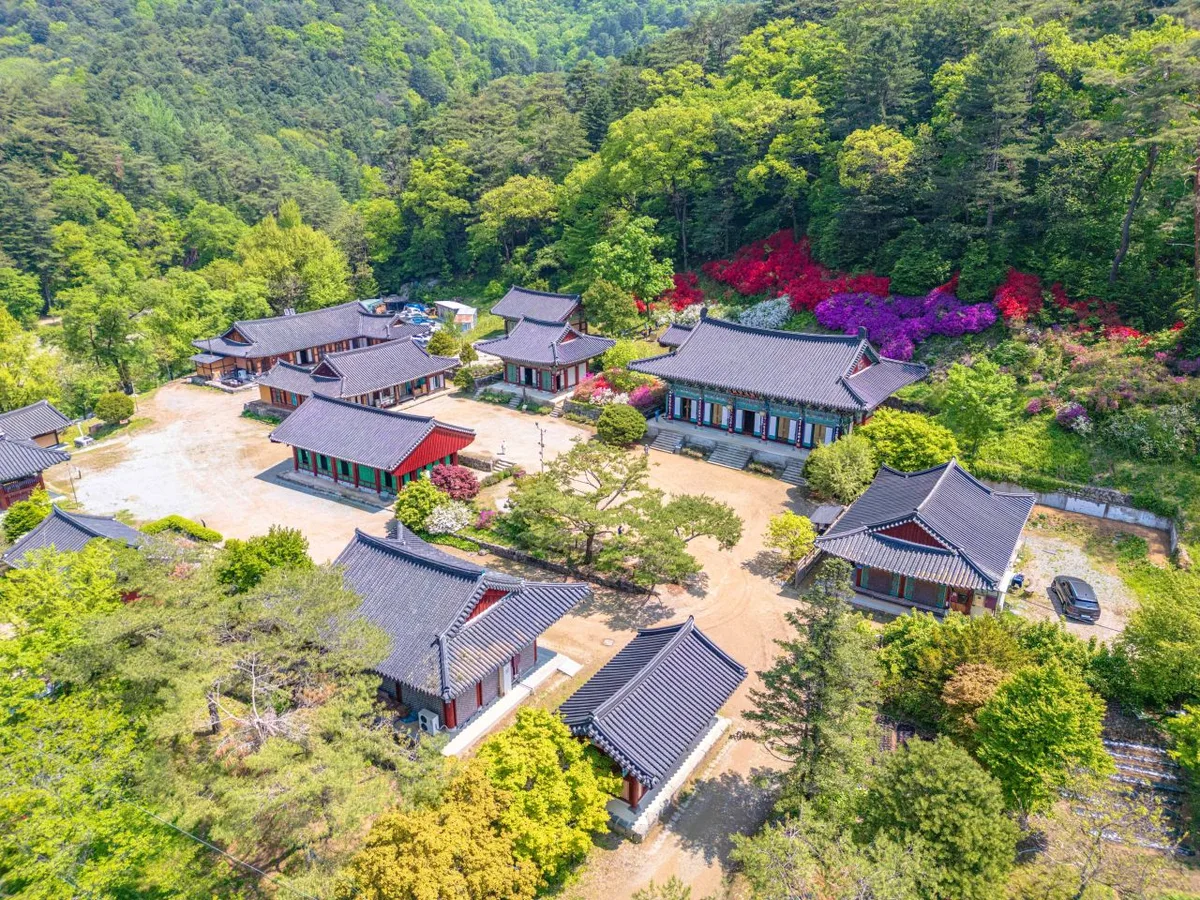
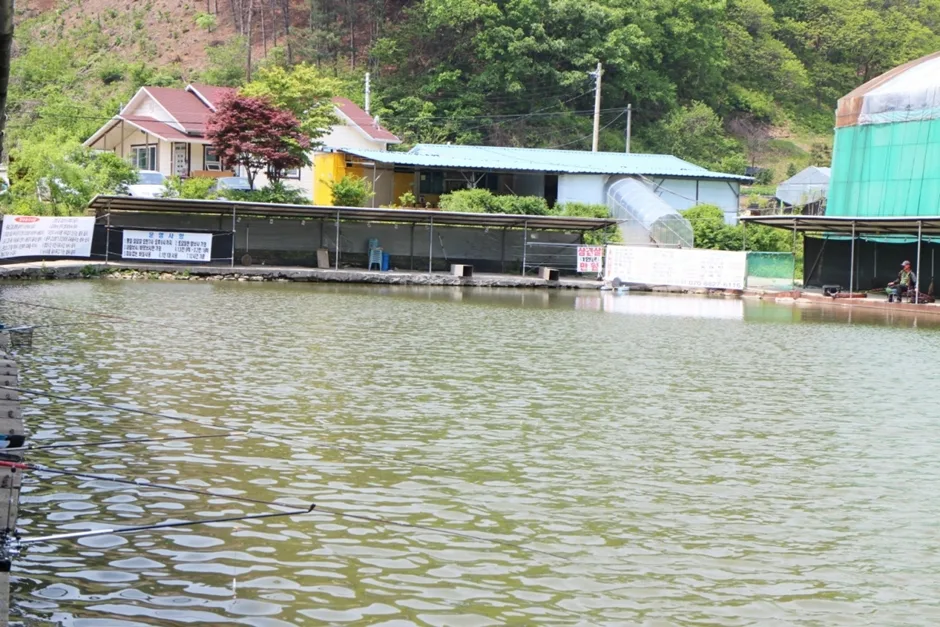 Photo: Korea Tourism Organization Photo Gallery (경기도 파주시 적성면 감골길 48) · KOGL
No subway line runs directly to the Gamaksan area — the closest train stations are said to be Dongducheon Station on the Gyeongwon Line (Line 1) or Munsan Station on the Gyeongui-Jungang Line, and from either you’d need to transfer to a bus or taxi. For the various trailheads, bus stops like “Jo So-ang Memorial Hall Entrance” and “Sanmeoru Farm” are actually registered, so searching routes based on these stops makes getting there easier. That said, routes and schedules can change fairly often depending on the area, so it’s worth double-checking real-time transit info on KakaoMap or Naver Map before you head out. There’s no officially registered parking lot in the trail’s spatial data, but small village-level lots do exist along the course — things like the village parking lot, the Jo So-ang Memorial Hall lot, the Sanmeoru Village lot, and Large Lot No. 4. If you’re driving, it’s still a good idea to check the parking situation near your chosen trailhead on a map app beforehand.
Season, Weather & Gear
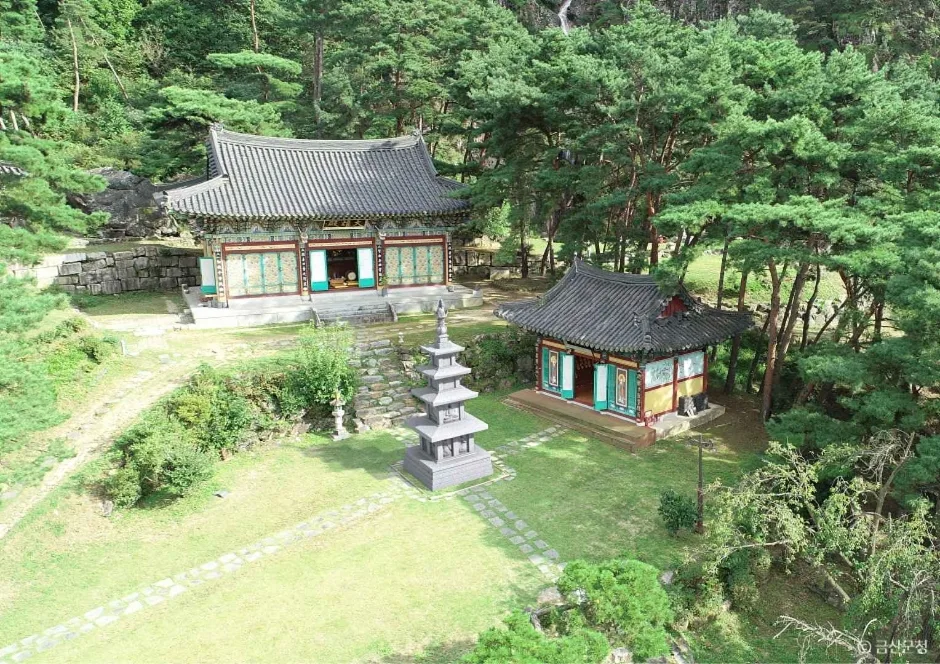
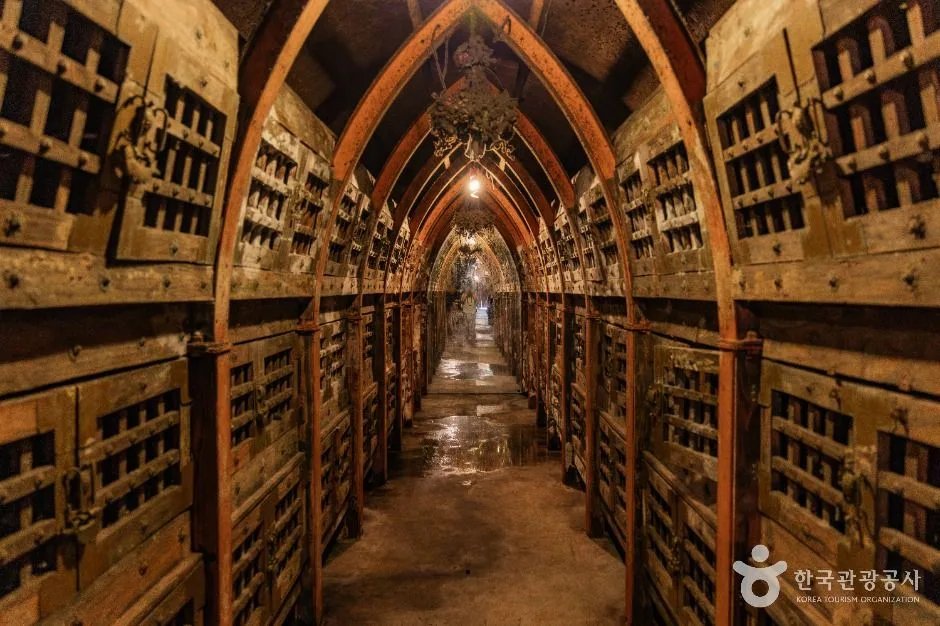 Photo: Korea Tourism Organization Photo Gallery (경기도 파주시 적성면 윗배우니길 441-25) · KOGL
Gamaksan is generally considered most pleasant in spring (April–May, when the fresh greenery and azaleas come out) and fall (October–November, for the foliage). Summer hiking isn’t bad thanks to the tree cover, but you’ll want to be ready for sticky heat and sudden localized showers. In winter, watch out for icy patches along the ridgeline and strong wind. As for gear, I’d recommend ankle-supporting hiking boots, plenty of water (there’s no drinking fountain near the summit, so you really can’t count on finding any up there), and a windproof, waterproof outer layer. Crampons and gaiters matter a lot in winter, and if you’re doing one of the longer routes, a pair of trekking poles will save your legs a lot of grief.
Gamaksan romanizes as “Gamaksan,” and its main peaks can be rendered as Imkkeokjeongbong, Janggunbong, and Kkachibong. As far as I know, there’s no entrance fee or advance permit required — you’re free to climb anytime. That said, the trail data shows no registered water stations, so drinking water is hard to come by near the summit; bring plenty before you set out. Restrooms exist along part of the route (a public restroom at the waypoint on the trailhead-to-Imkkeokjeongbong course), but not at every trailhead, so it’s safer to use the facilities in the village at the start rather than counting on finding one later. For maps, skip Google Maps — KakaoMap or Naver Map show Korea’s actual trails and public transit info far more accurately, so use one of those two instead. For safety, take it slow on the rocky sections and rockfall-warning spots along the summit ridge, consider rerouting in rain or icy conditions, and in shorter-daylight seasons, start early enough to be off the mountain well before sunset.
Nearby Mountains
- Dobongsan, Seoul’s granite ridgeline soaring over the city — about 27km as the crow flies
- Bukhansan, Seoul’s granite ridge with sweeping views right at the city’s edge — about 33km as the crow flies
- Gwanaksan, Seoul’s jagged Palbong ridge and Yeonjudae rock peak — about 55km as the crow flies
📍 A Bare-Rock Ridge with Earth-Trail Approach and Imjin River Views: Gamaksan, PajuLocation
Contact: bumseok.view [at] gmail [dot] com
Related posts
-
Rock Spires and Pines Along the Natural Ridge: Gyeryongsan in Daejeon and Gongju
-
Ropes up the Bubong rock ridge — Juheulsan, the mountain that cradles Mungyeong Saejae
-
Old Pine Ridge Wrapping Around Gulun Reservoir, Hongcheon Gongjak Mountain
-
Yongbawi and Seonnyeobawi Rock Ridge, Mt. Seodaesan in Geumsan, Chungnam
Comments