Dobongsan: Seoul's rugged mountain of soaring granite ridges
Hiking · Published 7/5/2026 ·
등산로 트랙·시설 (공공데이터: 전국등산로 공간정보) · 🚩시종점 💧음수대 👁️조망점 🏠대피소 🅿️주차장 ⚠️위험 · 지도 © OpenStreetMap ⤓ GPX 다운로드
At a Glance
| Category | Rating |
|---|---|
| Accessibility (Transit & Parking) | ★☆☆☆☆ |
| Course Difficulty | ★★☆☆☆ |
| Water availability / Natural springs | ★☆☆☆☆ |
| Overnight stay required? | ★☆☆☆☆ (A day trip is plenty) |
| Seasonal Difficulty — Spring | ★★☆☆☆ |
| Seasonal Difficulty — Summer | ★★★☆☆ |
| Seasonal Difficulty — Fall | ★★☆☆☆ |
| Seasonal Difficulty — Winter | ★★★★☆ |
※ Source: Korea Forest Service hiking trail spatial info · Accessibility and seasonal ratings are estimates.
Overview
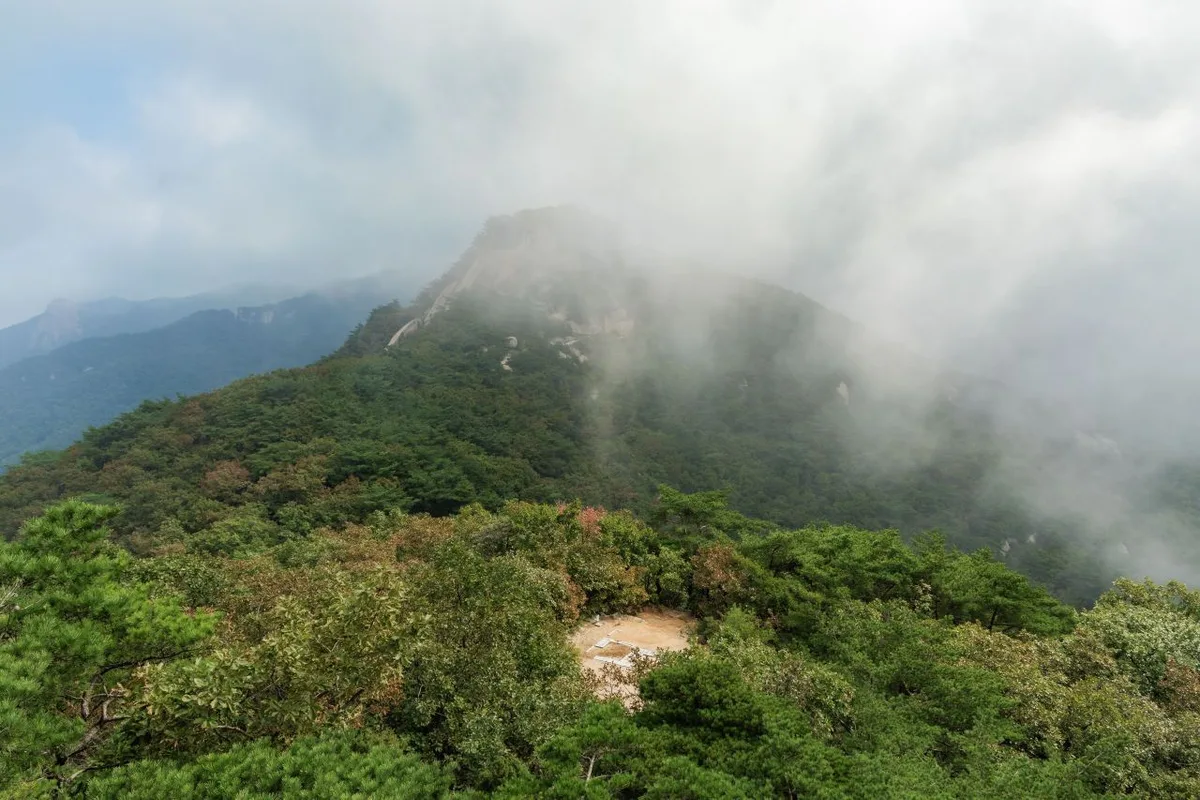 Photo: Korea Tourism Organization Photo Gallery (Yangju, Gyeonggi-do) · KOGL
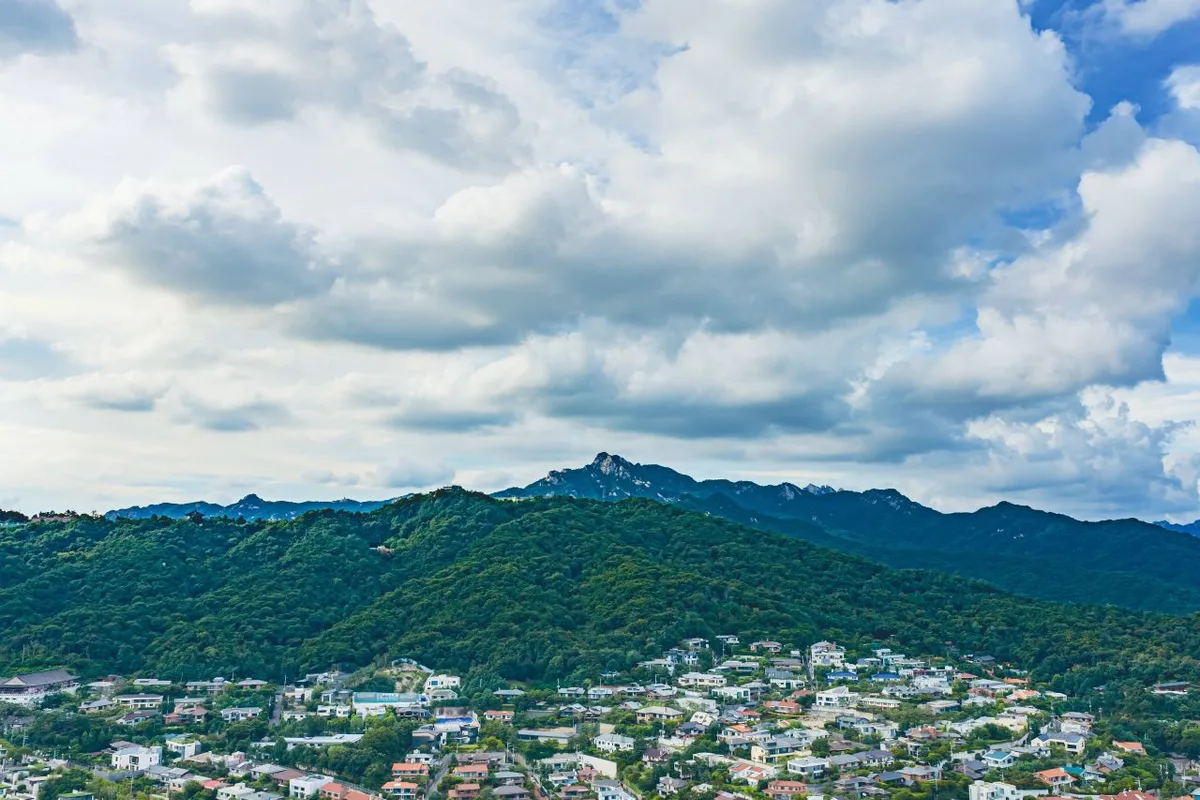
Dobongsan spans Seoul’s Dobong-gu and parts of Uijeongbu and Yangju in Gyeonggi Province, serving as one of the two main pillars of Bukhansan National Park. While Jaunbong is often considered the highest peak at roughly 740m, the actual trails take you even higher; Sinseondae, a popular summit point for hikers, stands at 755m, with the highest points in the area reaching up to 759m. It is a classic “bone mountain” characterized by its dramatic granite peaks, making it one of the most visually striking rocky landscapes among the famous mountains near Seoul. Since local trail data often rates the difficulty as “easy,” beginners can manage shorter sections without much trouble. Most of the routes aiming for summits like Sinseondae, Yeoseongbong, or Obong are perfectly doable as a day hike.
Mountain Terrain and Landscapes
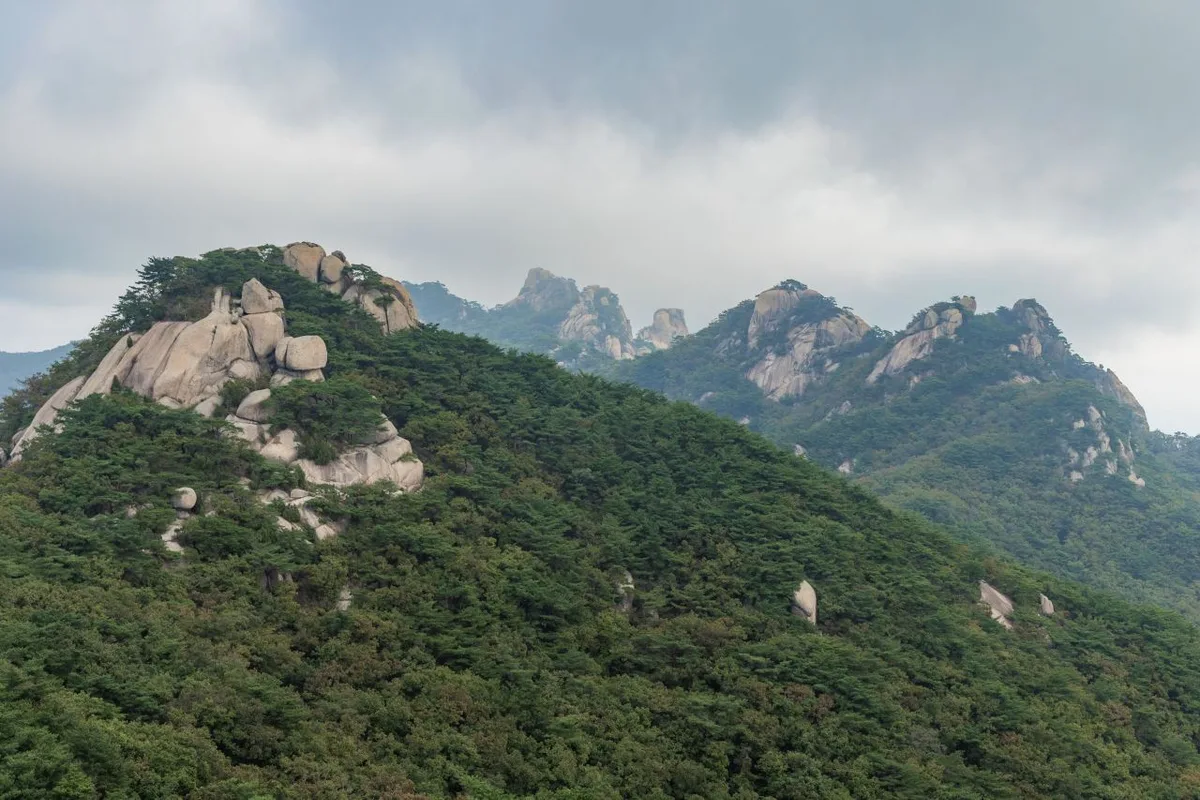 Photo: Korea Tourism Organization Photo Gallery (Yangju-si, Gyeonggi-do) · KOGL
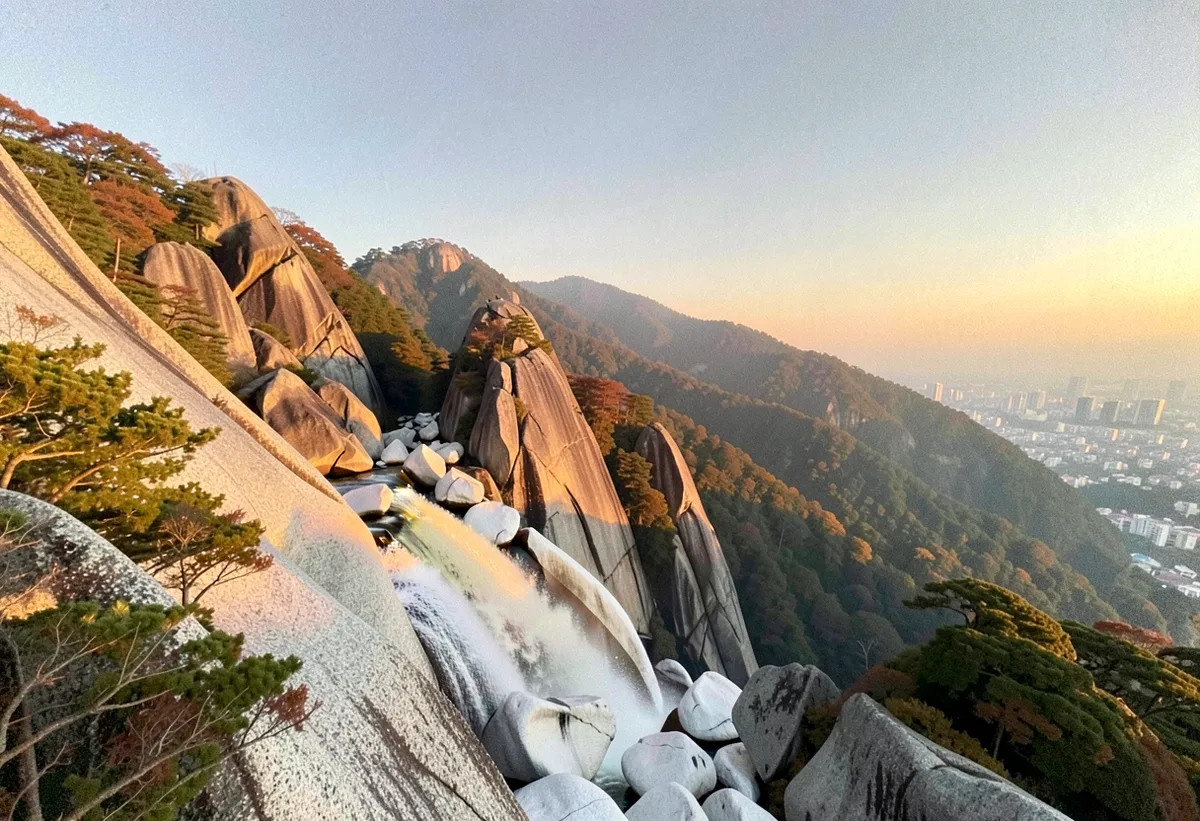
Dobongsan is a textbook example of a rocky mountain, characterized by its dense web of granite peaks and ridges. Its most iconic summits include the high Sinseondae (755m), the neighboring 656-bong (660m), the Podaesan Fire Lookout on the Podae Ridge (666m), Yeoseongbong at the top of the western ridge (505m), and the legendary, jagged peaks of Obong (671m)—the true symbol of the mountain. On the descent, you’ll also find lower-altitude lookout points like the Twin Observatory (152m). The area is well-known among rock climbers for its massive, near-vertical granite pillars like Seoninbong and Manjangbong that soar from the valleys. Along the ridges, you’ll encounter famous rock formations like Madangbawi and Eolgulbawi. While the valleys (such as Wondo-bong, Dobong, and Songchu) offer gentler slopes that are popular for summer outings, the terrain shifts into steep, rocky zones as you approach the ridges, creating a beautifully rugged and dramatic landscape.
The Vibe of the Hike
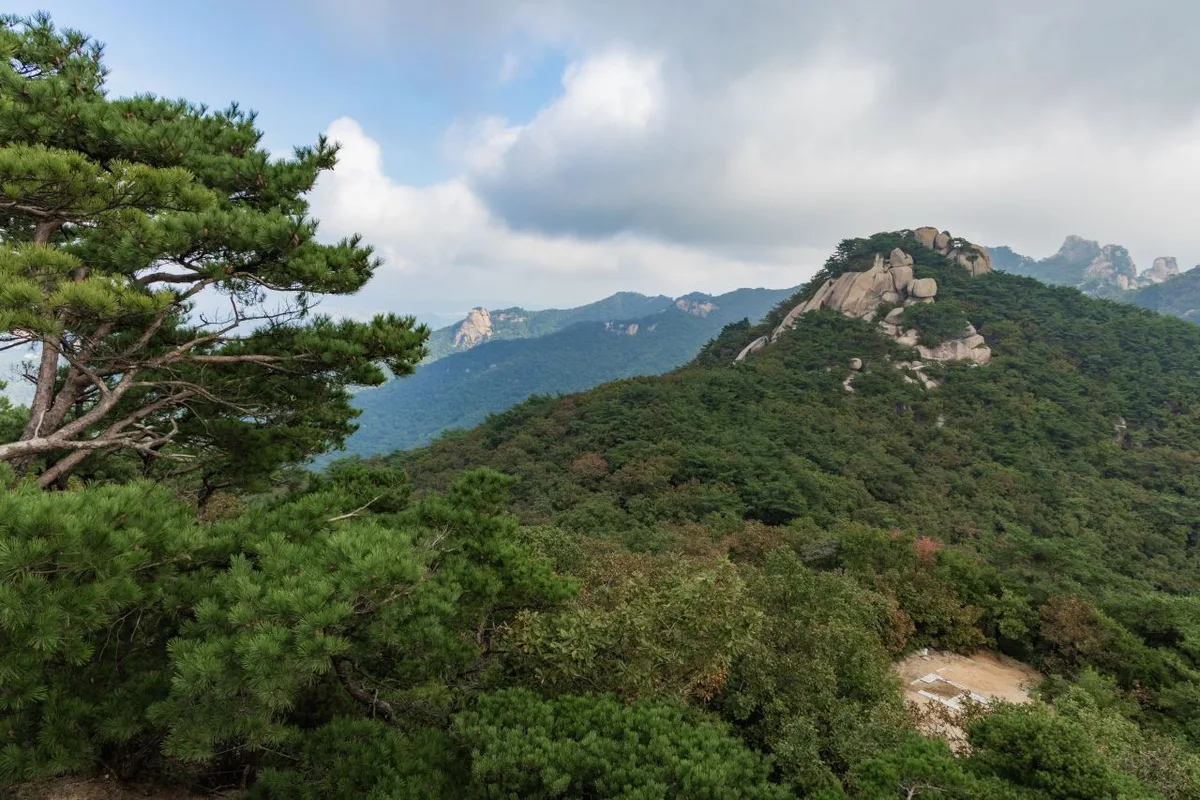 Photo: Korea Tourism Organization Photo Gallery (Yangju-si, Gyeonggi-do) · Gonggong Nuri
The trail starts off quite gentle, winding through deciduous forests and alongside a valley. But as you approach the ridge, granite slabs and rocky stairs start appearing one after another—that’s just the classic Dobongsan experience, where the difficulty spikes when you least expect it. There are great little viewpoints and photo spots tucked throughout the course, with Seoninbong and Manjangbong peaks providing a stunning backdrop. Once you get close to the summit, an expansive view of downtown Seoul and the Bukhansan ridges opens up like a well-earned reward. Spring brings lovely greenery and azaleas near the valley, while in autumn, the colorful foliage against the rocky ridges is especially striking. In winter, though, you’ll likely find ice lingering in the shady rock sections, so keep in mind that even on this same path, the difficulty can change quite a bit depending on the season.
Main Routes (by Trailhead)
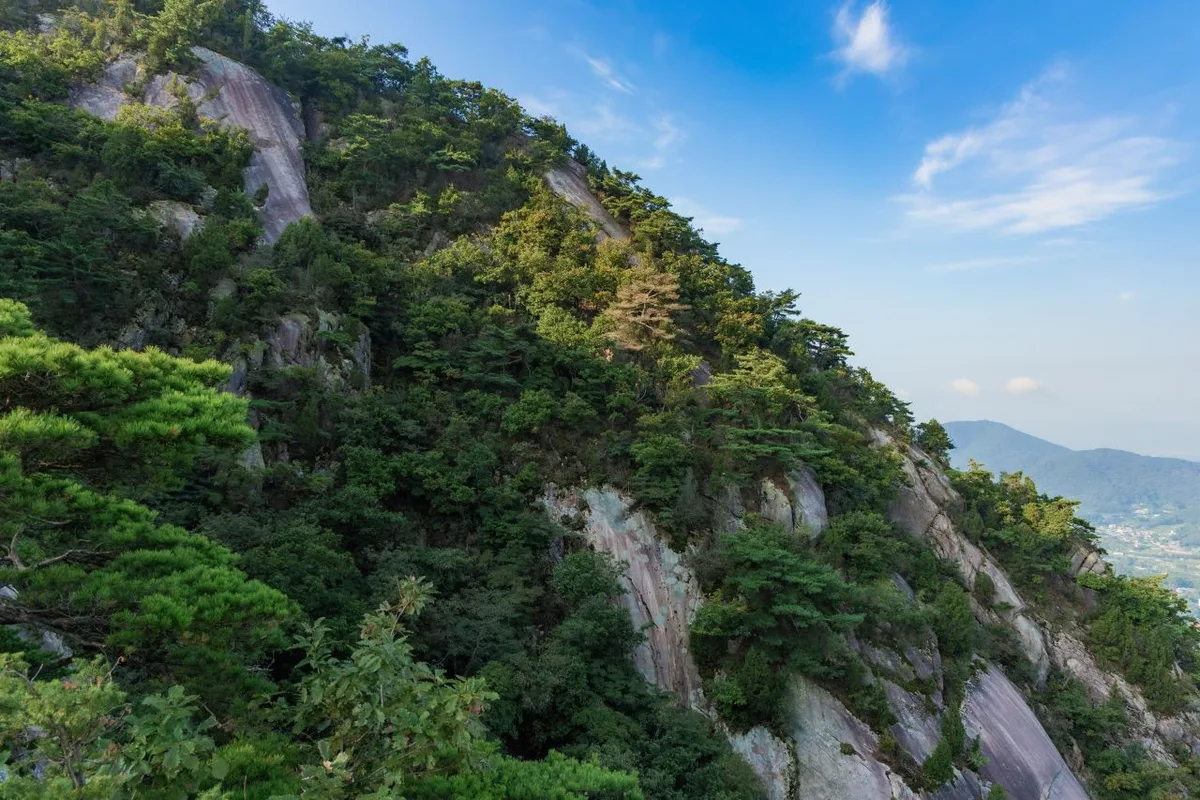 Photo: Korea Tourism Organization Photo Gallery (Yangju-si, Gyeonggi-do) · Gonggong Nuri
| Route (Trailhead → Summit) | Distance | Elevation Gain | Est. Time (One-way) | Difficulty | Popularity |
|---|---|---|---|---|---|
| Junction → Dobongsan Sinseondae | 3.75km | ↕629m | ~1h 59m | ★★★☆☆ | ★★★★★ |
| Injeolmi Rock → Y-Valley Summit | 5.13km | ↕646m | ~2h 22m | ★★★★☆ | ★★★★☆ |
| Dobongsan Daewonsa Temple → Wondobong 1 Safety Shelter | 9.3km | ↕669m | ~3h 26m | ★★★★★ | ★★★☆☆ |
| Temple Parking Lot → Summit | 5.86km | ↕648m | ~2h 33m | ★★★★☆ | ★★★★☆ |
| Trailhead → Obong Summit Viewpoint | 12.65km | ↕580m | ~4h 8m | ★★★★★ | ★★☆☆☆ |
| Wang-kkomjang-eo → Summit | 7.68km | ↕611m | ~2h 56m | ★★★★☆ | ★★★☆☆ |
| Trailhead → Yeoseongbong Summit | 4.24km | ↕507m | ~1h 54m | ★★★☆☆ | ★★★☆☆ |
| Junction → Gwaneumbong Summit | 7.16km | ↕604m | ~2h 48m | ★★★★☆ | ★★☆☆☆ |
※ Source: Korea Hiking & Trekking Support Center 100 Famous Mountains GPX (Distance, Elevation, Time, Difficulty) · Popularity is for reference only.
Route 1 — The Fork → Dobongsan Sinseondae
Waypoints: Fork → Rest Area → Sinseondae Viewpoint → Photo Zone → Scenic Lookout → Dobongsan Sinseondae → Seonin Safety Shelter → Rockfall Hazard Zone → Wild Boar Warning Area → Madangbawi Shelter → Madangbawi Rock → Simple Rest Area → Pit Toilet
Access: This route is widely known to start from the Dobongsan Visitor Center area, accessible via Dobongsan Station (Line 1). Since it’s so easy to reach through public transit, it’s considered one of the quintessential representative routes for Dobongsan.
Highlights & Recommendations: With the Sinseondae Viewpoint and several photo zones lined up along the path, you’ll find plenty of opportunities to snap some great shots. The views really open up beautifully at the Madangbawi Rock section just before you hit the summit. Just a heads-up: keep an eye out for signs regarding rockfall hazards and wild boar sightings; it’s important to follow safety protocols, especially if you’re hiking solo. This is an ideal route for first-timers to Dobongsan or anyone looking to enjoy the stunning peak views without a long, grueling trek.
Course 2 — Injeolmi Rock → Y-Valley Summit
Route: Injeolmi Rock → Trail Fork → Seoninbong Viewpoint → Seoninbong & Manjangbong Photo Zone → Manwolareom 2 → Manwolareom 1 → Manwolaream Sansingak → Seonmanja Photo Zone → Staircase Rest Area → Fall Hazard Zone → Y-Valley Summit → Winter Ice/Frost Zone → Seokgulam Cave → Pureunsaem Spring → Three-way Junction Safety Rest Area
Getting There: This route enters toward Manwolareom from the vicinity of Dobongsan Station. It’s a common path shared by both temple-goers and hikers alike.
Features & Recommended For: This course offers an incredible close-up view of the massive Seoninbong and Manjangbong cliffs—the sheer scale of the rock faces is easily the highlight. Just a heads-up: because the Y-Valley section has clear warnings for fall risks and ice buildup, you’ll definitely need to find a detour if it’s raining or freezing. I’d recommend this one to anyone who’s already somewhat comfortable navigating rocky terrain.
Course 3 — Daewonsa Temple (Dobongsan) → Wondobong 1 Safety Shelter
Via: Daewonsa Temple (Dobongsan) → Bukhansan National Park Wondobong Office Volunteer Center → Yaksan Garden → Wondobong Parking Lot 3 → Wondobong Restroom → Wondobong Parking Lot 1 → Wondobong Shelter → Junction/Fork in the path → Wondobong Parking Lot 2 → Ssangyongsa Temple → Restroom below Jijiangam → Wonhyosa Temple → Myobeopyeonhwagyeong → Anmalsam Spring → Anmal Safety Shelter
Access: The trail can be accessed from the Wondobong side, near Mangwolsa or Hoeryong Stations (Subway Line 1). Since Wondobong Parking Lots 1 through 3 are laid out sequentially, getting to the trailhead by car is relatively easy.
Features & Recommendations: This route features a gentle early section where you can enjoy both scenic valley walks and visits to beautiful temples like Daewonsa, Ssangyongsa, and Wonhyosa. It’s the longest course at 9.3km, but because restrooms and shelters are tucked in frequently along the way, it’s a perfect choice for anyone looking to take their time and enjoy a leisurely stroll.
Course 4 — Temple Parking Lot → Summit
Route: Temple Parking Lot → Junction → Seoninbong Photo Zone → Seoninbong Observatory Shelter → Cheonchuksa Lower Shelter → Cheonchuksa Falls → Cheonchuksa Iljumun Shelter → Siberian Chrysanthemum & Yellow Cosmos Colony → Cheonchuksa Spring → Cheonchuksa Temple → Madangbawi Spring → First Aid Shelter → Log Shelter → Gwaneum Falls → Face Rock
Access: This route kicks off from the temple-only parking lot on the entrance path toward Cheonchuksa (coming from the Dobongsan Station side). It’s a pretty popular stretch, used by both hikers on foot and those looking to snag a spot in the small parking area.
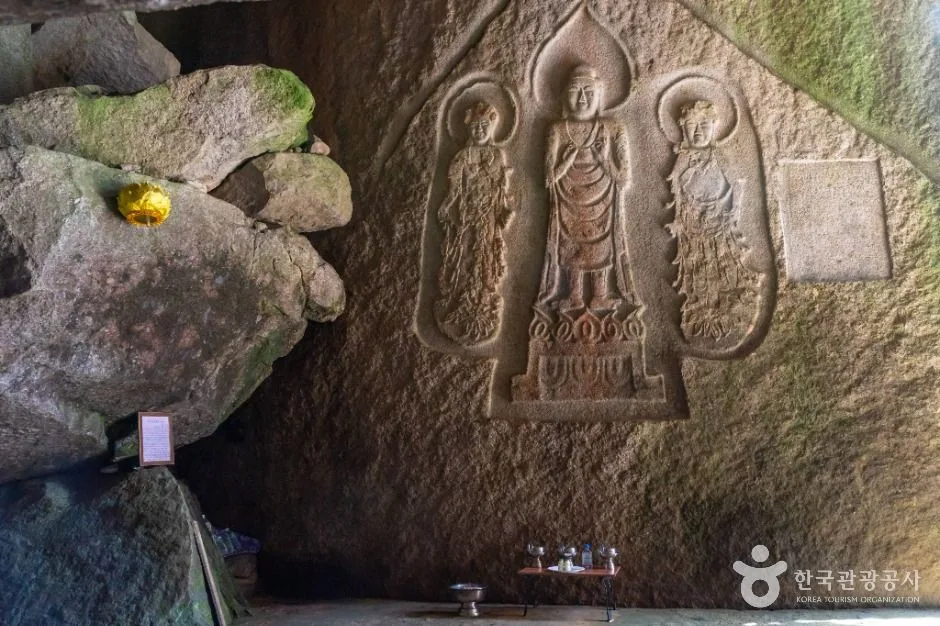
Features & Who It’s For: This course is packed with seasonal beauty, from the Cheonchuksa waterfalls and temple gates to the lovely colonies of Siberian chrysanthemums and cosmos. It’s also a fairly easy route for staying hydrated, thanks to the two reliable spring locations (Cheonchuksa Spring and Madangbawi Spring) along the way. It’s an ideal choice for anyone looking to enjoy a mix of peaceful temple scenery and dramatic rocky ridge views.
Course 5 — Trailhead → Obong Peak Viewpoint
Route: Gentle Valley → Trail & Valley → Majestic Rock → Small Tributary → Songchu Waterfall → Mid-point of Songchu Waterfall → Upper Songchu Waterfall → Rest Area → Valley View → Rock Shelter → Nature Shelter → Fork in the Road → Obong Peak Viewpoint → Obong View → Steep Drop Warning
Access: This course starts at the Songchu Valley entrance. For most people, it’s much easier to take a bus toward the Songchu area rather than trying to navigate it from Dobongsan Station.
Features & Recommendations: At 12.65km, this is the longest of our eight courses. The first half follows the valley path along Songchu Waterfall, which makes for a lovely summer walk where you can just enjoy the sound of the running water. The absolute highlight is the stunning, head-on view of Obong. Just a heads-up: there are some steep, tricky sections toward the end, so this one is best suited for more seasoned hikers with plenty of stamina.
Course 6 — Wangkom Eel → Summit
Route: Wangkom Eel → Sangol Barley Rice → Howon Police Station Owl Outpost → Protected Tree → Ginkgo Tree Spring → Hoeryong Trail Center → Hoeryong Trail Center Restroom → Street Parking → Fitness Area Shelter → Fork in the Road → Hoeryong Spring → Hoeryong Waterfall → Hoeryongsa 3 → Hoeryongsa 2 → Hoeryongsa 1
Getting Started: You’ll enter via the Howon-dong direction from Hoeryong Station (Subway Line 1). Since the Hoeryong Trail Center is equipped with both restrooms and street parking, the start of this section is actually quite convenient in terms of amenities.
Features & Recommendations: With various water-related spots like the Ginkgo Tree Spring, Hoeryong Spring, and Hoeryong Waterfall along the way, this route offers a much more distinct “valley vibe” than other courses. You’ll also get a nice touch of culture as you pass through the three temples in the Hoeryongsa area. Since it’s so easy to reach from Hoeryong Station, it’s a great choice for those of us who prefer hiking via public transit.
Difficulty · Terrain · Cautions
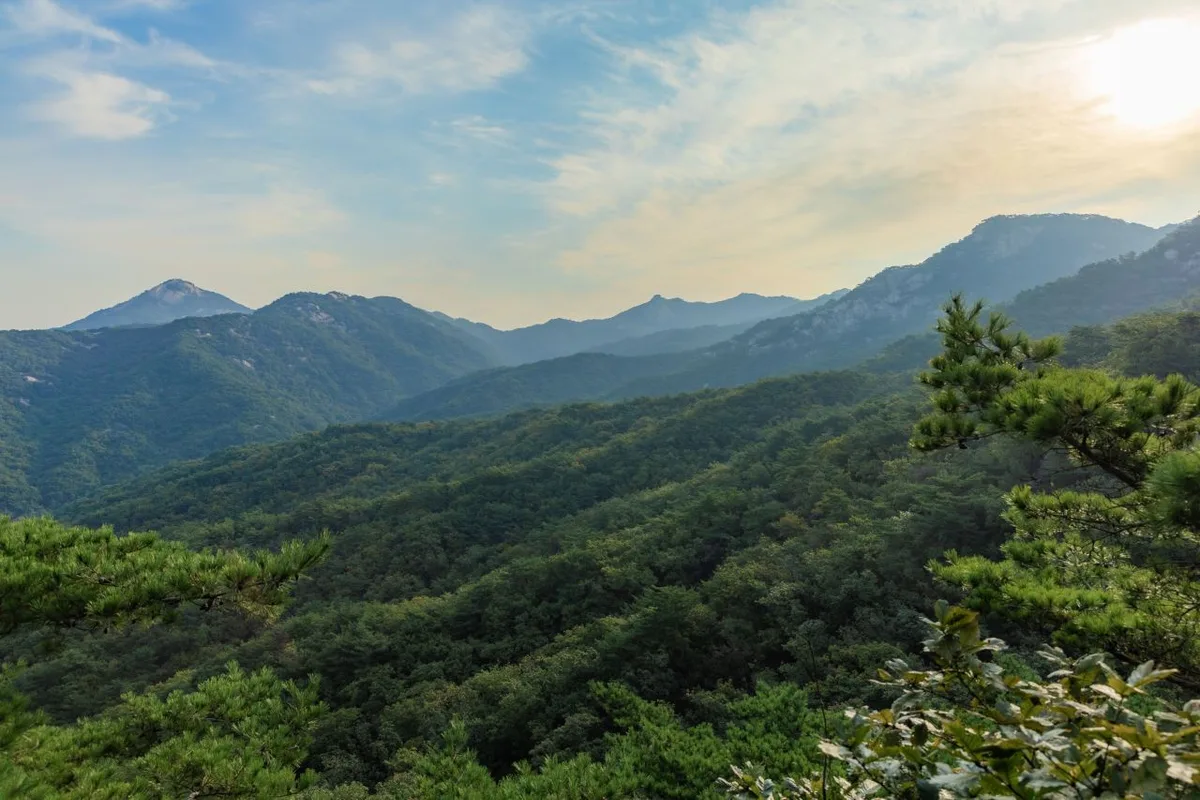 Photo: Korea Tourism Organization Photo Gallery (Yangju-si, Gyeonggi-do) · Gongguri
Based on the local hiking trail database, there are two registered sections. The first runs from Jeongchak Valley Pond to the area next to the Daegam-myeon Office (3.08km, difficulty: easy, terrain: rock/soil), which is flagged as a hazardous zone due to its steep slopes and rocky ground. The second is the Mukbang-ri section (0.63km, difficulty: easy, terrain: rock/soil), which doesn’t have any specific hazard warnings. Since both sections consist of a mix of rock and soil, you’ll need to watch your step on the rocky patches even on dry days. Of course, things will get much slipperier during rain or in the autumn when leaves pile up.
According to the local trail data, there are zero registered water fountains, shelters, viewpoints, or hazard zones—just three entry/exit points. However, the actual GPX course data includes specific markers for falling rock risks, wild boar sightings, fall hazards, and seasonal ice patches (Y-Valley). Make sure to keep an eye on the signage when passing through these areas, and especially in winter, don’t even think about tackling those icy sections without crampons.
Distance and Timing
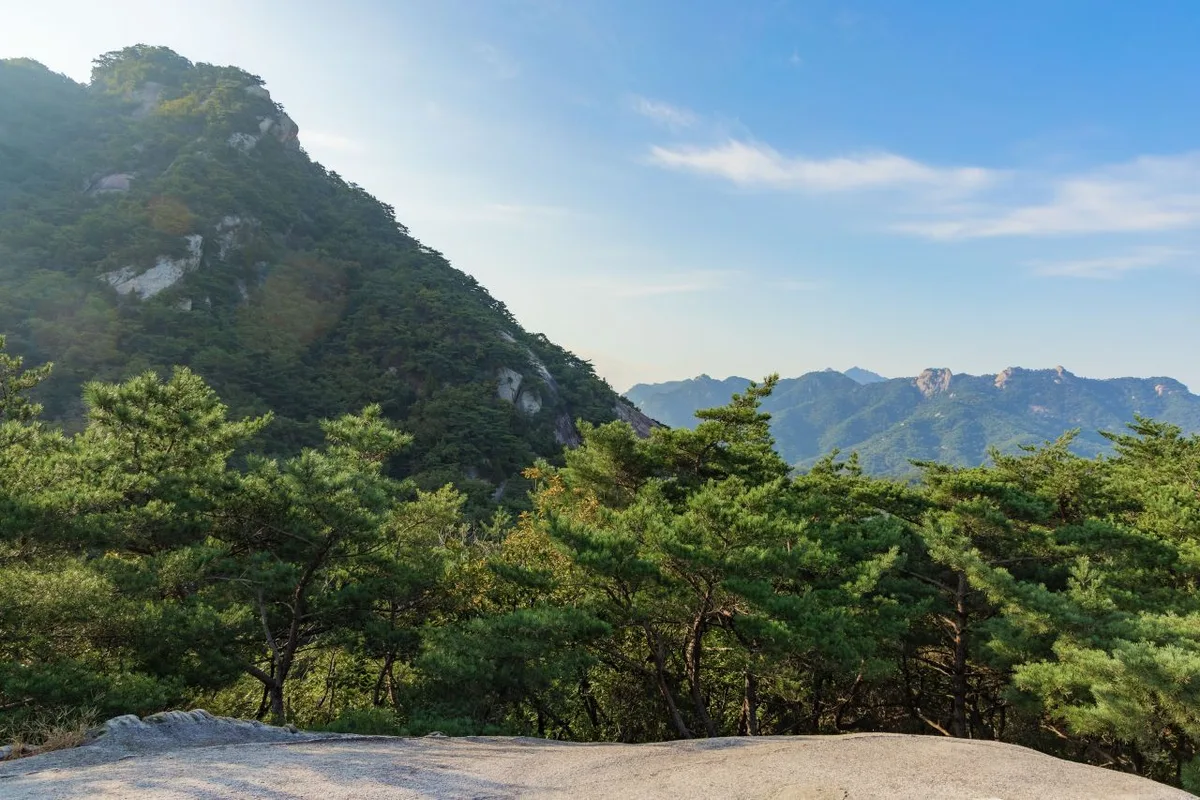 Photo: Korea Tourism Organization Photo Gallery (Yangju, Gyeonggi-do) · Gongkonuri
The total length of the hiking trails in this area (the combined distance of the Jeongchak Valley Reservoir–Daegam-myeon Office section and the Mukbang-ri section) is 3.71km. Just a heads-up: this is the total sum of several segments, not a single continuous course.
The cumulative time for all sections is 67 minutes up and 46 minutes down, which works out to an average ascent pace of about 18 minutes per kilometer. You can use this as a reference to help estimate how long different routes might take, but please don’t mistake that 67-minute climb for the duration of a single path. Based on actual GPX data, one-way treks to the summits can vary quite a bit—anywhere from roughly 2 hours (for routes like Sinsendae or Yeoseongbong) to over 4 hours (such as the Daewonsa course or for views at the Obong summit). If you’re planning a round trip or a full traverse, you might be out there for 6 to 8 hours or more.
While these are all manageable as day trips, keep in mind there are no shelters along the trails. It’s definitely safer to plan your schedule so you can finish your descent well before sunset.
Getting There (Public Transit & Parking)
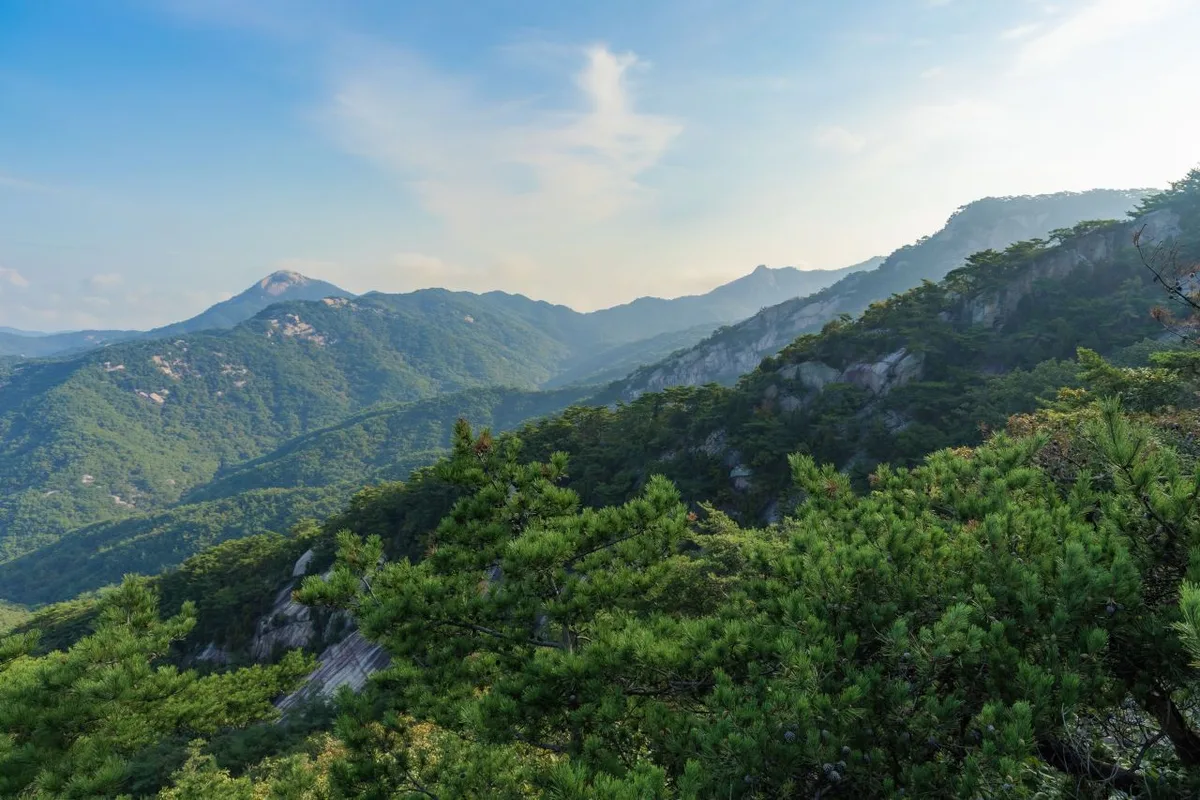 Photo: Korea Tourism Organization Photo Gallery (Yangju, Gyeonggi-do) · Gonggong Nuri
Dobongsan is actually quite easy to reach from downtown Seoul, as Subway Line 1—specifically Dobongsan, Mangwolsa, and Hoeryong stations—essentially wraps around the base of the mountain. If you’re arriving via Dobongsan Station, you can head toward the Sinseondae, Cheonchuksa, or Y-Valley trails. From Mangwolsa or Hoeryong stations, the Wondobong and Hoeryongsa routes are much more accessible. For those aiming for the Songchu direction (to catch those views of Obong Peak), you’ll need to take a local bus, so definitely check the schedule ahead of time.
One thing I’ve learned is that official hiking maps don’t always clearly mark specific bus stops or parking lots. Because of this, I usually find it much less of a headache to stick to the subway and bus combo rather than driving. If you do decide to drive, I’d recommend checking KakaoMap or Naver Map for real-time routes to see if there are small parking spots available, like the Wondobong 1st–3rd lots or temple-specific parking. Both apps are great for transit transfers and real-time guidance, making them incredibly useful for both locals and travelers alike.
Season, Weather, and Gear
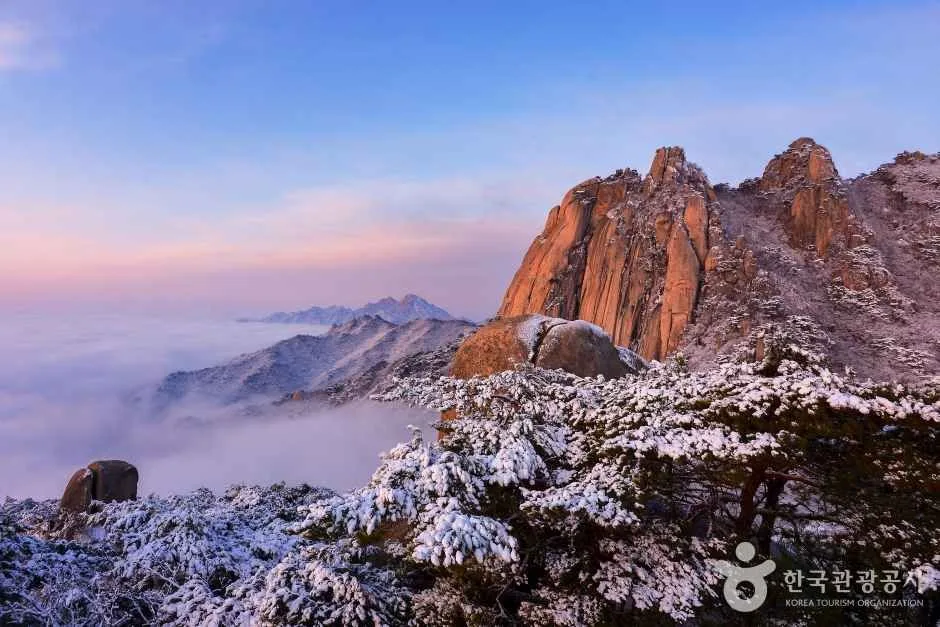 Photo: Korea Tourism Organization Photo Gallery (Dobong-dong, Dobong-gu, Seoul) · Gonggong Nuri
The best times to hit the trails are spring (April–May), when the greenery is waking up and the azaleas bloom, or autumn (October–November) for those peak fall colors. Summer can be great if you want to cool off in a mountain stream, but the rocky sections can get incredibly slippery during the rainy season—you’ll definitely need waterproof boots and trekking poles. In winter, ice often lingers in shaded rocky spots like Y-Valley, so make sure to pack crampons (or gaiters). If you’re a beginner, I’d suggest sticking to gentler valley paths rather than tackling rocky ridges like Sinseondae or Y-Valley when ice is a factor. Regardless of the season, you’ll always want ankle-supportive boots, trekking poles, extra layers, and plenty of water.
Tips for Foreign Travelers
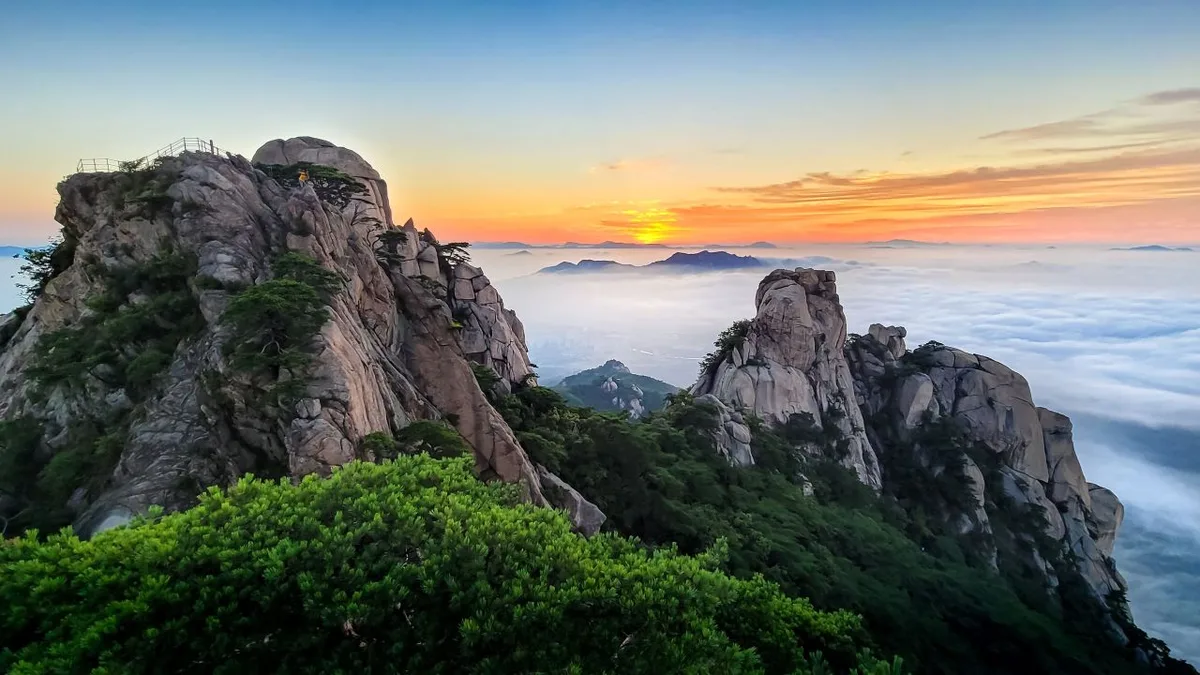 Photo: Korea Tourism Organization Photo Gallery (Dobong-dong, Dobong-gu, Seoul) · KOGL
Just to clear up the nomenclature: Dobongsan is the mountain itself, Sinseondae is the summit area, and you’ll also see Obong and Yeoseongbong. It’s all part of Bukhansan National Park, so there are no entrance fees or special permits required to explore the trails.
As for amenities, you’ll find various restrooms scattered throughout the courses—such as at Wondobong or near the Hoeryong Visitor Center—but don’t expect to find official, registered water fountains once you’re out on the trails. While there are natural springs like those at Cheonchuksa, Madangbawi, or Hoeryong, I’d definitely recommend packing at least 1 to 1.5 liters of water just to be safe.
A quick heads-up on navigation: Google Maps often struggles to display local hiking trails accurately. I’d suggest downloading KakaoMap or Naver Map to get the most reliable information on actual paths and public transit. Finally, keep safety in mind. Watch out for signs warning of steep ridges (like Y-Valley), fall risks, or rockfall zones; if it’s raining or icy, it’s best to take a detour. And of course, if you ever run into an emergency, just remember that 119 is the universal number for rescue services in Korea.
Other nearby mountains
- Comprehensive Guide to Mudeungsan: Trails, Difficulty & Time — Approx. 215km (straight-line)
- Gwanaksan Hiking Guide: Trails, Difficulty & Time — Approx. 293km (straight-line)
📍 Dobongsan: Seoul's rugged mountain of soaring granite ridgesLocation
Contact: bumseok.view [at] gmail [dot] com
Comments