The Baekdu-daegan Ridge Trail Embracing Jikjisa Temple: Hwangaksan, Gimcheon
Hiking · Published 7/29/2026 ·
등산로 트랙·시설 (공공데이터: 전국등산로 공간정보) · 🚩시종점 💧음수대 👁️조망점 🏠대피소 🅿️주차장 ⚠️위험 · 지도 © OpenStreetMap ⤓ GPX 다운로드
At a Glance
| Metric | Rating |
|---|---|
| Accessibility (public transit/parking) | ★★☆☆☆ |
| Trail difficulty | ★★☆☆☆ |
| Water/springs on the mountain | ★☆☆☆☆ |
| Overnight stay needed | ★☆☆☆☆ (a day trip is plenty) |
| Seasonal difficulty - Spring | ★★☆☆☆ |
| Seasonal difficulty - Summer | ★★☆☆☆ |
| Seasonal difficulty - Fall | ★★☆☆☆ |
| Seasonal difficulty - Winter | ★★★☆☆ |
※ Source: Korea Forest Service trail spatial data · accessibility and seasonal ratings are for reference only
Overview
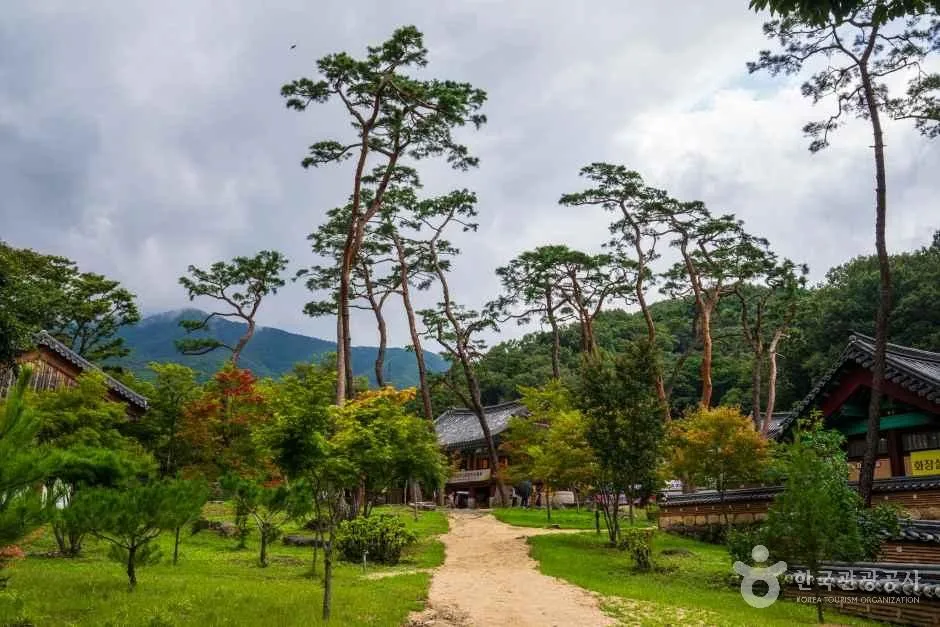 Photo: Korea Tourism Organization photo gallery (Hangwon-myeon, Gimcheon, North Gyeongsang Province) · KOGL Type 1
Hwangaksan straddles the border between Gimcheon in North Gyeongsang Province and Yeongdong County in North Chungcheong Province, forming part of the Baekdudaegan ridge. Trail data puts the summit elevation somewhere between 1,132 and 1,142 meters. At the base of the mountain sits Jikjisa, a historic temple dating back to the Silla dynasty, which makes Hwangaksan a popular pick for anyone who wants to combine a hike with some temple sightseeing. It’s mostly a soil mountain with gentle terrain overall, so trail maps officially rate its hardest sections as “easy” — but don’t let that fool you. Most of the routes to the summit cover serious distance and elevation gain, so they end up being fairly demanding, energy-draining hikes. Stick to one of the shorter routes and a day trip there and back is easy enough, but if you go for one of the longer courses that traces the Baekdudaegan ridge, finishing within a single day can get tight — so it’s worth choosing your route carefully.
Terrain and Landscape
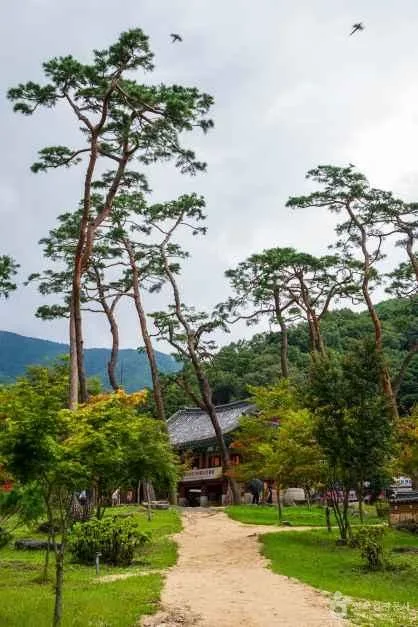 Photo: Korea Tourism Organization Photo Gallery (Hangdong-myeon, Gimcheon-si, Gyeongsangbuk-do) · KOGL
Hwangaksan isn’t the type of mountain defined by jagged rock peaks — instead, it’s a classic soil-covered mountain (“yuksan”), with gentle ridgelines and soft, rolling slopes. Several peaks string along the Baekdudaegan ridge here: Hwangaksan itself (1,132m), Hwangaksan’s Hyeongjebong or “Brother Peaks” (recorded at two points, 1,082m and 1,065m), Yeojeongbong (1,055m), Gocheonsan (1,058m), Unsubong (674m), and Hwangaksan’s Mangbong (596m). It’s less a single standout summit than a whole ridge working together to form the mountain’s character. Elevation figures for the summit itself vary a bit across sources, anywhere from 1,125m to 1,142m — likely just a matter of differing survey points or survey dates, which makes sense given that the peak itself is more of a gentle rise along the ridge than a sharp high point. Looking at the trail markers course by course, you’ll run into hermitages like Baengnyeonam, Unsuam, and Myeongjeokam, along with erosion-control dams and national forest boundary stones — all typical features of a trail that winds through both valley terrain and temple forest along the skirts of the Baekdudaegan.
Feel of the Trail
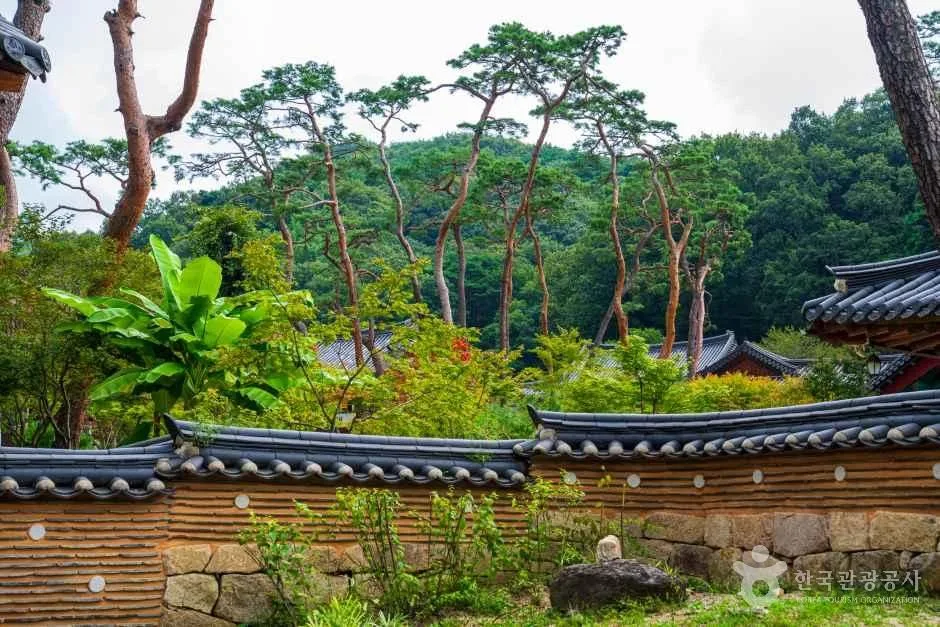 Photo: Korea Tourism Organization photo gallery (Hangdae-myeon, Gimcheon-si, Gyeongsangbuk-do) · KOGL Type 1
Down in the lower sections, you’re on gentle dirt paths that follow the valley and wind through the dense forest around Jikjisa Temple, and as the elevation climbs, you start hitting stretches with that wide-open ridge view every hiker loves. Names like “viewpoint,” “Hwangaksan viewpoint,” and “Samseongsan viewpoint” keep popping up on the trail markers across the different courses, which tells you there are quite a few spots along the ridge where you can take in the mountain ranges stretching out along the Baekdudaegan. Each season leaves its own impression here — fresh green leaves and wild cherry blossoms in spring, cool shade in the valley during summer, a ridge line dressed in autumn colors, and the snow-covered Baekdudaegan ridge in winter. That said, some sections have markers warning of steep slopes and falling rocks or leaves, and the climb generally gets noticeably tougher the further along you go.
주요 코스(들머리별)
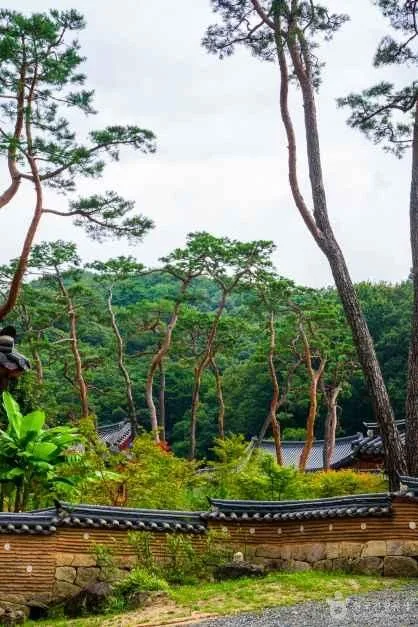 Photo: Korea Tourism Organization Photo Gallery (Hangnag-myeon, Gimcheon, Gyeongsangbuk-do) · KOGL Type 1
| Route (trailhead → summit) | Distance | Elevation gain | Est. one-way time | Difficulty | Popularity |
|---|---|---|---|---|---|
| Fork 4 → Viewpoint near summit | 10.88 km | ↕950 m | ~4 hr 18 min | ★★★★★ | ★★☆☆☆ |
| Geungnakjeon parking lot → Summit viewpoint | 10.15 km | ↕945 m | ~4 hr 7 min | ★★★★★ | ★★★★★ |
| Okreukchon (Haepyeong) → Gomcheonsan Summit Rest Area | 12.4 km | ↕851 m | ~4 hr 31 min | ★★★★★ | ★☆☆☆☆ |
| Parking lot → Samseongsan Summit Rest Area | 7.2 km | ↕376 m | ~2 hr 26 min | ★★★☆☆ | ★★★☆☆ |
| Baramjae Rest Area (trailhead) → Summit | 10.5 km | ↕690 m | ~3 hr 47 min | ★★★★★ | ★★★★☆ |
| Geungnakjeon parking lot → Mangwolbong | 6.92 km | ↕735 m | ~2 hr 57 min | ★★★★★ | ★★★☆☆ |
※ Source: Korea Forest Service / Korea Mountaineering & Trekking Support Center’s “100 Famous Mountains” GPX data (distance, elevation, time, difficulty) · Popularity ratings are for reference only
Course 1 — Junction 4 to the viewpoint near the summit
Route: Junction 4 → Junction 5 → rest area → pavilion → Junction 17 → Junction 19 → Junction 20 → Junction 21 → Junction 23 → viewpoint near the summit → pair of black goats → Junction 33 → viewpoint → Junction 51 → Junction 56
Getting to the trailhead: The trailhead is really just a junction, and since there’s no named public transit stop nearby, you’ll likely need to take a local village bus or a taxi and then walk in the rest of the way. If you’re driving, most people just park on an open patch of ground or along the shoulder nearby.
What it’s like, who it’s for: You’ll pass a string of junctions, a rest area, and a pavilion in fairly quick succession, so the route can feel a bit tangled at times. It’s a quiet ridge trail where you might genuinely run into wildlife — enough so that one of the trail markers is literally labeled “pair of black goats.” The signage is dense, which means you’ll be checking markers often, so I’d recommend keeping a map app open as you walk. All in all, it’s better suited to experienced hikers who like a quiet mountain trail and don’t mind a bit of navigating.
Course 2 — Geungnakjeon Parking Lot → Summit Viewpoint
Route: Geungnakjeon Parking Lot → Information Board → Mountain Access Control Station → Signpost → Fork → Baekryeonam Outhouse → Baekryeonam → Unsuam Parking Lot → Unsuam Outhouse → Unsuam/Hwangaksan Fork → Rest Area → Hwangaksan Signpost → National Grid Reference Point → Restricted Area → Restricted Zone
Getting to the trailhead: The Geungnakjeon parking lot connects directly to the temple access road. Most hikers take a city bus toward Jikjisa and walk in from there, though if you’re driving, there’s a parking lot on site, so access is fairly convenient either way.
Highlights & who it’s for: This is a classic temple-pilgrimage-style route that takes you past hermitages like Baekryeonam and Unsuam along the way. With the access control station and information board right at the start, even first-timers should have little trouble finding their way. Toward the latter half, though, you’ll run into clearly marked restricted areas — it’s important to stick to the designated trail here. All in all, it’s a great fit if you want to experience both temple culture and a proper hike in one outing.
Course 3 — Ongnyeok Village (Haepyeong) → Gonchunsan Summit Shelter
Waypoints: Ongnyeok Village (Haepyeong) → open lot by the multipurpose storage shed → stream crossing → fork in the trail → steep climb → trail marker → army boundary stone → military fence and guard post → steep slope → viewpoint → trail marker → marker → pine tree → Hwanggaksan viewpoint → caution, fallen leaves
Getting to the trailhead: This trailhead starts from Ongnyeok Village (Haepyeong). Public transit options are limited, so driving yourself or calling a taxi is the more realistic choice. There’s no designated official parking lot, so you may need to make use of space along the village road instead.
Highlights & who it’s for: This is the longest of the six courses at 12.4 km, and it takes you past a stream crossing, a steep climb, and even a military fence and guard post — so you’re walking near military facilities for part of the way. Given that the last waypoint warns about fallen leaves, the trail is likely covered in leaves come autumn and early winter, making footing slippery and the path harder to follow. I’d recommend this one for hikers with solid stamina and some experience under their belt.
코스 4 — 주차장 → 삼성산정상쉼터
Route: Parking lot → Udunyeong Pass → Udunyeong information board → signpost → ridge rest area → Samseongsan Summit Rest Area → Samseongsan → Yeojeongbong → Baekdudaegan Damaged-Area Restoration Zone → natural stone steps → rest area → national grid reference marker
Getting to the trailhead: This course starts from a parking lot near Udunyeong Pass. Since it’s a pass where the Baekdudaegan ridgeline crosses, most people drive in, and there’s parking available on-site. If you’re relying on public transit, you’ll want to check bus schedules to Udunyeong from the nearby small towns.
Highlights and who it’s for: Of the six courses, this one’s the shortest and gentlest — 7.2km with only 376m of elevation gain — making it the most approachable for beginner-to-intermediate hikers. You’ll pass through a section restored under the Baekdudaegan Damaged-Area Restoration Project, complete with natural stone steps and other well-maintained facilities, and the ridge walk continues on to Yeojeongbong. It’s a great pick if you want a taste of the Baekdudaegan ridgeline without committing a whole day to it.
코스 5 — 바람재쉼터(들머리) → 정상
Waypoints: Baramjae Rest Area → Baramjae Rest Area (trailhead) → Baramjae trailhead → fork in the trail → info booth → Samseongsan viewpoint → parking/turnaround space → parking/turnaround space → viewpoint → parking/turnaround space → falling rocks caution → parking/turnaround space → national forest land boundary marker → landslide risk zone sign → erosion control dam
Getting to the trailhead: There’s a “Baramjae” bus stop right near the trailhead, so this is one of the more convenient of the six routes to reach by public transit. Several roadside pull-offs are marked for parking and turning around, so driving in works fine too.
Highlights and who it’s for: With info booths and viewpoints strung along the way, there are plenty of stretches with open views. That said, there’s an erosion control dam and a landslide risk zone sign along the route, so you’ll want to be mindful of safety near the valley sections when it’s raining. There’s also a falling-rocks caution sign, so it’s worth moving carefully during the rainy season or thaw. Overall, this course suits hikers planning a day hike who are getting there by bus or subway.
Course 6 — Geungnakjeon Parking Lot → Mangwolbong
Waypoints: Geungnakjeon Parking Lot → Trail Control Station → Hwangaksan Signpost → Mangwolbong → Mangwolbong Rest Area → Fork → National Point Number → Fork Rest Area → Rest Area → Sinseonbong → Signpost → Naewon Valley/Trail Junction → Naewon Valley Falls → Myeongjeokam Parking Lot → Baekdudaegan Trail Map & Hwangaksan Hiking Guide Board
Trailhead access: This route starts from the same Geungnakjeon parking lot as Course 2, then splits off toward Mangwolbong and Sinseonbong. Public transit and parking options are identical to Course 2.
Highlights & who it’s for: This is close to a loop route, taking you over Mangwolbong and Sinseonbong, past the Naewon Valley Falls, and down to the Myeongjeokam parking lot — the standout feature being that you get both waterfall and valley scenery along the way. At 6.92 km, the distance is relatively short, but with 735 m of cumulative elevation gain packed into that short stretch, the climbing is pretty concentrated. It’s a good pick for hikers who want to enjoy valley scenery but don’t mind a course that demands a fair bit of stamina.
Difficulty, Terrain & Cautions
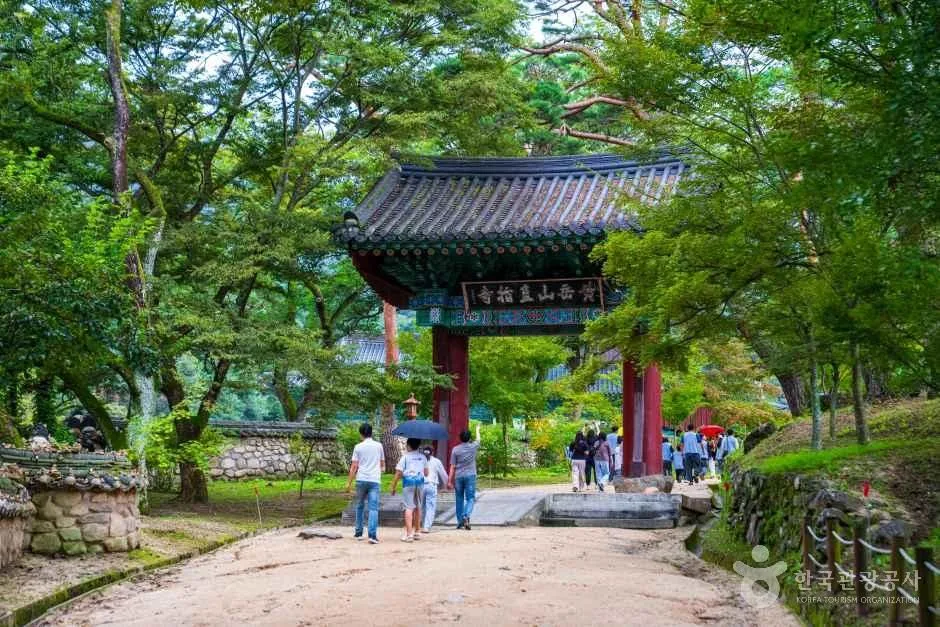 Photo: Korea Tourism Organization photo gallery (Gimcheon-si, Hangdong-myeon area) · KOGL
The registered trails in this area are broken down into two administrative sections — Heungdeok-ri and Gungchon-ri — with the following data for each:
| Section (by administrative district) | Distance | Difficulty | Terrain |
|---|---|---|---|
| Heungdeok-ri section | 4.29km | Easy | - |
| Gungchon-ri section | 1.05km | Easy | - |
※ These figures represent the total length of all trails registered under each administrative district, which may include multiple routes — they’re not the distance of any single hiking course. Terrain surface info isn’t separately recorded.
According to the official trail geodata, the highest difficulty rating on record is “Easy.” In practice, though, the GPX-based routes from the “100 Famous Mountains” list that actually go to the summit mostly involve 700+ meters of elevation gain and around 10km of distance, making them feel considerably tougher than that rating suggests. This seems to be because the registered trail data focuses mainly on lower-elevation sections, while the summit routes stretch out along the long ridgeline of the Baekdu-daegan. The data shows zero registered hazard points, but the actual trail markers do note steep slopes, falling-rock zones, slippery-leaf areas, and landslide-prone spots — so extra caution is warranted in these spots right after rain or during freezing conditions. Officially, there are zero registered viewpoints, but the trail details actually mention quite a few worthwhile lookout spots — “viewpoint near the summit,” “summit area viewpoint,” “Hwangaksan viewpoint,” and “Samseongsan viewpoint” among them — so you can expect some good views along the ridge sections. There are no registered water sources (springs), so it’s hard to refill along the way — make sure to bring plenty of water. There are also no registered shelters, so keep in mind there’s nowhere reliable to take cover if the weather turns suddenly. Three trailhead/exit points are registered, suggesting this mountain is more commonly hiked as a through-hike — starting and ending at different points — rather than as a there-and-back loop.
Distance and Time Required
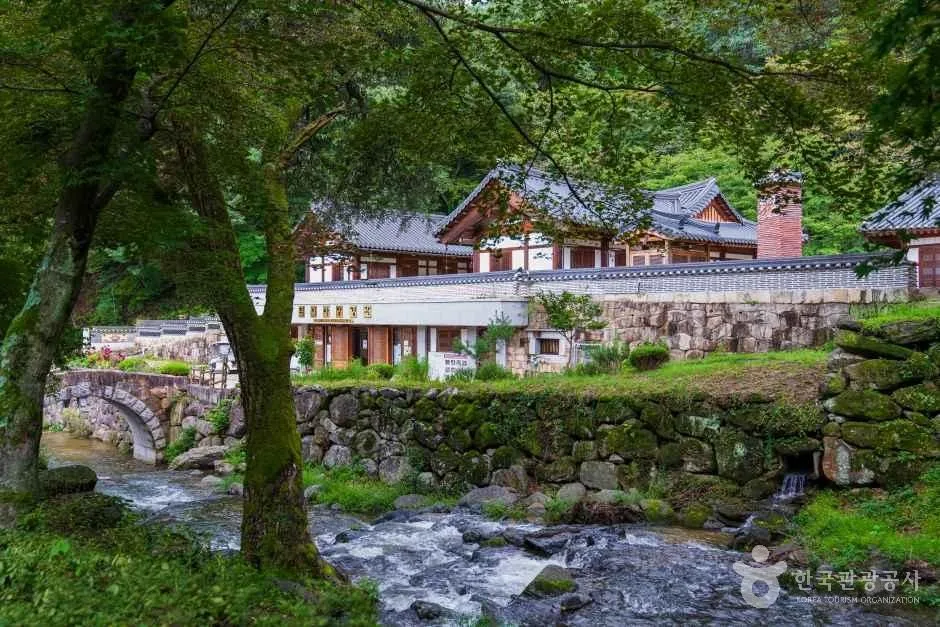 Photo: Korea Tourism Organization photo gallery (Hangdong-myeon, Gimcheon, Gyeongsangbuk-do) · KOGL
Based on data showing 96 minutes uphill and 66 minutes downhill across the trail network’s total length of 5.34 km within the area, the average uphill pace works out to roughly 18 minutes per km. Keep in mind this figure represents cumulative travel time across several trail segments in the area — it shouldn’t be mistaken for the round-trip time of any single course. For planning an actual summit hike, the more useful numbers are the course-by-course estimates based on GPX data from the “100 Great Mountains” project, which range widely: as short as Course 4 (parking lot → Samseongsan summit shelter, about 2 hours 26 minutes one way) and as long as Course 3 (Ongnyeok Village (Haepyeong) → Goncheonsan summit shelter, about 4 hours 31 minutes one way). For a round trip, it’s common to budget roughly 1.8 to 2 times the one-way time. With that in mind, the shorter courses can comfortably be done round-trip in a single morning-to-afternoon window, but if you’re planning a round trip on one of the longer courses (Course 1, 2, 3, or 5), you could be looking at something like 8 to 9 hours total — so an early start and plenty of buffer time are a must. Overall, since Hwangaksan’s trail network within the area totals only a bit over 5 km and there are no shelters along the way, day hikes are the norm rather than overnight trips. An overnight stay — at a mountain hut or nearby lodging — really only makes sense if you’re linking multiple courses together to tackle a Baekdudaegan ridge-traverse section.
Getting There (Public Transit & Parking)
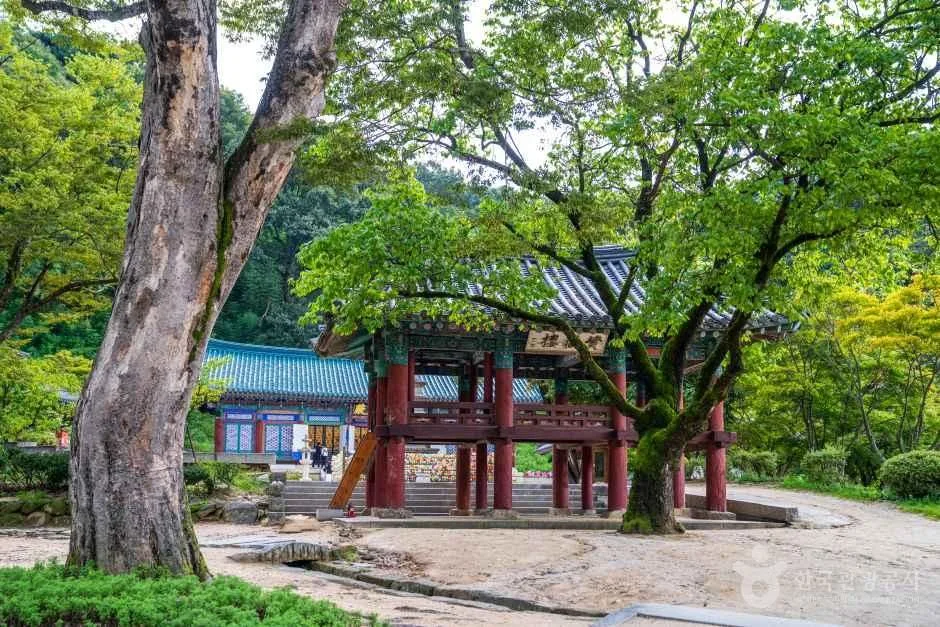 Photo: Korea Tourism Organization Tourism Photo Gallery (Hangdae-myeon, Gimcheon-si, Gyeongsangbuk-do) · KOGL Type 1
Near the Hwangaksan trailheads, you’ll find the Baramjae and Hwagok bus stops — Course 5, in particular, which leads to the Baramjae rest area trailhead, is fairly convenient to reach by public transit via the Baramjae stop. The usual approach is to catch a city bus from downtown Gimcheon heading toward Jikjisa Temple or Udureong, then get off at the stop and walk the rest of the way to the trailhead. If you’re coming by KTX or a regular train, you’ll need to transfer to a city bus at Gimcheon-Gumi Station or Gimcheon Station. Routes and schedules can shift, so it’s worth checking real-time transit directions on KakaoMap or Naver Map by searching “Jikjisa” or “Udureong” as your destination. There’s no officially registered parking lot in the local trail database, but the detailed course signage does point to several real, usable parking spots — the Geungnakjeon parking area, Unsuam parking lot, Myeongjeokam parking lot, and parking near Udureong among them — so if you’re driving, it’s practical to just set one of these as your destination. That said, spaces can fill up fast, so on peak-season weekends, it’s a good idea to arrive early.
Season, Weather & Gear
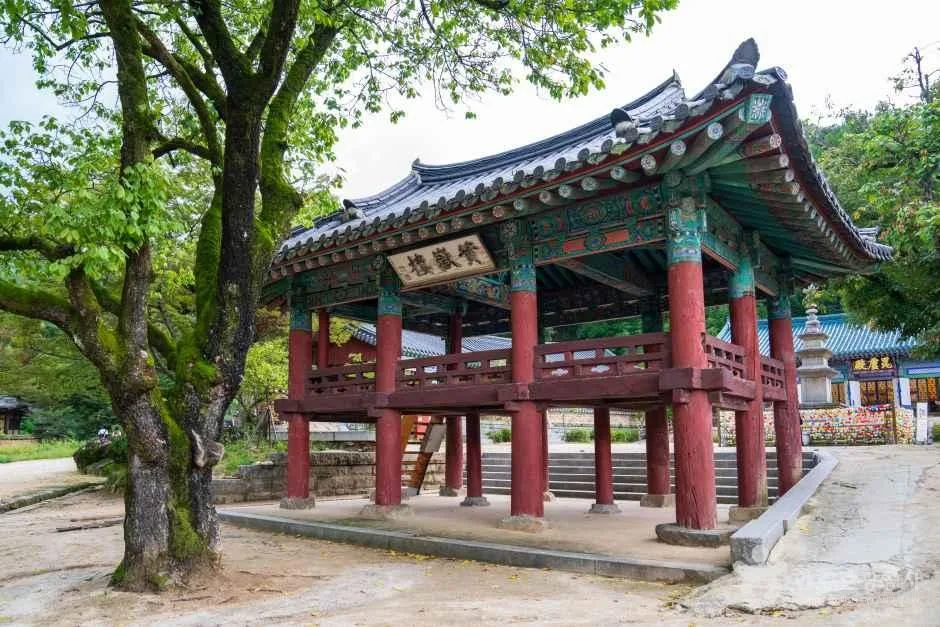 Photo: Korea Tourism Organization photo gallery (Hangdong-myeon, Gimcheon, Gyeongsangbuk-do) · Public Nuri
The best seasons for hiking Hwangaksan are spring (April–May) and fall (October–November), when temperatures are mild and you get to enjoy the fall foliage or fresh greenery. Summer has its perks too — the valley sections stay pleasantly cool — but you’ll want to check the weather beforehand, since rain can bring a real risk of flash flooding or falling rocks in the areas marked with sabang dam and landslide-risk signs. In winter, ice tends to form along the ridgeline and on the steeper slopes, so crampons and gaiters are non-negotiable — this is also the season where the hike feels toughest overall. A few things worth packing no matter when you go: ankle-supporting hiking boots, plenty of water (1.5–2 liters or more depending on the route, since there’s nowhere to refill on the mountain), trekking poles, a wind- and water-resistant jacket, snacks or emergency food, a headlamp (in case your descent runs later than planned on the longer routes), and a smartphone with a map app installed.
Golden Tips for Foreign Visitors
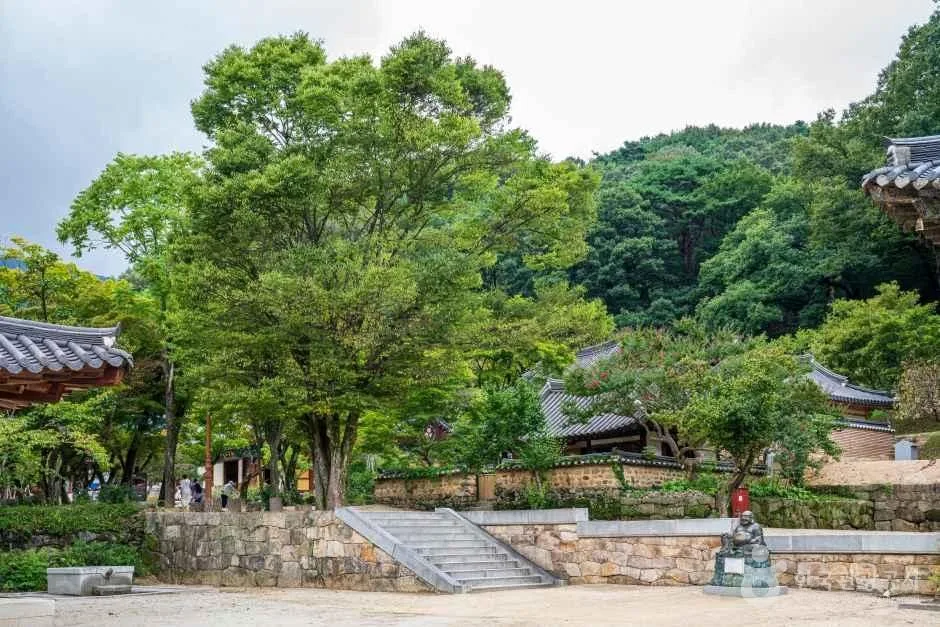 사진: 한국관광공사 관광사진 갤러리 (경상북도 김천시 대항면) · 공공누리
Hwangaksan is romanized as “Hwangaksan,” and its flagship temple, Jikjisa, appears on signage as “Jikjisa Temple.” The summit is marked “Hwangaksan Summit,” and one of the main trailheads, Udu-ryeong, is often labeled “Udu-ryeong Pass.” You generally don’t need a permit or entrance fee just to hike the mountain, but if your route passes through the Jikjisa Temple grounds, there may be a separate cultural heritage admission fee — worth checking the signage on-site. Restrooms are available at facilities near the temple, like the Geungnakjeon and Unsuam parking lots, but there are none once you get past the mid-mountain point, so plan to use one before you set off. There are no registered drinking-water springs along the trail either, so bring enough bottled water with you from the start. As for maps, Google Maps tends to be unreliable for walking and public transit routes in Korea, so it’s safer to install Kakao Map or Naver Map ahead of time to check the actual trail and transit routes. On the safety side, keep in mind that there are no designated shelters or marked hazard zones on the mountain, and that some sections do have steep drops, loose rocks, and slippery fallen leaves — so hiking with a companion rather than solo is recommended, and you should build in extra time for the descent to make sure you’re off the mountain before dark.
Nearby Mountains Worth a Look
- Mt. Geumosan in Gumi, holding the Daehyeok Waterfall and its fortress-wall ridgeline — about 29km away as the crow flies
- The knife-edge ridge traverse of Mt. Hwangseoksan in Geochang, Gyeongnam — about 48km away as the crow flies
- Mt. Palgongsan in Daegu, a granite ridge dotted with Buddhist heritage sites — about 64km away as the crow flies
📍 The Baekdu-daegan Ridge Trail Embracing Jikjisa Temple: Hwangaksan, GimcheonLocation
Contact: bumseok.view [at] gmail [dot] com
Comments