Walking the Fortress Walls: Busan's Godangbong Ridge
Hiking · Published 7/18/2026 ·
등산로 트랙·시설 (공공데이터: 전국등산로 공간정보) · 🚩시종점 💧음수대 👁️조망점 🏠대피소 🅿️주차장 ⚠️위험 · 지도 © OpenStreetMap ⤓ GPX 다운로드
At a Glance
| Metric | Rating |
|---|---|
| Accessibility (Public Transit/Parking) | ★★★☆☆ |
| Trail Difficulty | ★★☆☆☆ |
| Water Access (Springs/Sources) | ★☆☆☆☆ |
| Overnight Stay Required? | ★☆☆☆☆ (Plenty for a day trip) |
| Seasonal Difficulty — Spring | ★★☆☆☆ |
| Seasonal Difficulty — Summer | ★★★☆☆ |
| Seasonal Difficulty — Autumn | ★★☆☆☆ |
| Seasonal Difficulty — Winter | ★★★★☆ |
※ Source: Korea Forest Service trail data. Accessibility and seasonal ratings are estimates.
Overview
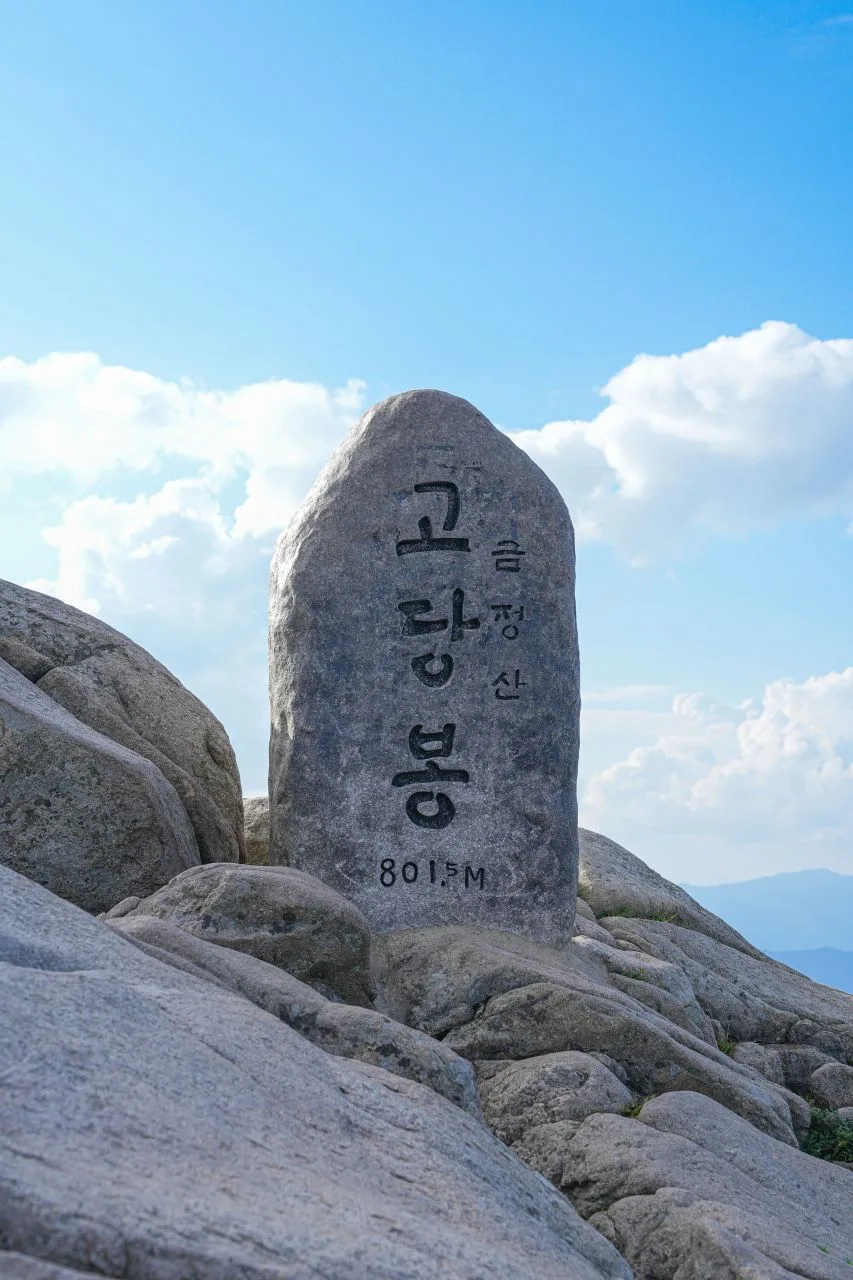 Photo: Korea Tourism Organization Photo Gallery (Geumseong-dong, Geumjeong-gu, Busan) · KOGL
Geumjeongsan is a mountain that stretches across the Geumjeong, Buk, and Dongrae districts of Busan as well as Yangsan in Gyeongsangnam-do. It’s best known for the ridge that follows its main peak, Godangbong, which is home to the historic Geumjeongsan Fortress. The total registered trail length within the district is listed at 4.75km, but just to be clear, that’s the sum of all various routes combined rather than one single path. While the official data classifies these sections as “easy,” don’t let that fool you—the actual routes to the summit involve significant distance and elevation changes, so they definitely feel much tougher in practice. On the bright side, the trails are well-maintained and quite easy to access via public transit, making it a perfect spot for a day hike.
Terrain and Landscape
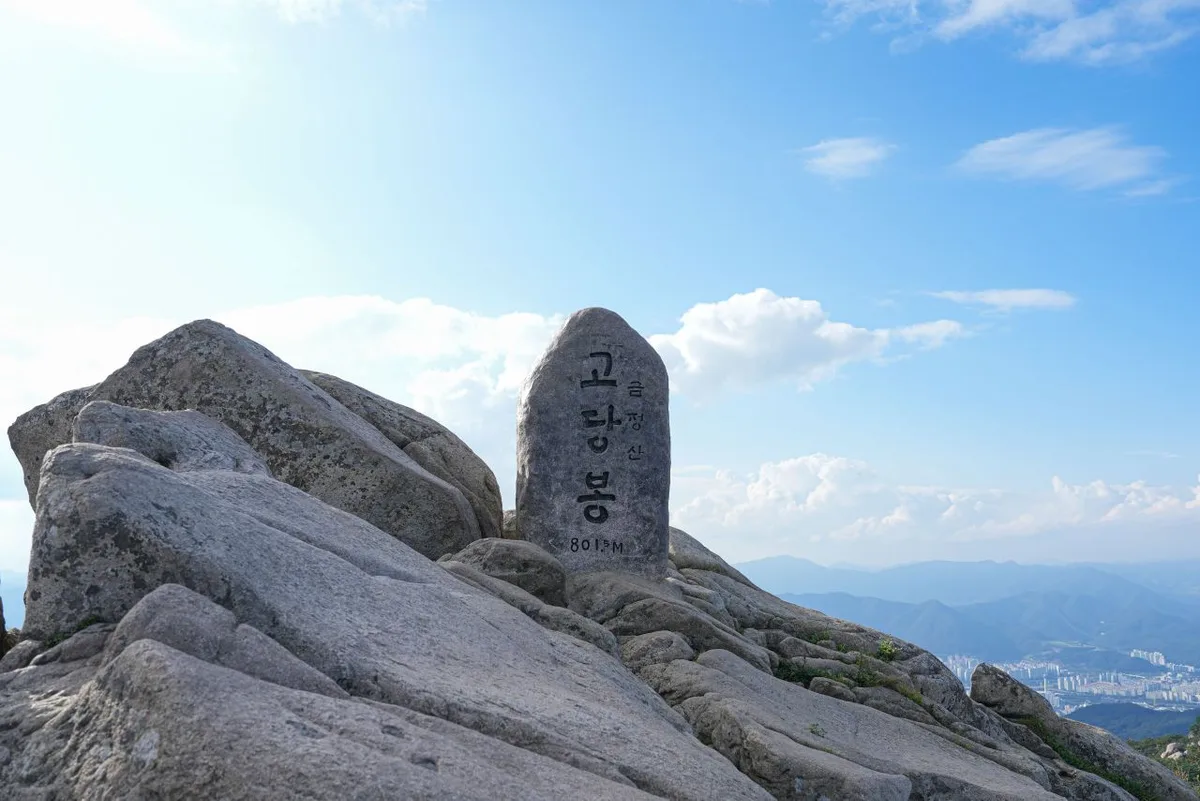 Photo: Korea Tourism Organization Photo Gallery (Geumseong-dong, Geumjeong-gu, Busan) · Public Nuri
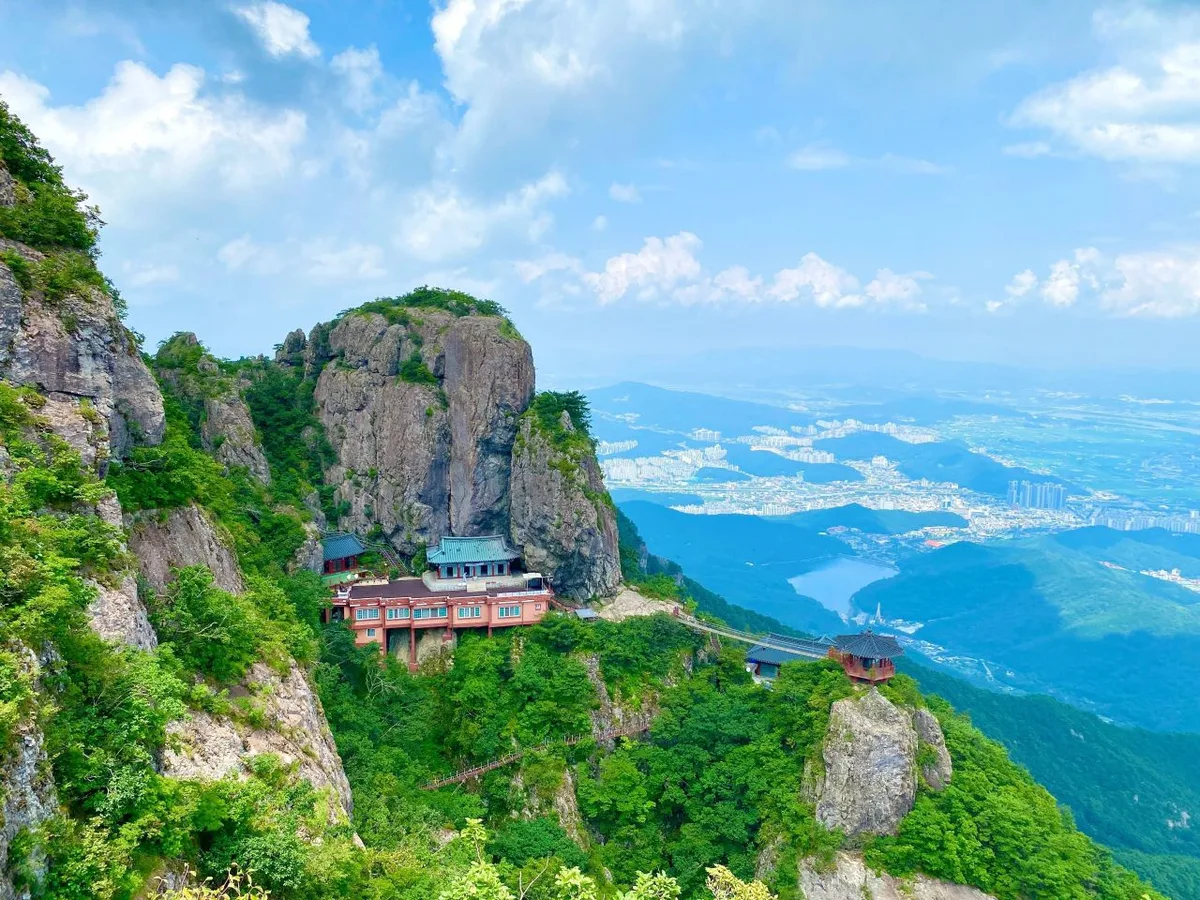
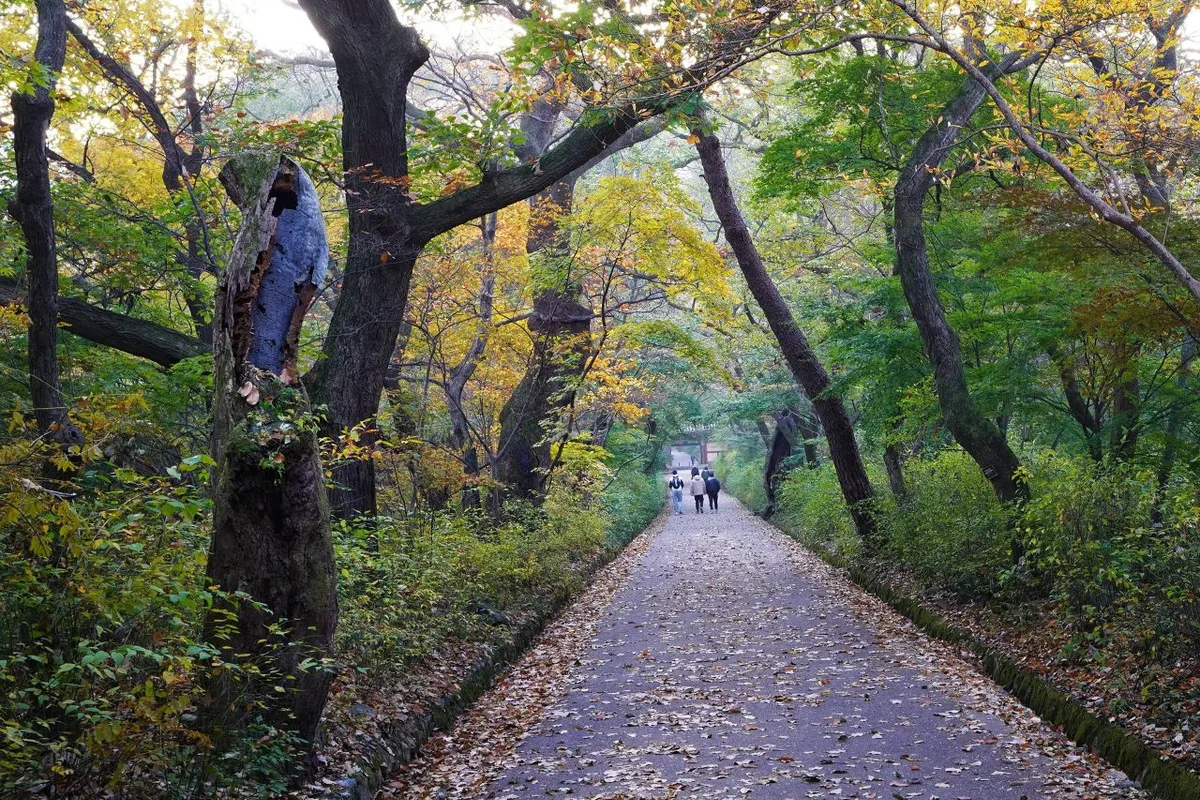
Geumjeongsan is often described as a mountain that offers the best of both worlds: it’s part rugged rock and part soft forest trail. While granite outcroppings are visible in many spots, the mountain is largely characterized by its winding dirt paths and ridges. The area around the summit, Godangbong, is quite rocky, with a ridge line that connects through several peaks including Janggunbong, Sanggyebong, and Paribong. A standout feature of this mountain is how the ridge itself overlaps with the Geumjeongsanseong Fortress wall, so you’ll find plenty of sections where you’re walking right alongside the historic fortifications. According to measured data, the highest point stands at 833m.
The Feel of the Hike
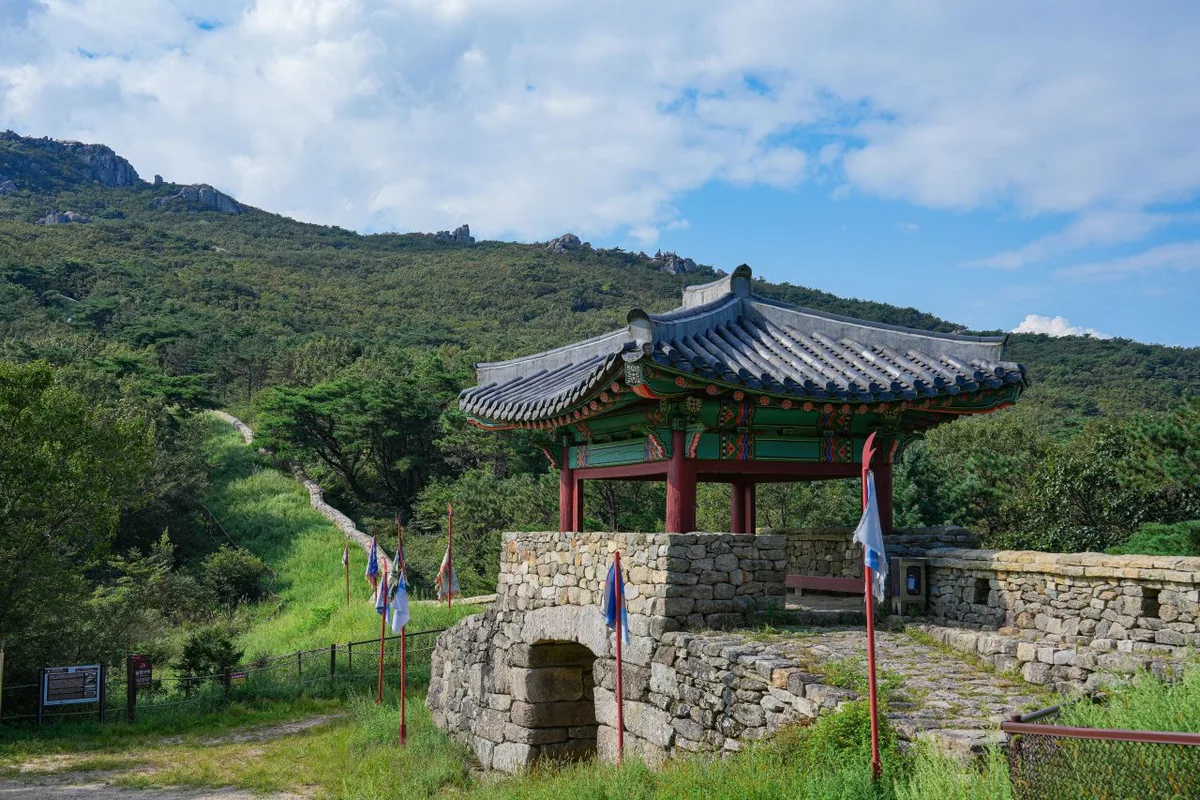 Photo: Korea Tourism Organization Photo Gallery (Geumseong-dong, Geumjeong-gu, Busan) · Gonggonuri
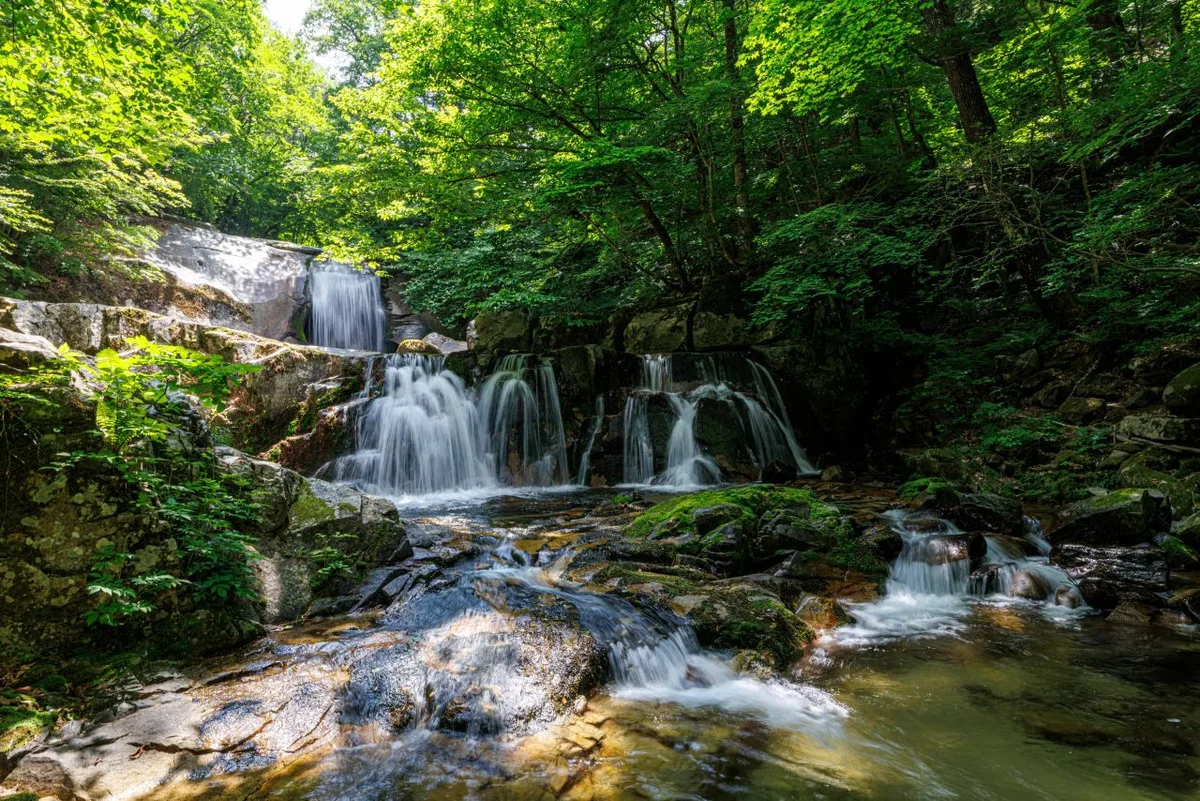
The trail is mostly forested, so you’ll find plenty of shade to keep you cool even in the heat of summer. Once you reach the ridgeline, the views really open up, offering glimpses of the Busan cityscape, the Nakdong River, and even toward Yangsan. The area around the summit at Godangbong is quite rocky, so you might need to scramble a bit at certain spots. It definitely adds a different kind of excitement compared to the gentler forest paths. The mountain is also frequently praised for its seasonal beauty—from the fresh greenery along the fortress walls in the spring to the lovely mix of silver grass and autumn foliage in the fall.
Main Routes (By Trailhead)
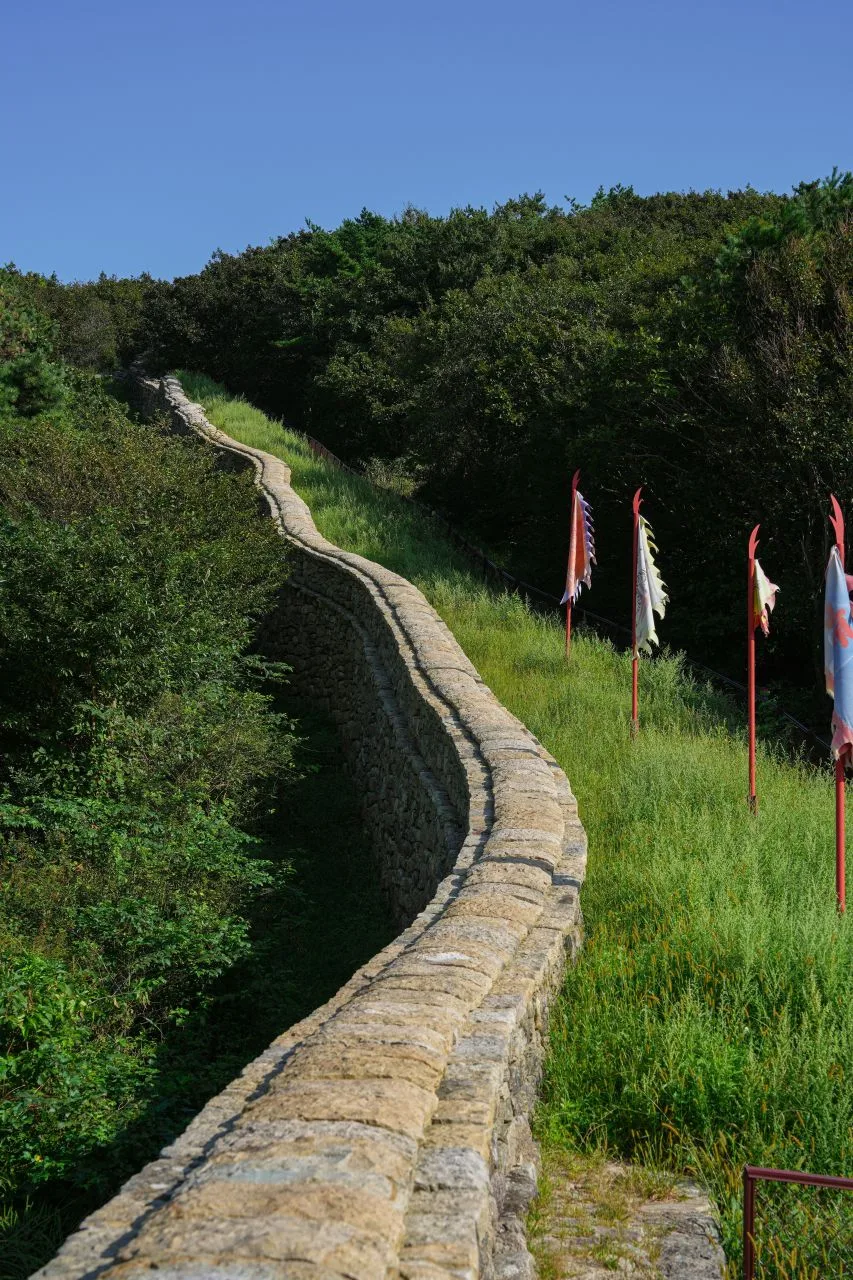 Photo: Korea Tourism Organization Photo Gallery (Geumseong-dong, Geumjeong-gu, Busan) · KOGL
| Route (Start → Summit) | Distance | Elevation Gain | Est. Time (One-way) | Difficulty | Popularity |
|---|---|---|---|---|---|
| Junction → Godangbong Observatory | 9.88km | ↕603m | ~3h 29m | ★★★★★ | ★★★☆☆ |
| Beomeosa Parking Lot → Godangbong | 7.75km | ↕628m | ~2h 59m | ★★★★☆ | ★★★★★ |
| Hopo Saedongne → Summit | 7.91km | ↕738m | ~3h 12m | ★★★★★ | ★★★☆☆ |
| Junction 5 → Observatory | 6.13km | ↕715m | ~2h 43m | ★★★★☆ | ★★☆☆☆ |
| Cheongnyeonam Side Path → Summit | 10.14km | ↕746m | ~3h 47m | ★★★★★ | ★★☆☆☆ |
| Dabang Junction → Dabangbong | 10.54km | ↕726m | ~3h 51m | ★★★★★ | ★★☆☆☆ |
| Geumsan Humansia Bus Stop → Summit | 12.61km | ↕728m | ~4h 22m | ★★★★★ | ★★☆☆☆ |
| Jijiangam Entrance → Summit | 7.02km | ↕475m | ~2h 33m | ★★★★☆ | ★★★☆☆ |
※ Source: Korea Hiking & Trekking Support Center 100 Famous Mountains GPX (distance, elevation, time, difficulty) · Popularity is for reference only.
Course 1 — The Junction to Godangbong Observatory
Route: Junction → Godang Spring → Godangbong Observatory → Godangbong Peak Access: This section starts from a junction located in the middle of the ridge. It is typically approached by hiking up from either Geumjeongsanseong North Gate or Sanseong Village to reach this point. Since there isn’t a dedicated parking lot, I’d recommend parking along the roadside near Sanseong Village or just using public transportation. Features & Recommendations: This route takes you past Godang Spring, which is a handy spot to refill your water. It’s perfect for hikers who want to enjoy both the scenic ridge-line trails and the views from the observatory. It is a bit of a long trek, so definitely make sure to pace yourself!
Course 2 — Beomeosa Parking Lot → Godangbong Peak
Route: Beomeosa Parking Lot → Geumjeongsanseong Fortress → Beomeosa Zen Culture Education Center → Security Office → Junction 11 → Dangganjiju (Stone Pagoda Base) → Parking Lot (80-car capacity) → Junction 14 → Junction 15 → Restroom → Junction 18 → Junction 19 → Junction 20 → Information Board → Junction 22
Getting There: The standard way to get here is to take Busan Subway Line 1 to Beomeosa Station, then transfer to a local or city bus to reach the temple entrance. If you’re driving, there’s also a large parking lot near the temple grounds that holds about 80 cars, making it quite easy to access by car.
Features & Recommendations: This is a classic Geumjeongsan course, winding through the forest trails of the old fortress and passing the thousand-year-old Beomeosa Temple. Since there are restrooms along the route, it’s a relatively easy hike for first-timers or families. It’s an excellent choice if you want to soak in both the temple atmosphere and the historical fortress ruins in one go.
Course 3 — Hopo Village → Summit
Via: Hopo Village → Geumjeongsan Deadwood 1-1 → Yongdeok Farm → Geumjeongsan Deadwood 1-2 → Signpost → Restricted Development Zone Sign → Junction 7 → Geumjeongsan Deadwood 1-3~1-7 → Junctions 13, 15 → Dongmyeon Forest Road 6-28
Access: This route is known for starting from the village near Hopo Station (Busan Subway Line 2). Since I couldn’t find any large parking facilities in the area, I’d definitely recommend sticking to public transportation.
Highlights & Recommendations: With a vertical climb of 738m, this is one of the steeper routes to the summit and will certainly put your stamina to the test. The trail is interesting because it transitions from village paths into forest roads and mountain trails. It’s best suited for experienced hikers who are looking for a bit of a challenge.
Course 4 — Junction 5 → Observatory
Route: Junction 5 → Hopo Saedong-neul → Yangsan Nurigil → Geumhosa Temple → Isusaengmyeo → Pavilion → Benches/Exercise Facilities → Junction 12 → Hopo Farm → Salvaged Wood Geumjeong 2-1 → Vehicle Control Pipe → Signposts/Information Boards → Benches/Salvaged Wood → Junction 18 → Benches/Signposts Getting Started: Much like Course 3, you’ll be approaching from the Hopo direction. Since this section connects to the Yangsan Nurigil trail, it’s a good idea to keep the Yangsan-side access points in mind as well. Features & Recommendations: This is a fairly gentle route with plenty of spots to catch your breath—we’re talking pavilions, benches, and even some outdoor exercise stations. It’s a perfect fit for anyone looking for a relaxed pace or those who want to tie this walk in with the Yangsan Nurigil trail.
Course 5 — Via the Cheongnyeonam Side Path to the Summit
Waypoints: Cheongnyeonam Side Path → Tower → Electric Fence → Restricted Area → Junction 5 → Naewonam Sign → Junctions 7, 8, & 9 → “No Entry” Sign → Cypress Grove → Iron Fence → Junctions 14 & 15 → Wetland Protection Area Getting There: This route begins near Cheongnyeonam Temple and is generally known to connect to the access path toward Hwamyeong-dong in Buk-gu. If you’re taking public transit, I’d suggest checking the local bus routes first just to be safe. Highlights & Recommended For: The standout feature of this course is trekking through the cypress groves and the wetland protection area. Just a heads-up: some sections are marked as restricted, so please make sure to follow the signs. It’s a wonderful route for hikers who have an interest in natural ecology and unique landscapes.
Course 6 — Dabang Junction → Dabangbong
Waypoints: Dabang Junction → Dabangcheon Information Board → Gyeseok Village Bus Stop → Boundary Stone (Gyeseok Village) → Junction 5 → Keukdong Restaurant → Junction 7 → Right of Daejeong Apartments → Junction 9 → Signpost → Steel Tower → Wooden Platform → Junction 13 → Wild Boar Caution Zone → Burned Area Access: This route enters from the Gyeseok Village area in Dabang-dong, Yangsan. Since there is a village bus stop along the way, it seems like public transit should be a fairly easy option. Notes & Recommendations: The course offers an eclectic mix, transitioning from village paths to a burned forest area. Given the warnings about wildlife (wild boars), I’d definitely suggest hiking with a companion rather than going it alone.
Course 7 — Geumsan Humansia Bus Stop → Summit
Access: This route starts from a bus stop near an apartment complex. At 12.61km, it’s the longest of the summit routes, so you should prepare for a full day on the trail. Features & Recommendations: Since this is the longest and most demanding route, it’s best suited for hikers with plenty of stamina. If you’re planning a round trip, I’d suggest an early morning start—it’s not exactly an overnight trek, but you’ll definitely want to hit the trail early.
Course 8 — Jijangam Hermitage Entrance → Summit
The Approach: This route starts near the Jijangam Hermitage. With a net elevation gain of 475m, it’s relatively gentle compared to other summit-bound trails. Features & Recommendation: Since the distance and elevation gain are fairly manageable, it’s a great option for beginners looking to tackle a summit without feeling too overwhelmed.
Difficulty, Terrain, and Safety Notes
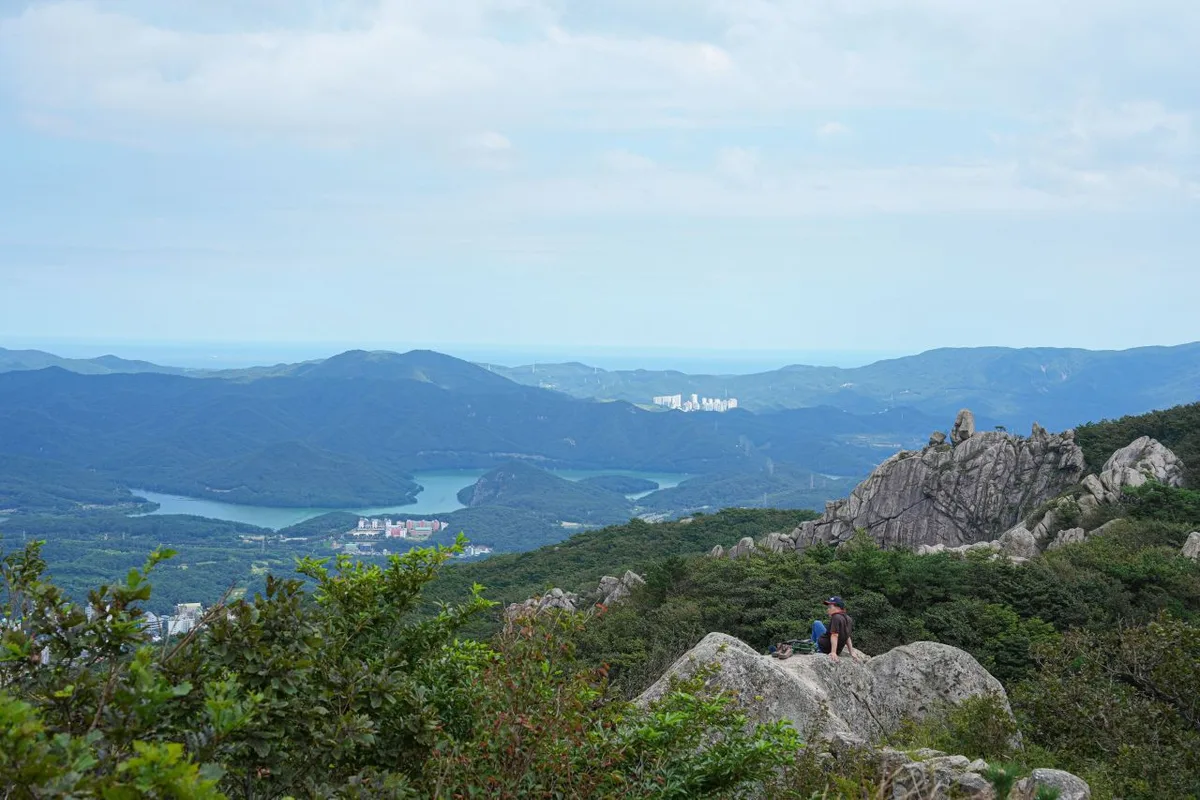 Photo: Korea Tourism Organization Photo Gallery (Geumseong-dong, Geumjeong-gu, Busan) · Gonggong Nuri
The registered sections within the district (based on administrative dong and total length) are as follows:
| Section Name (by Administrative Dong) | Total Length | Difficulty | Terrain |
|---|---|---|---|
| Seogu Wondang-dong Section | 4.75km | Easy | Dirt |
Please keep in mind that the table above shows the total combined length of all trails within the district, not the distance of a single route. While most of the terrain consists of dirt paths, the area around Godangbong Peak is known for its granite rock formations, so you’ll want to be extra careful about slipping during rainy weather or icy winter conditions. Also, according to current facility records, there are 0 listed danger zones, viewpoints, trail entry/exit points, or water fountains. For your safety, I’d recommend using both the on-site signage and a map app to double-check your location.
Distance and Timing
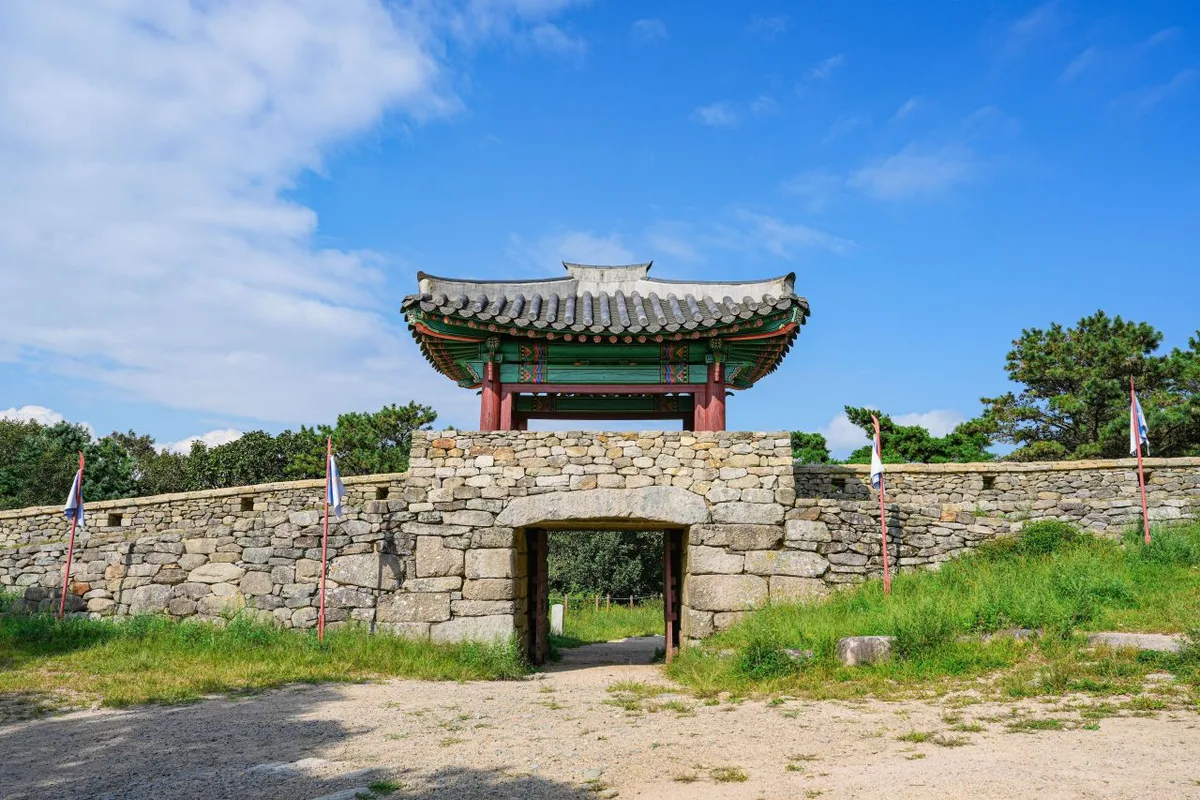 Photo: Korea Tourism Organization Photo Gallery (Geumseong-dong, Geumjeong-gu, Busan) · Gonggonuri
The summit trails range from a short 7km to as much as 12.6km, with most legs taking roughly 3 to 4 hours one way. This makes them perfectly manageable for a day trip if you’re planning the round trip.
Regarding the registered sections within the area, the total cumulative time is logged as 82 minutes up and 59 minutes down. Just a heads-up: this isn’t the time for one specific trail, but an aggregate of all registered sections in the area. This works out to an average ascent pace of about 17 minutes per kilometer, which can serve as a useful baseline to keep in mind when you’re trying to pace your energy on the actual summit routes.
Getting There (Public Transit & Parking)
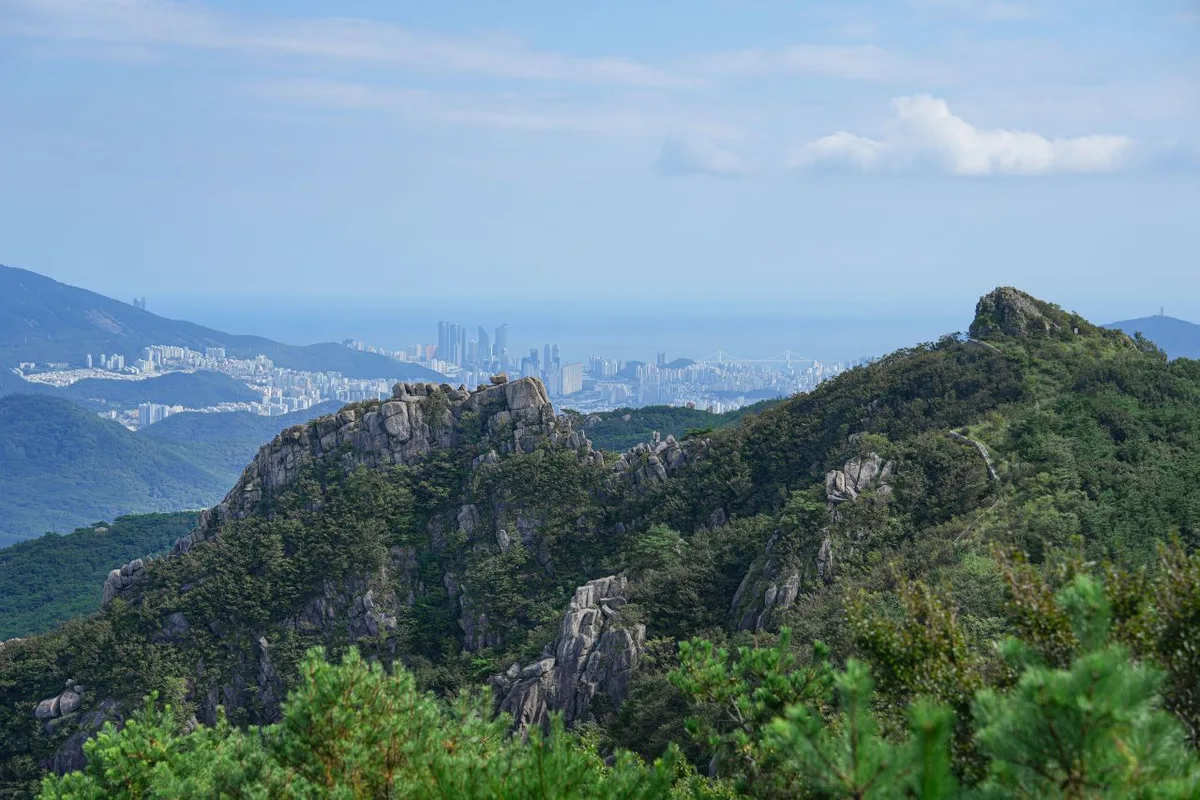 Photo: Korea Tourism Organization Photo Gallery (Geumseong-dong, Geumjeong-gu, Busan) · Gongu Nuri
If you take Line 1 to Beomeosa Station and transfer to a bus or village bus heading toward the temple, you’ll arrive at the trailhead for Course 2 (Beomeosa Parking Lot → Godangbong). Alternatively, you can connect to Courses 3 and 4 (toward the Hopose Dongne area) near Hopo Station on Line 2. Since routes and schedules can be a bit finicky, I’d definitely recommend checking KakaoMap or Naver Map for real-time updates before you head out.
Public transit data lists several stops near the hiking trails—such as Singeomdan Jungang Station Crossroads (in front of the tunnel), De Etre The Hill (Gosan Tunnel), Paragon Botanic Park (Gosan Tunnel), Prugio The Venue Back Gate, and De Etre The Hill/Ieum High School. While these are useful references, I’d suggest double-checking the actual walking distance between the stops and the trailhead on your map app first. As for parking, there aren’t really any large facilities aside from the one near Beomeosa (which holds about 80 cars), so I’d highly recommend sticking to public transit if you can.
Season, Weather, and Gear
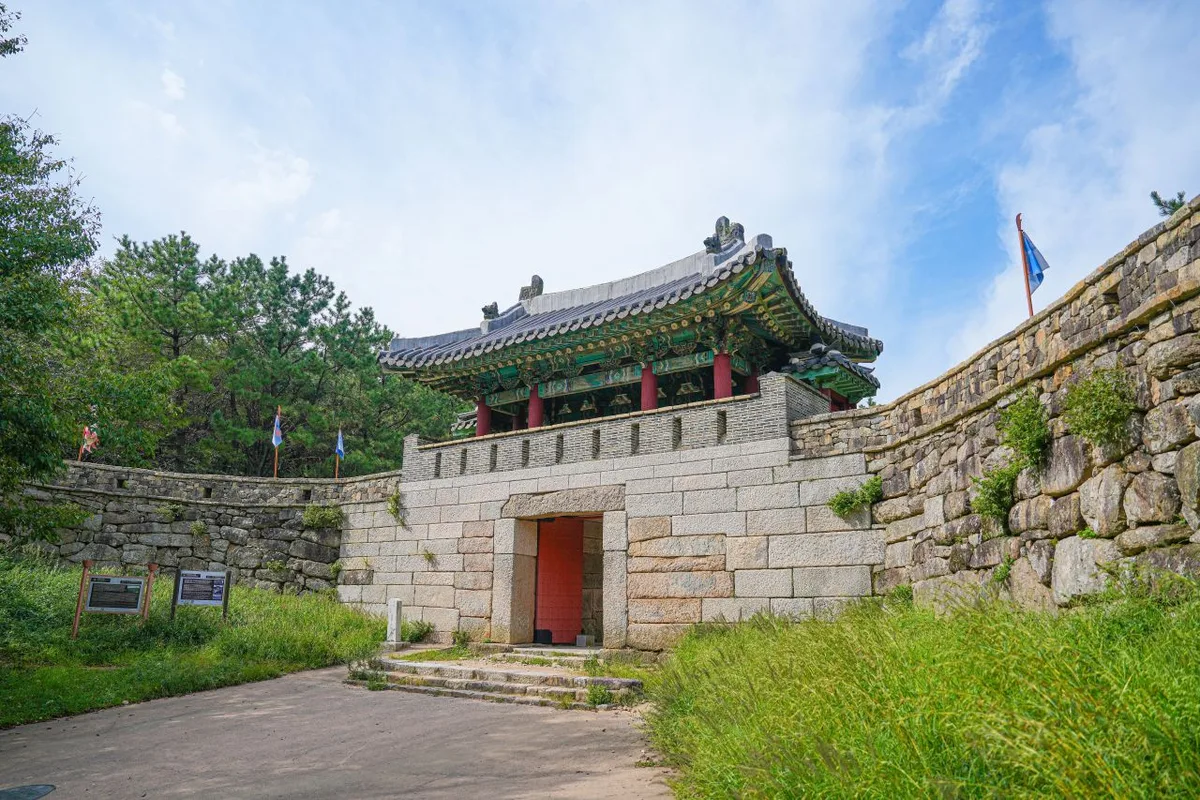 Photo: Korea Tourism Organization Photo Gallery (Geumseong-dong, Geumjeong-gu, Busan) · Gonggong Nuri
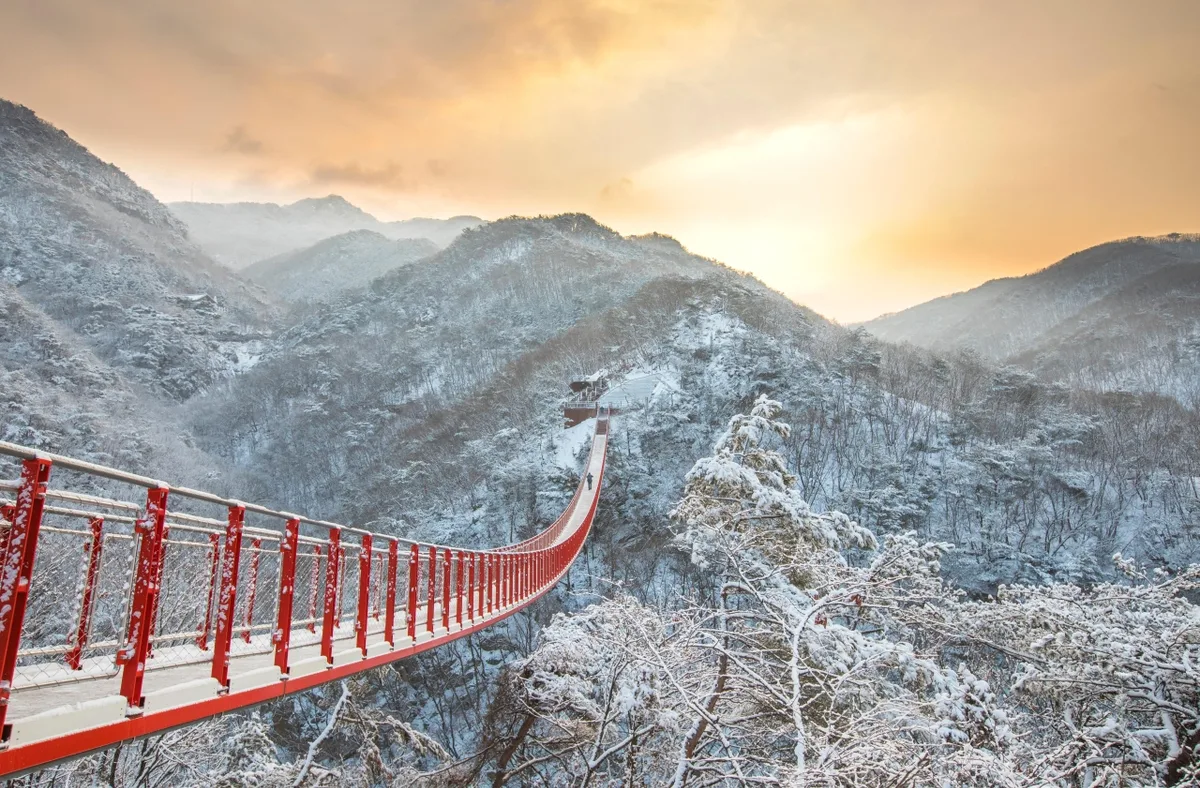
Spring and fall are generally the sweet spots for hiking. Summer can be a bit of a struggle with the humidity, heat, and those unpredictable afternoon showers, so plan accordingly. In winter, icy patches on the rocky ridges near the summit are a real concern, so you’ll definitely need crampons and proper cold-weather gear. For the essentials, make sure to pack hiking boots, extra layers, a headlamp, and a raincoat or waterproof jacket. Also, don’t skimp on the water; there aren’t many places to refill out there, so I’d suggest bringing at least 1–1.5L.
Tips for International Travelers
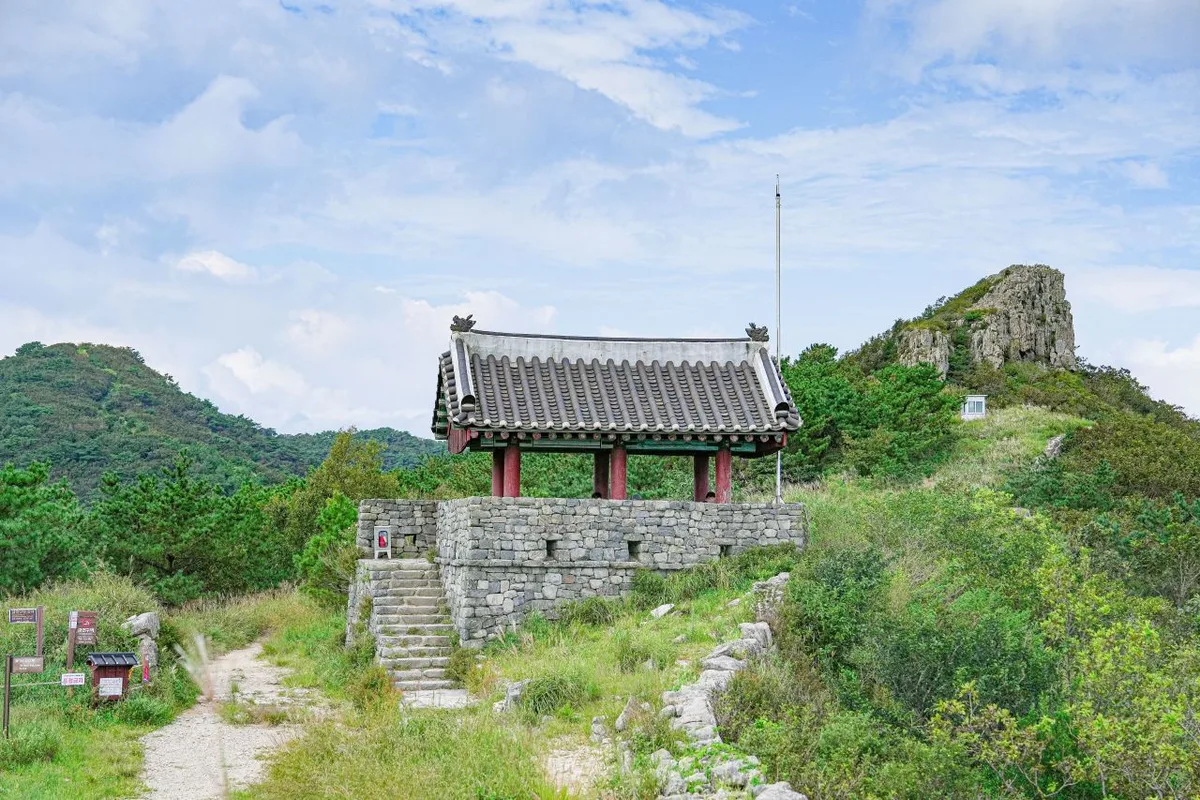 Photo: Korea Tourism Organization Photo Gallery (Geumseong-dong, Geumjeong-gu, Busan) · KOGL
The peak is Godangbong, and the mountain itself is Geumjeongsan. You won’t need any special permits or entrance fees to hike, but just a heads-up: temples like Beomeosa might charge a separate fee for visiting cultural sites, so be sure to check the signage on-site. As for facilities, you’ll find restrooms midway through Course 2 (the route from the Beomeosa parking lot to Godangbong). However, there are no water fountains registered on this route, so you’ll definitely need to pack your own drinking water. Also, a quick tip: Google Maps can be quite unreliable for hiking trails in Korea. It’s much safer to download KakaoMap or Naver Map ahead of time to check actual routes and public transport. Lastly, watch your step on the rocky sections near the summit to avoid slipping, and try to plan your departure so you aren’t caught trekking down after dark.
Other Mountains Nearby
- Silver grass plains and rocky ridge views, Ulsan’s Sinbulsan — approx. 29km straight line
- Granite ridges steeped in Buddhist history, Daegu’s Palgongsan — approx. 88km straight line
- Stone pillars lined up like a folding screen, Gwangju’s Mudeungsan — approx. 182km straight line
📍 Walking the Fortress Walls: Busan's Godangbong RidgeLocation
Contact: bumseok.view [at] gmail [dot] com
Comments