Mt. Hwaaksan (Gyeonggi): Gamaso Valley and Sajabawi Ridge
Hiking · Published 7/24/2026 ·
등산로 트랙·시설 (공공데이터: 전국등산로 공간정보) · 🚩시종점 💧음수대 👁️조망점 🏠대피소 🅿️주차장 ⚠️위험 · 지도 © OpenStreetMap ⤓ GPX 다운로드
At a glance
| Metric | Rating |
|---|---|
| Accessibility (public transit/parking) | ★★☆☆☆ |
| Trail difficulty | ★★☆☆☆ |
| Water/springs on the mountain | ★☆☆☆☆ |
| Overnight stay needed | ★★★☆☆ (if doing the full traverse) |
| Seasonal difficulty – Spring | ★★☆☆☆ |
| Seasonal difficulty – Summer | ★★★☆☆ |
| Seasonal difficulty – Fall | ★★☆☆☆ |
| Seasonal difficulty – Winter | ★★★★☆ |
※ Source: Korea Forest Service trail spatial data · accessibility and seasonal figures are for reference only
개요
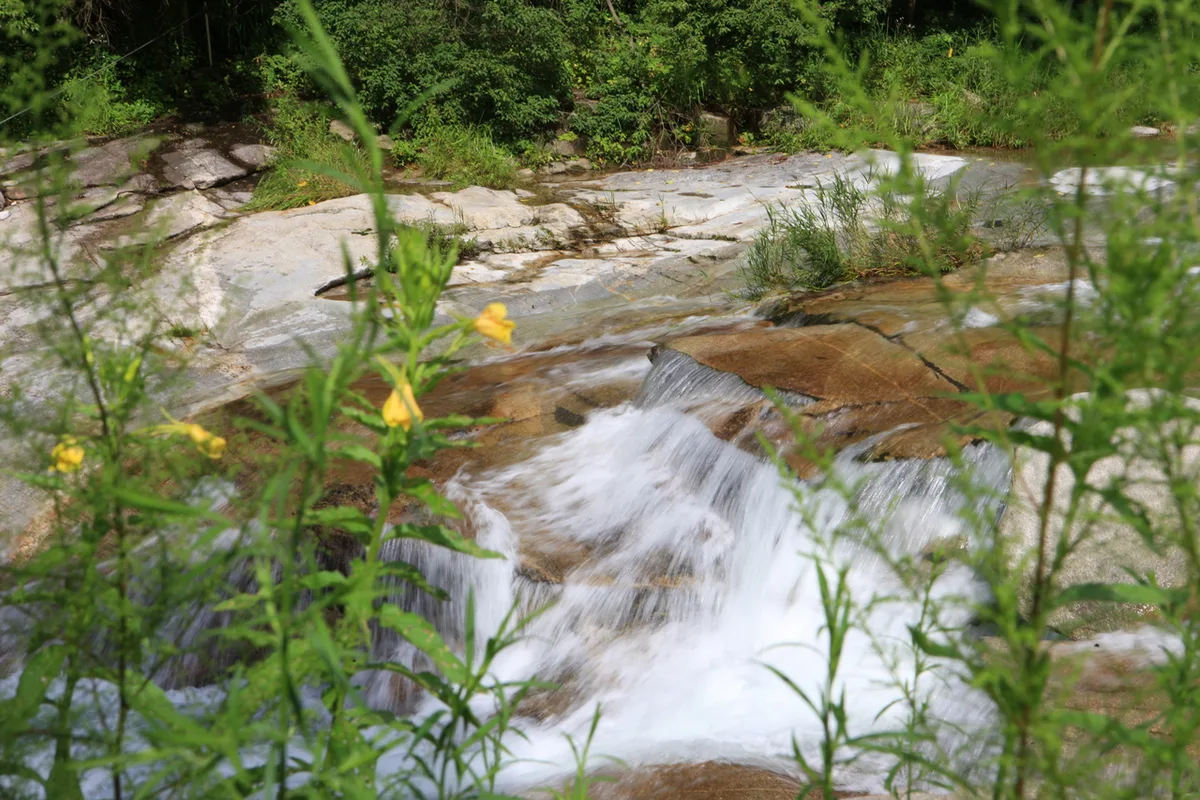 Photo: Korea Tourism Organization Photo Gallery (Gangwon-do Hwacheon) · KOGL
Hwaaksan sits right on the border between Gapyeong County in Gyeonggi-do and Hwacheon County in Gangwon-do, and it’s often counted among the tallest mountains in Gyeonggi. The official map height is widely listed as 1,468m, though GPS-tracked trail data puts the actual highest point near the summit closer to 1,474m. The very top is reportedly off-limits to civilians because of communications and military facilities up there, which is why most hikers aim for Jungbong (around 1,470m) instead of the true summit. The trail data officially rates it “easy,” but don’t let that fool you — the routes that actually get you up near the summit run 7 to 14km with 700 to 1,200-plus meters of elevation gain, so it’s a long, high-altitude haul that’ll wear you out. You can do it as a day trip, but budget plenty of time and pace yourself.
Terrain and Landscape
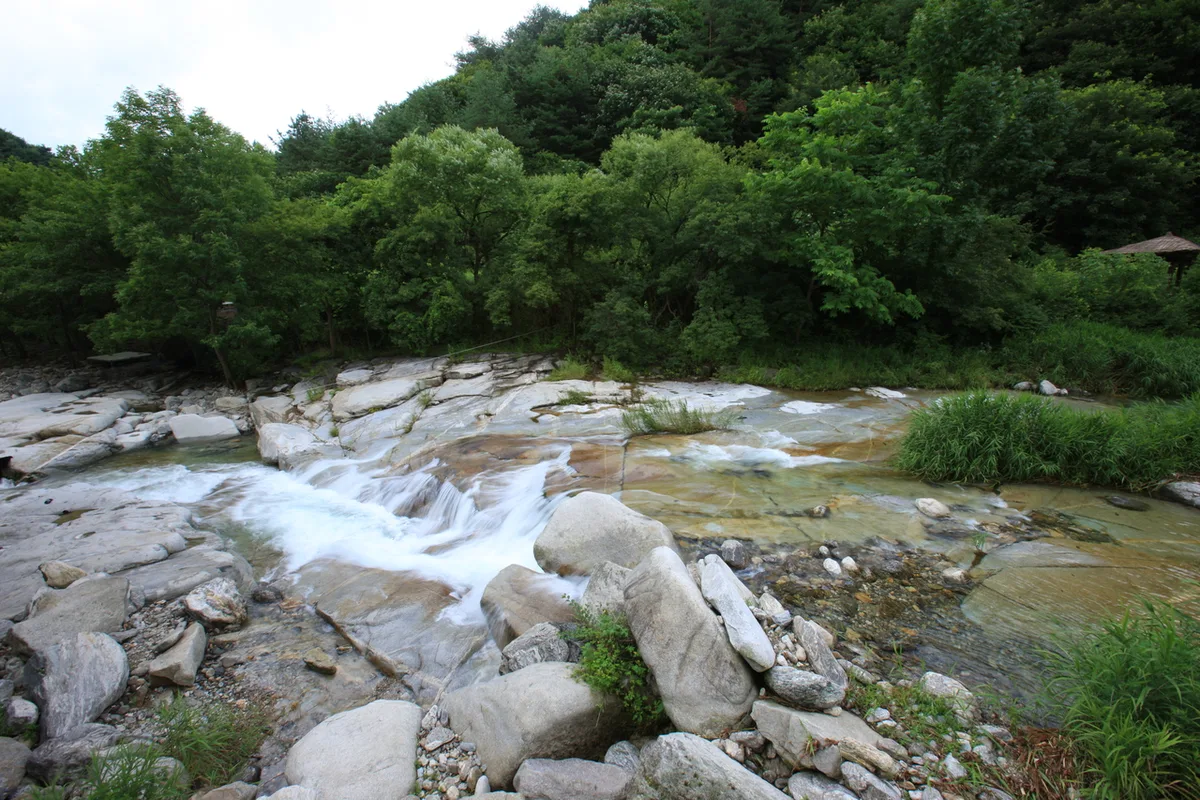 Photo: Korea Tourism Organization Photo Gallery (Hwacheon, Gangwon-do) · KOGL Type 1
Hwaaksan isn’t really a single peak — it’s more of a mountain cluster, a whole family of summits strung together along a ridgeline. Just looking at the peaks logged in the trail geodata gives you a sense of the scale: Chokdaebong (1,181m), Hwaaksan’s middle peak (1,470m), Sudeokbawibong (1,120m), Jungbong (1,442m), Aegibong (1,058m), the summit of Seokryongsan (1,161m), Peak 1100 (1,080m), and Seokryongsan itself (1,147m). That’s a lot of named high points, and it tells you just how long and how wildly the ridge twists and dips. Overall it’s mostly a soil mountain — soft, forested slopes rather than raw rock — but near the summit and scattered along the ridge you’ll run into rocky stretches and bare stone outcrops, so features like Sajabawi (Lion Rock) and Jeonmangam (Viewing Rock) pop up here and there along the course. Down in the valleys, the terrain gets shaped by water — spots like Gamaso Aurajji and Gamaso Falls give the lower reaches a real sense of flowing streams and pooled water, which is why people describe Hwaaksan’s character as ridge grandeur paired with valley coolness. The closer you get to the top, the steeper it climbs — classic layered, deep-mountain terrain — and up in the higher elevations you’ll even find stands of yew trees forming their own little alpine plant community.
What the Hike Feels Like
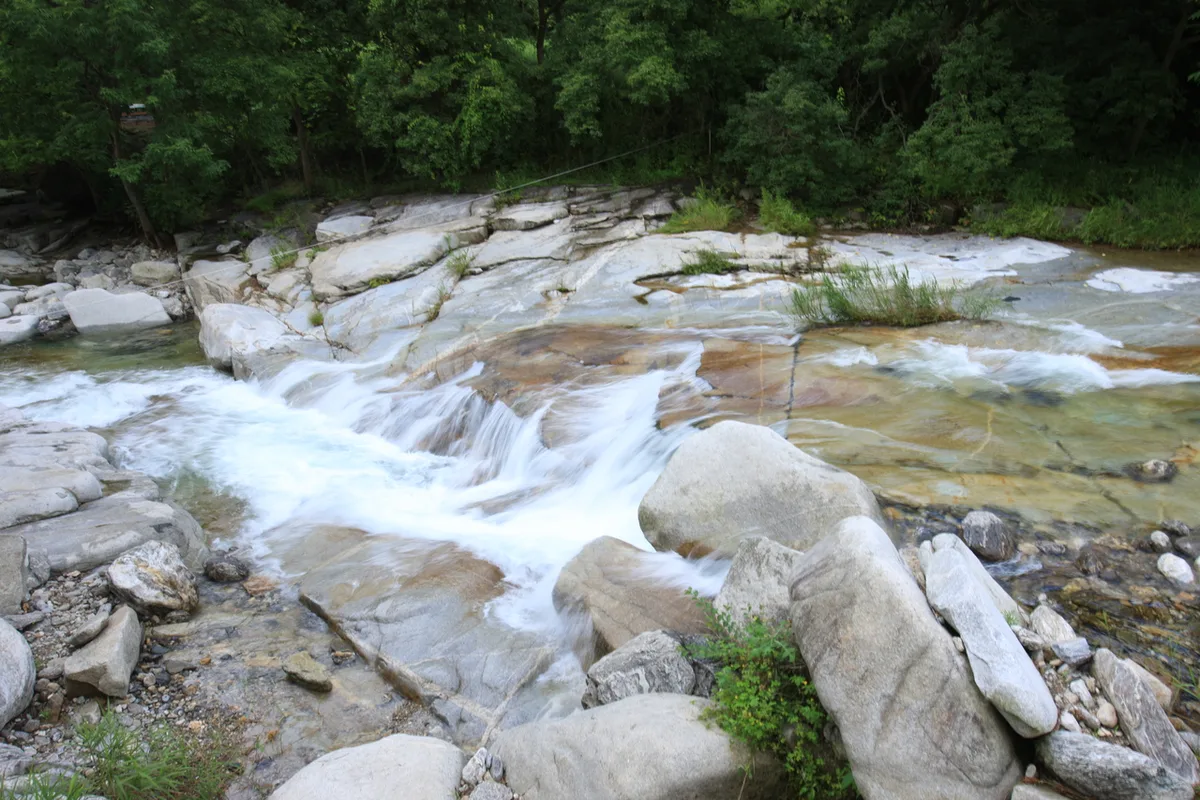 Photo: Korea Tourism Organization Photo Gallery (Gangwon-do, Hwacheon) · KOGL
Climbing Hwaaksan starts off gently — a mellow forest trail at the trailhead — before the real climbing kicks in around the midpoint, giving it that classic long-haul mountain hike feel. The lower stretches wind through dense broadleaf forest, shady and cool, with a stream burbling alongside you. Higher up, rocky sections and ridgeline trails start trading off, opening up into stretches with real views. In summer, the cool of the valley streams and the deep shade of the forest take the edge off the heat, but the humidity pushes up the effort level. Come autumn, the ridges turn brilliant with foliage, and this is really where the mountain’s views shine. In winter, snow and ice set in starting from the higher elevations, so you get that pure white winter-mountain atmosphere — but it demands more gear and more stamina to match. All told, this isn’t a quick, easy stroll — it’s the kind of mountain that asks for a full day and a real commitment.
Major Routes (by Trailhead)
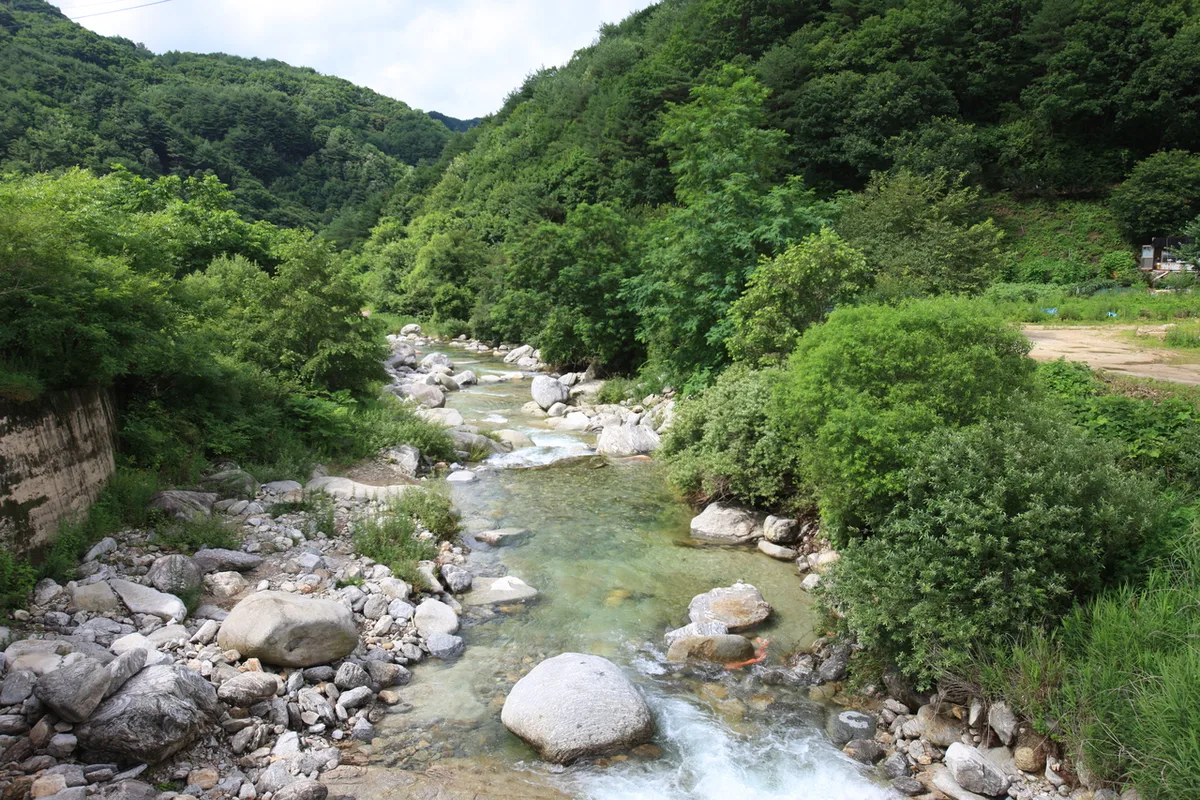 Photo: Korea Tourism Organization Photo Gallery (Hwacheon, Gangwon-do) · KOGL
According to the Korea Forest Service’s trail spatial data, Hwaaksan has a total of 48.91km of registered trails within its jurisdiction. That’s not the length of any single course — it’s the combined total of all trail segments in the area, broken down into four sections by administrative district as shown below. Most of these sections don’t actually have individual names, so it’s more accurate to think of them as administrative management units rather than named trails you’d actually walk.
| Section (by administrative district) | Total length | Difficulty | Surface |
|---|---|---|---|
| (unnamed section) | 35.04km | Easy | - |
| Hwaak-ri section | 9.89km | Easy | - |
| Jeokmok-ri section | 3.92km | Easy | - |
| Jiam-ri section | 0.06km | Easy | - |
※ The sections above represent total trail length aggregated by administrative district, not the distance of any individual hiking course. (Based on Korea Forest Service trail spatial data)
That said, based on actual GPX tracking data, there are 5 representative courses that hikers commonly take toward the summit area. Each entry below shows the real distance, elevation gain, and estimated time from trailhead to summit area, with popularity rated based on public transit access and frequency of use.
| Course (trailhead → summit) | Distance | Elevation gain | Est. time (one-way) | Difficulty | Popularity |
|---|---|---|---|---|---|
| Hwaaksan-ro Trailhead → Hwaaksan Jungbong | 7.69km | ↕1128m | ~3h 48m | ★★★★★ | ★★★★☆ |
| Tunnel Entrance → Observation Deck | 7.15km | ↕721m | ~2h 59m | ★★★★★ | ★★★☆☆ |
| Rainbow Bridge → Jungbong Summit View | 8.28km | ↕1186m | ~4h 3m | ★★★★★ | ★★★☆☆ |
| Fork → Aegibong | 11.09km | ↕1123m | ~4h 39m | ★★★★★ | ★★☆☆☆ |
| Fork → Hwaaksan Sinseonbong | 13.7km | ↕1063m | ~5h 12m | ★★★★★ | ★★☆☆☆ |
※ Source: Korea Mountain & Trekking Support Center’s Top 100 Mountains GPX data (distance, elevation, time, difficulty) · Popularity is a reference value only
Course 1 — Hwaaksan-ro Trailhead → Hwaaksan Jungbong (Mid Peak)
Route: Hwaaksan-ro trailhead → fork in the trail → waypoint 4 → waypoint 6 → waypoint 7 → Cheondogyo Hwaaksan Retreat shelter → Ongnyeotang → waypoint 12 → waypoint 14 → Hwaaksan Jungbong → yew colony → old oak tree
Getting to the trailhead: This trailhead sits along Hwaaksan-ro, and the usual way in is via the roads on the Gapyeong-gun side. There’s no dedicated parking lot nearby that I could confirm, so I’d recommend public transit or arranging a ride ahead of time — and it’s worth double-checking the exact approach on KakaoMap or Naver Map before you head out.
Highlights and who it’s for: Of the five courses, this one offers the best accessibility relative to its distance, and it’s one of the most popular routes up to the Hwaaksan summit area. You’ll pass Ongnyeotang, which gives you a nice taste of valley scenery, and the stretch later on through the yew colony and past the old oak tree is genuinely memorable. This is a good pick for hikers with solid stamina who want a short, intense climb straight up to the peak.
Course 2 — Tunnel Entrance → Overlook
Route: Hwaak Tunnel entrance → tunnel entrance → entrance parking → helipad → fork → overlook
Trailhead access: This course starts near Hwaak Tunnel, and since the entrance parking area shows up on the trail signage, it’s the relatively easier of the five courses to drive to. That said, there’s no record of it being an officially registered large parking lot, so depending on conditions on the day, you may need to park along the shoulder.
Highlights & who it suits: With a net elevation gain of 721m, this is one of the gentler of the five courses, making it a relatively manageable climb for a summit-area hike. There’s a stretch that passes through a helipad, which gives you a nice sense of open space, and at the overlook that caps off the route, you can expect good views of the surrounding ridgeline. It suits people who’d rather get a taste of the summit atmosphere on a shorter hike than commit to a long traverse.
Course 3 — Rainbow Bridge → Jungbong Summit View
Waypoints: Rainbow Bridge → Tiamo Pension → Gamaso Aurajji → Fork → Gamaso Falls Photo Spot → Gamaso Falls → Waypoint 12 → Autumn Foliage View → Rock → Lion Rock → Rock 3 → Rock 4 → Viewing Rock → Waypoint 31 → The Real Viewing Rock
Getting to the trailhead: This route starts near Rainbow Bridge, and since there are guesthouses and pensions (like Tiamo Pension) right at the entrance, it’s fairly easy to pinpoint. Driving in is really the only practical option — public transit won’t get you close — so check a map app ahead of time to nail down the exact access road.
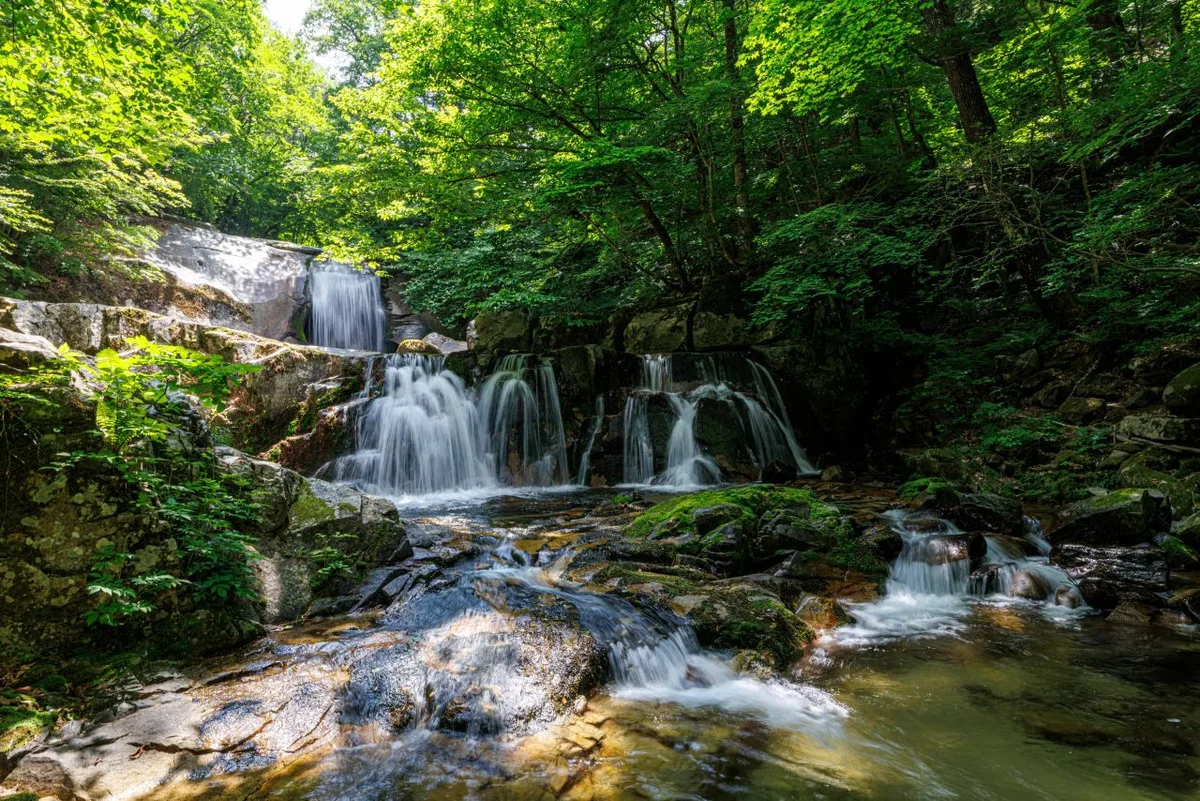
Highlights and who it’s for: The standout feature here is the run of valley and waterfall scenery right from the start — Gamaso Aurajji, Gamaso Falls, and more — making this the most valley-rich of all five courses. In the second half, rocky terrain and lookout points show up one after another, with Lion Rock and the Viewing Rock among them, giving you a taste of proper ridge-and-rock hiking too. That said, with so many rock sections, extra caution is needed in rain or icy conditions. All in all, it’s a great pick for hikers who want both valley views and rock scrambling in one hike.
Course 4 — Fork → Aegibong
Route: Fork → Waypoint 2 → Rock Formations → Ilsongjeong Viewpoint → Waypoint 17 → Aegibong → Gwancheonggyo
Trailhead access: Since this course starts at a “Fork” rather than a named trailhead, it looks like it branches off an existing trail rather than starting fresh. The endpoint sits near Gwancheonggyo (bridge), which connects to roads heading toward nearby Gwancheong village, so if you’re taking public transit, the bus stops in that area should get you there.
Highlights & who it’s for: At 11.09km, this is the second-longest of the five courses, and the stretch through the rock formations and past the Ilsongjeong viewpoint delivers Hwaaksan’s signature ridge views. A round trip takes real stamina and time, so an early start — or careful time management if you’re doing it in a single day — matters a lot. This one’s best suited to experienced hikers looking for something close to a full ridge traverse.
Course 5 — Fork in the Trail → Hwaaksan Sinseonbong
Route: Fork in the trail → Maebong (Eungbong) → Hwaaksan Sinseonbong → Ssamji Park → Ssamji Park gazebo → Giam (rock formation) → Waypoint 16 → Waypoint 17 → Waypoint 18 → Chokdaebong → Chokdaebong summit
Trailhead access: As with Course 4, this stretch is presumed to start from a fork on an existing trail, running a long ridgeline through Maebong (Eungbong) all the way to Sinseonbong and Chokdaebong. For getting to the trailhead and back down, it’s typical to plan around nearby village roads and bus stops.
Highlights & who it’s for: At 13.7 km, this is the longest of the five courses — a ridge-traverse route that strings together several peaks, including Maebong, Sinseonbong, and Chokdaebong. What sets it apart is the string of rest-stop spots along the way, like Ssamji Park and its gazebo, plus a rock formation (giam) that adds some visual variety. It can be done in a single day, but given the distance and time involved, it’s really better suited to hikers confident in their stamina — or to a group planning a more relaxed overnight traverse.
Difficulty, Trail Surface & Cautions
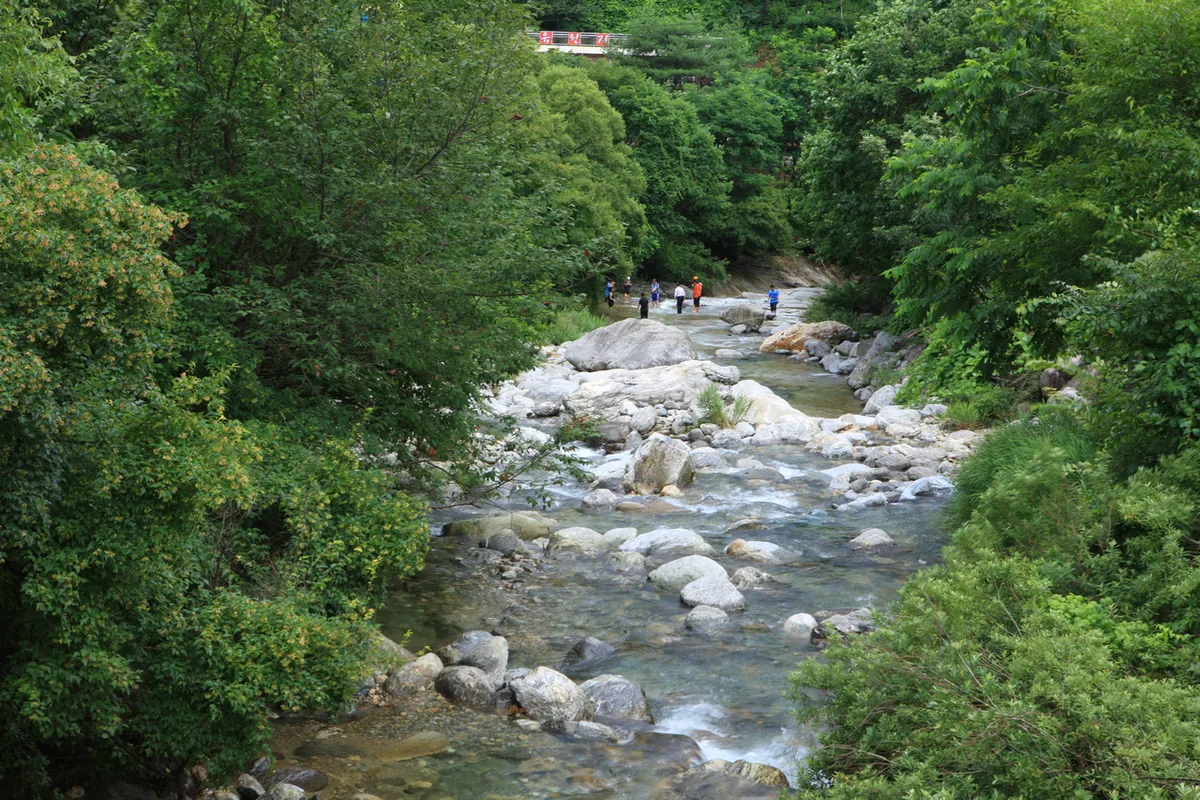 Photo: Korea Tourism Organization Photo Gallery (Hwacheon, Gangwon-do) · Public Nuri
According to the Korea Forest Service’s trail geospatial data, the trails within Hwaakan are officially rated “Easy” — but that classification covers the entire trail network in the area, including the low-elevation approach paths, not the summit routes themselves. The five summit-area courses introduced above are, based on actual measured distance and elevation gain, all top-tier difficulty (★★★★★) and genuinely demanding on the legs. There’s no separate detailed data on trail surface conditions, but looking at the waypoint markers for each course, quite a few points reference rock features — Lion Rock, various boulders, viewing rocks, and oddly-shaped rock formations — so in practice you should expect a mix of dirt path and exposed rock. Course 3 in particular (Rainbow Bridge → Jungbong Peak View) has a stretch of continuous rock sections, which gets genuinely slippery on rainy days, in autumn when fallen leaves pile up, or in late autumn through winter as the ground starts to freeze — worth being extra careful there. The public data flags one known hazard zone along the trail, so wherever you see warning signs or trail ribbons marking a section, make sure to check the warning and follow the detour or safety instructions. On the other hand, while no points are formally registered as designated viewpoints, the course waypoints do mention several lookout-type spots — “observation deck,” “viewing rock,” “Ilsongjeong viewpoint,” and the like — suggesting the real scenic spots are simply scattered throughout the course rather than officially marked.
Distance & Time Required
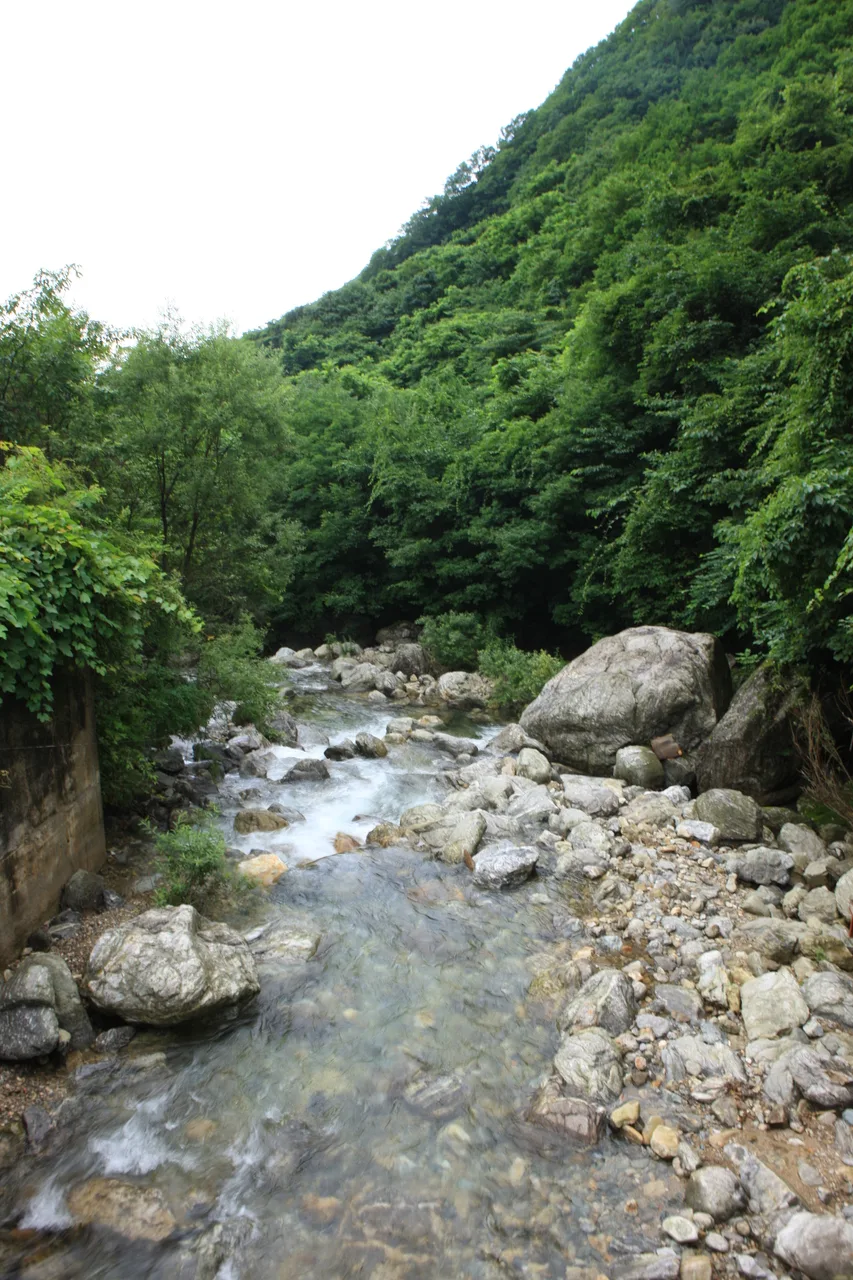 Photo: Korea Tourism Organization photo gallery (Gangwon-do, Hwacheon) · KOGL Type 1
The peak-area course on Hwaaksan takes anywhere from about 3 hours one-way at the shortest (Tunnel Entrance → Viewpoint) to as much as 5 hours 12 minutes at the longest (Fork → Hwaaksan Sinseonbong). Round-trip, that works out to roughly 6 hours for the shorter option and potentially over 10 hours for the longer one — a day hike is doable, but you’ll want an early start and plenty of buffer time for the descent. If you look at the cumulative data for the entire trail network in the area (48.91 km across all sections combined), the totals come out to 1,001 minutes ascending and 694 minutes descending — but that’s the sum across multiple separate sections, not the time for any single course, so don’t mistake it for one route’s duration. Converting that cumulative figure into a per-distance pace works out to roughly 20 minutes per km on the way up, which reflects an average blend of gentle stretches and steep climbs. Worth keeping in mind: on courses with a bigger elevation gain and longer distance, the actual time it takes can run longer than the GPX-based estimate above, so it’s safer to use that pace figure as a general reference rather than a strict prediction. A day hike covering the peak-area course round-trip is entirely feasible, but if you’re planning a longer ridge traverse linking multiple peaks (say, combining the long-distance ridge courses like Course 4 and 5), keep in mind there’s no confirmed mountain hut or shelter along the way — it’s safer to book nearby lodging in advance and plan for an overnight stay.
Getting There (Public Transit & Parking)
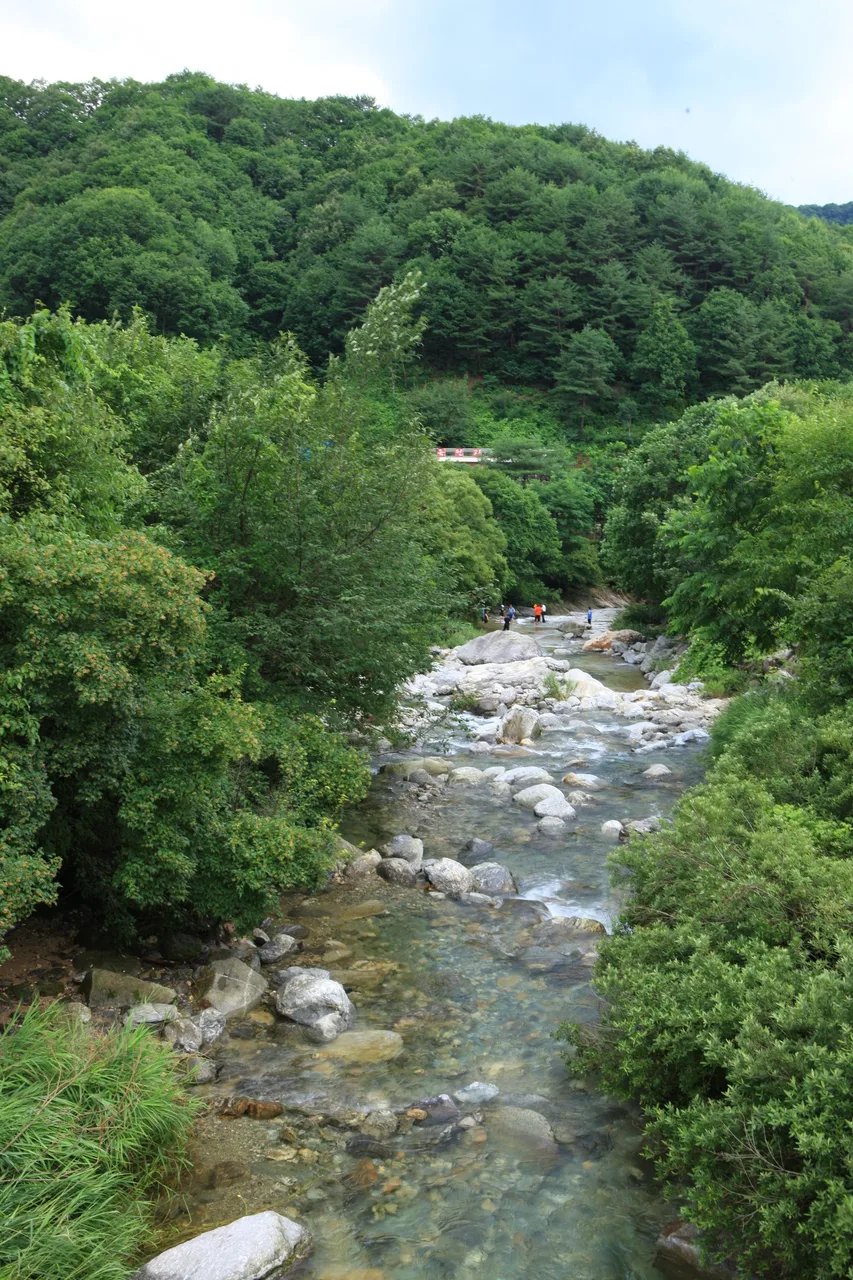 Photo: Korea Tourism Organization Photo Gallery (Gangwon-do, Hwacheon) · KOGL
Mt. Hwaaksan isn’t served by a direct subway line from Seoul, so most hikers take the Gyeongchun Line (boarding at Cheongnyangni, Sangbong, etc.) to Gapyeong Station or Gangchon Station, then transfer to a Gapyeong-gun local bus toward the mountain. Near the actual trailheads you’ll find bus stops like Wangsonamu, Gwancheong Village, and Geondeulle Jongjeom, so it’s worth planning your transfers around these stops. That said, buses heading toward Hwaaksan tend to run on sparse rural schedules, so check the Gapyeong-gun bus timetable ahead of time and plan your descent around the last bus. As for parking, the trail’s spatial data doesn’t show any officially registered lots in the area (aside from the “entrance parking lot” marker on Course 2), so if you’re driving, you’ll likely need to rely on roadside shoulders or open ground near the villages. For the exact access road, real-time traffic, and parking availability, it’s best to search the destination directly in KakaoMap or Naver Map — and since mountain-area navigation can sometimes diverge from the actual roads, keep an eye on the local signage as well.
Season, Weather, and Gear
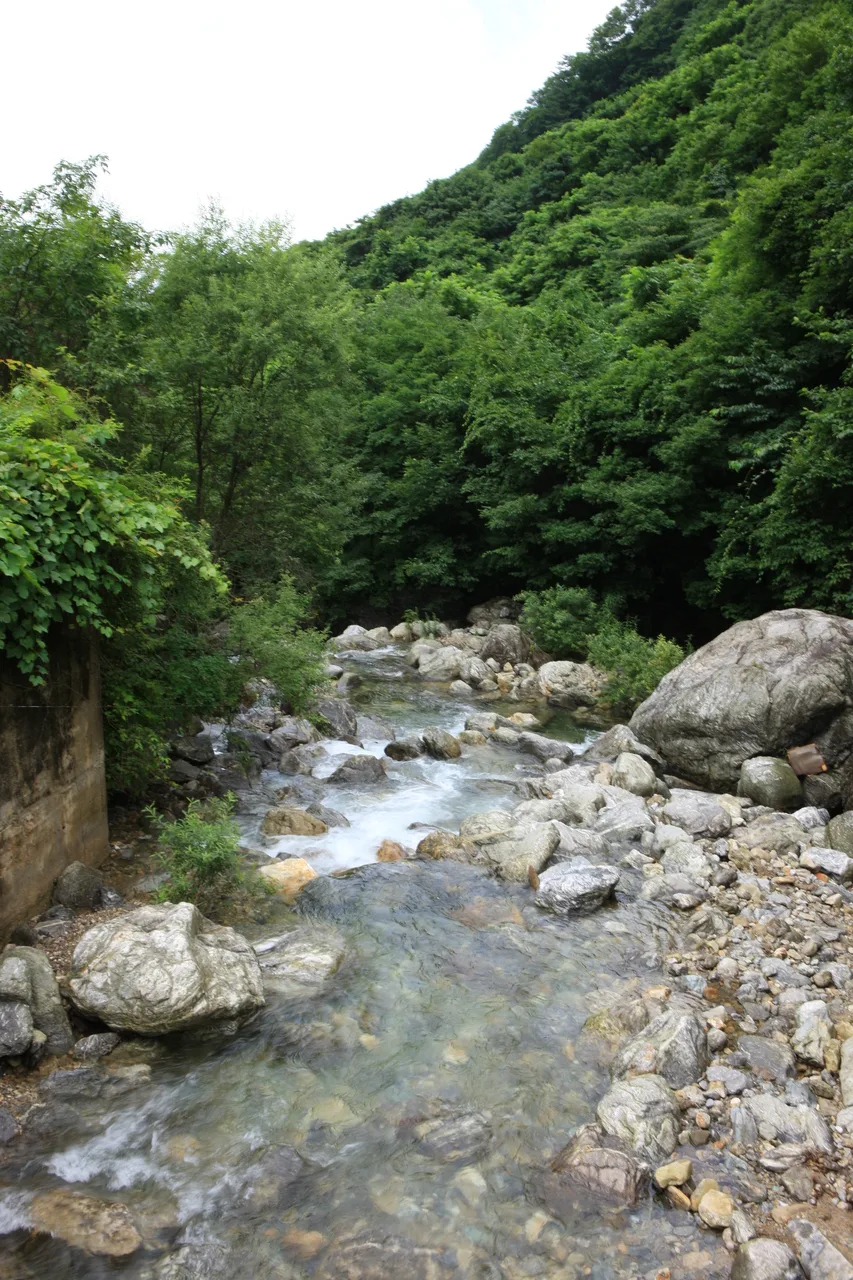 Photo: Korea Tourism Organization Photo Gallery (Hwacheon, Gangwon-do) · KOGL Type 1
The best seasons for hiking Hwaaksan are late spring, when the fresh greenery fills in, and fall, when the foliage peaks. In spring, the azalea clusters near the trailhead are worth the trip, but watch out for rockfall during the thaw and muddy footing underfoot. Summer brings heavier water volume in the valleys and higher humidity, which makes the trails feel tougher than their numbers suggest — during heavy rain, it’s safest to skip the valley routes (like the Rainbow Bridge course) altogether. Fall is when all five routes hit peak condition, thanks to the foliage and mild temperatures, though you’ll want an early start on weekends when the crowds show up. In winter, snow and ice set in fast starting from the higher elevations, and the ridgeline winds pick up considerably — I’d hold off on the summit routes unless you’ve got crampons, gaiters, and proper cold-weather gear. Across all seasons, it’s worth carrying hiking boots, trekking poles, extra water (there’s no confirmed water source along the trail, so bring at least 1.5–2 liters), emergency food, a headlamp, and a rain shell or windbreaker. In winter, add crampons plus a warm hat and gloves to that list.
Hiking Tips for Foreign Visitors
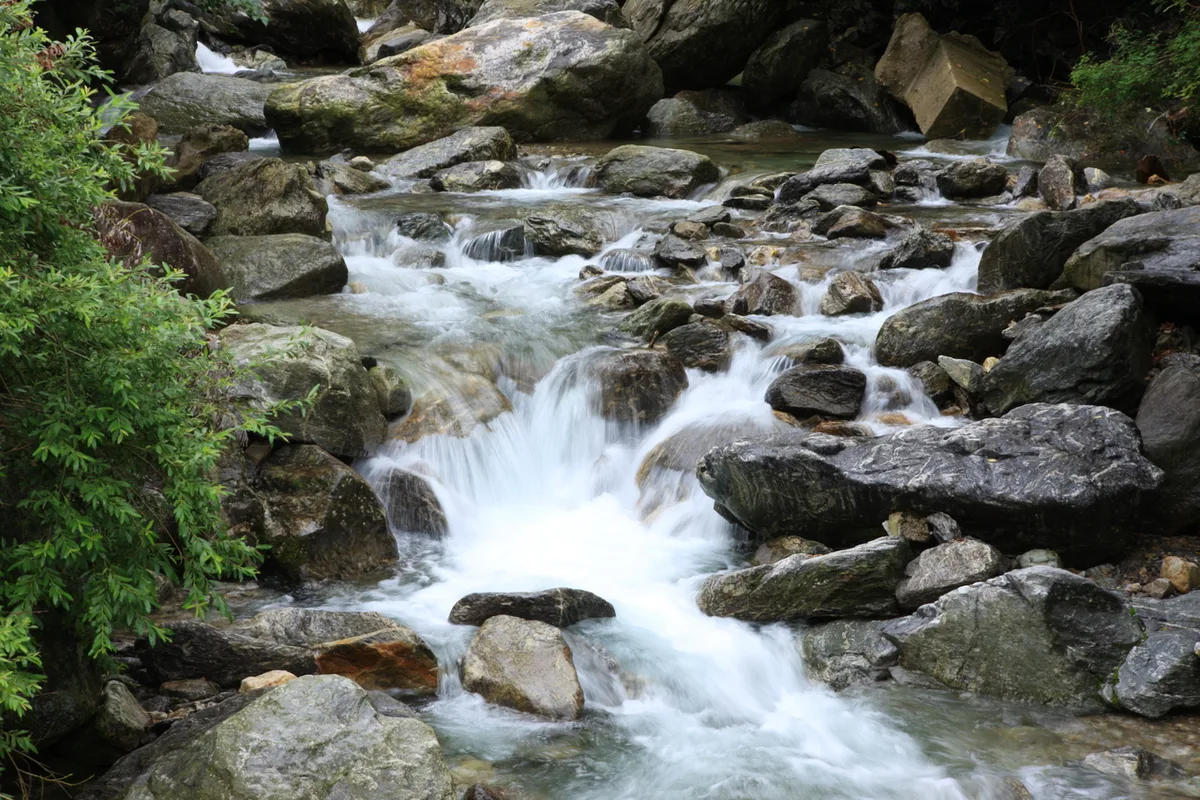 Photo: Korea Tourism Organization Photo Gallery (Hwacheon, Gangwon-do) · Public Nuri License
Hwaaksan is romanized as “Hwaaksan” (or “Mount Hwaak”) in English, and the main peaks are typically rendered as Jungbong, Sinseonbong, Aegibong, Chokdaebong, and Seokryongsan. Since Hwaaksan isn’t a national park, there doesn’t appear to be any formal entry permit or admission fee, but part of the summit area is reportedly off-limits to civilians due to communications and military facilities up there, so be sure to follow the posted signs and barriers on-site. Public data doesn’t show any restrooms or drinking water stations along the trail, so it’s essential to use the restroom beforehand in a nearby village or at a bus stop (near Wangsolnamu, Gwancheong Village, or the Geondeulle terminus) and bring plenty of water with you. For navigation, Google Maps often gives inaccurate road and transit info within Korea, so it’s worth installing KakaoMap or Naver Map instead for real-time directions and bus schedules. Safety-wise, there’s one known hazardous spot along the trail, so stick to the marked path — and since the summit route can take 3 to 5+ hours one way, it’s a good idea to bring your phone fully charged (plus a power bank), download offline maps in advance, and let someone — a friend or your accommodation — know your hiking plan before you head out.
Other nearby mountains
- Chuncheon’s Samaksan, the granite sawtooth ridge overlooking Uiamho Lake — about 13km away as the crow flies
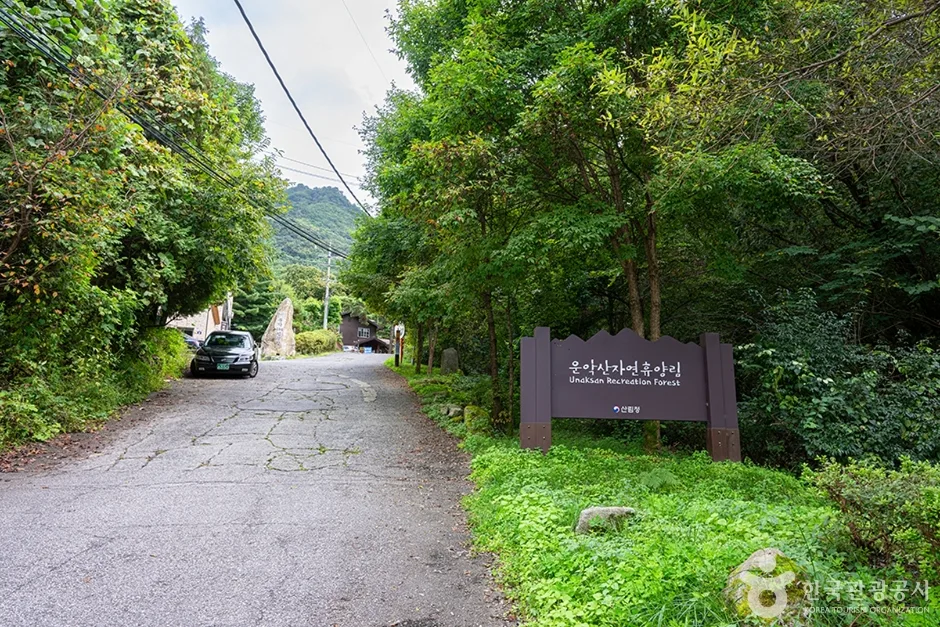
- Pocheon’s Unaksan in Gyeonggi, with its Eyebrow Rock and Screen Rock crags — about 20km away as the crow flies
📍 Mt. Hwaaksan (Gyeonggi): Gamaso Valley and Sajabawi RidgeLocation
Contact: bumseok.view [at] gmail [dot] com
Comments