Jirisan Seongjung Traverse: Lessons From a Failed Single-Day Attempt
Cycling · Published 8/16/2023 ·
Previous image Next image
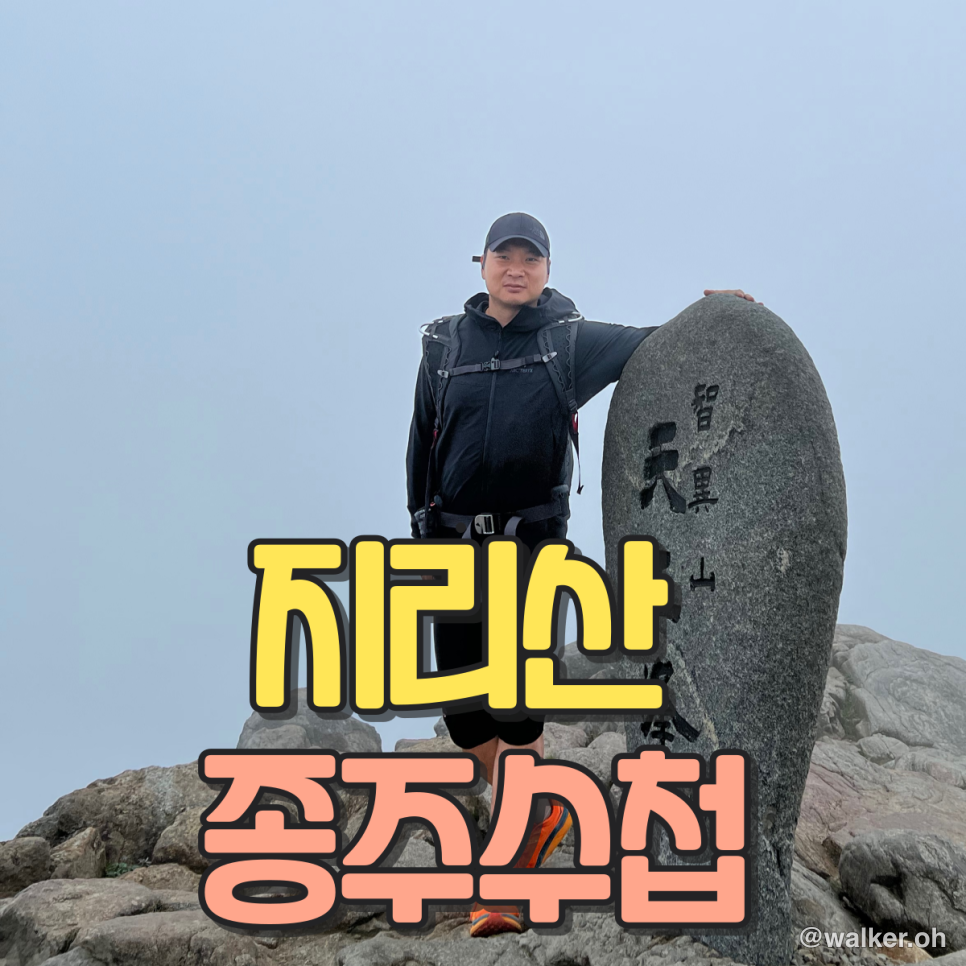
Jirisan is a magnificent, celebrated mountain that’s home to Cheonwangbong (1,915m), the highest peak on the South Korean mainland. There’s a long route through Jirisan National Park that runs from the South Jeolla section into the North Jeolla section and on to Sancheong County in South Gyeongsang, and hiking the whole thing is called a “traverse.” The two best-known traverses are the Hwadae traverse (Hwaeomsa to Daewonsa, roughly 48km) and the Seongjung traverse (Seongsamjae to Jungsanri, roughly 35km), and there are plenty of other routes besides. I’d been to Jirisan several times before, and I wanted to go back one more time.
Preparation
I kept up cardio for two weeks beforehand. I did two rides of about 80km on the bike, and I kept running too. I also paid close attention to my pack setup to keep the weight down as much as possible. I packed more than 3,000 kcal of trail food, swapped in a fresh battery for my headlamp, and brought a spare battery as well. I made sure to pack ion drinks like Pocari Sweat too.
Trail food: 3,000 kcal
Headlamp
The lightest pack I could manage: Black Diamond Distance 15
Trail running poles
First-aid kit for injuries: digestive meds, Tylenol, adhesive pain patches, spray-on pain relief
Phone power bank
A little cash
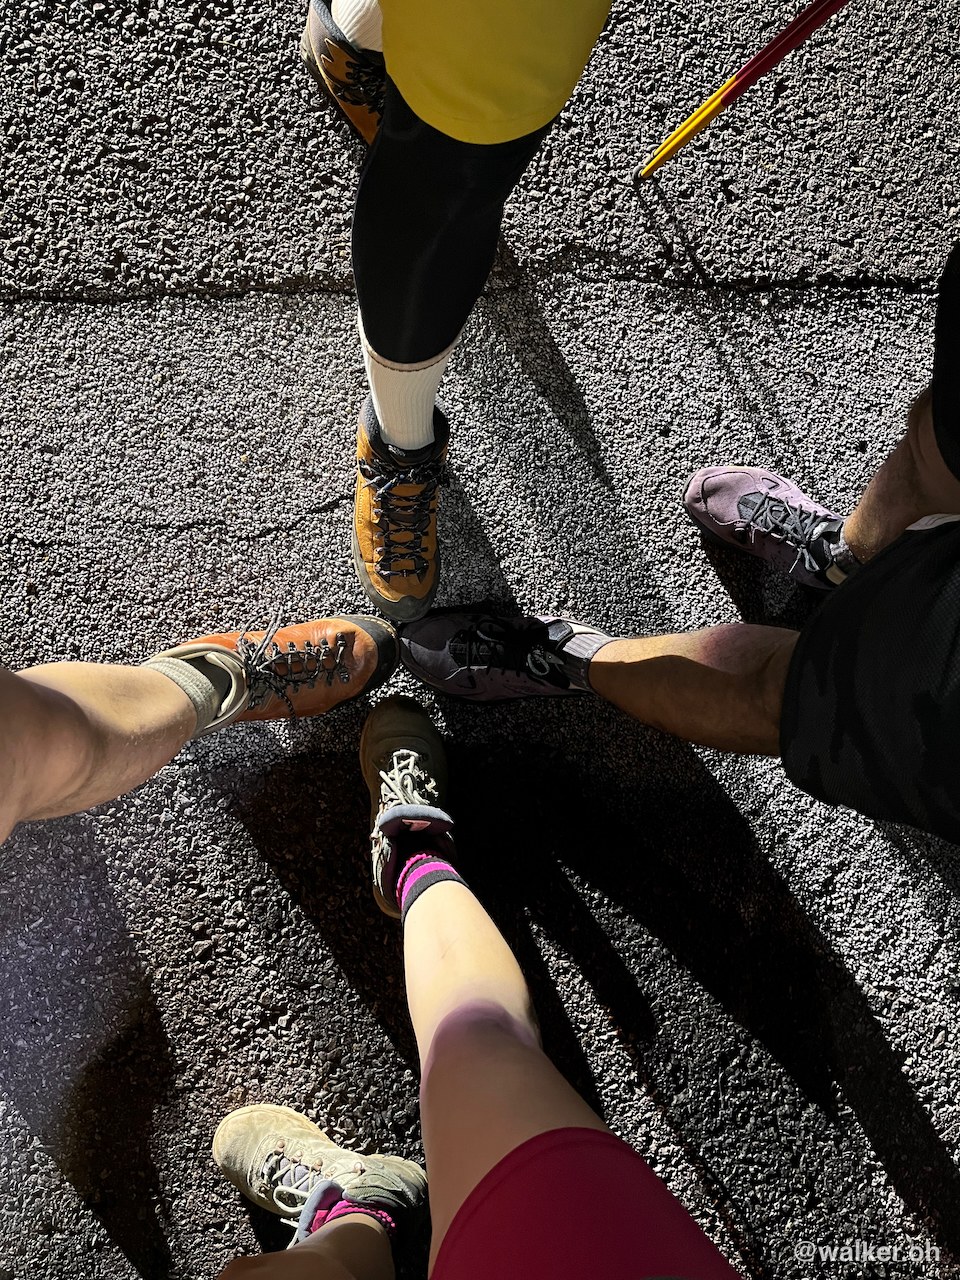
Getting there and transportation
There were four of us total, and we went through a guided hiking club. It was a guided bus running the Sadang Station departure, Seongsamjae drop-off, Jungsanri pickup, and Sadang Station drop-off route, and it cost a little over 60,000 won. They didn’t hand out gimbap or water — the bus just got you there, nothing more. You can charge your devices a bit on the bus, but the port is USB-A, so the C-to-C cables that come with newer phones are hard to use. It was a new Kia bus, but it still has those old-school ports. I guess they still figure USB-A is the universal standard.
Knowing the course
Generally, time estimates in the national parks seem to be based on a pace of about 1.8 km/h. For most outings that’s about right, but a single-day traverse meant moving at least 30% faster than that. So I worked out the timing, downloaded the GPX file, loaded it onto my Garmin Enduro 2, and went from there. The ClimbPro feature was a huge help on the hike. I’d done this course several times, but one of our group was a first-timer who needed some guidance, and the world’s a better place now — I could tell everyone how many meters were left on the next climb, what the gradient was, and so on as we went. It worked out really well.
Why it didn’t work out…
Running out of energy — a single-day traverse is a whole different beast from a two-day traverse when it comes to how much it drains you and how fast you need to recover. The Seongsamjae–Jungsanri stretch has 24 climbs in total; some you knock out in a few minutes, but plenty drag on for more than 20 minutes, and there are sections steeper than 30%. We needed climb training and stair-climbing training, but none of us — myself included — had put in that work.
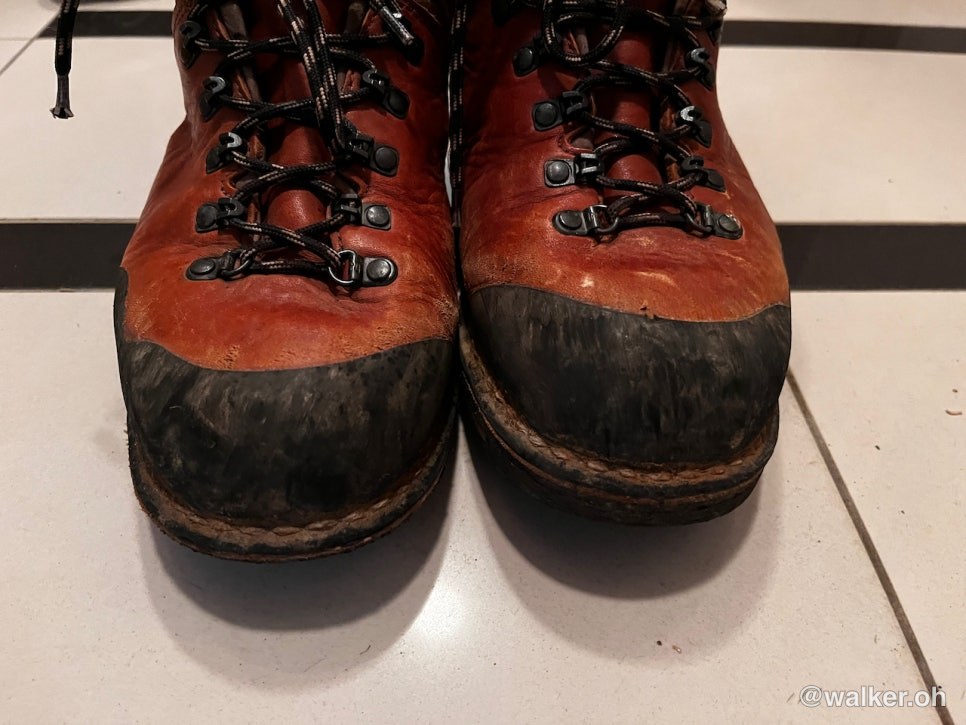
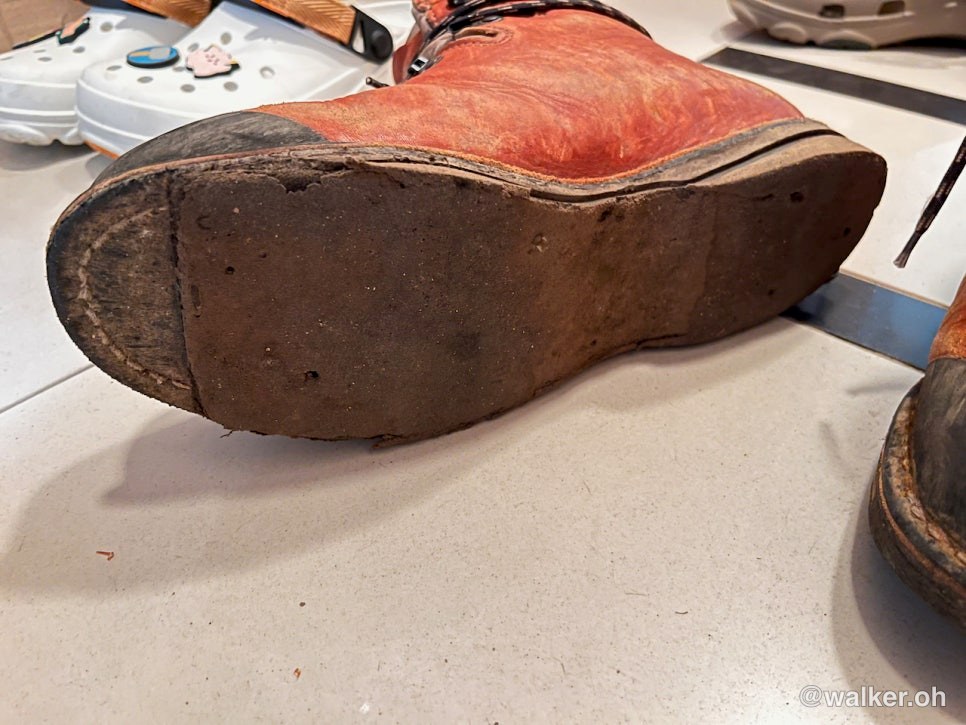
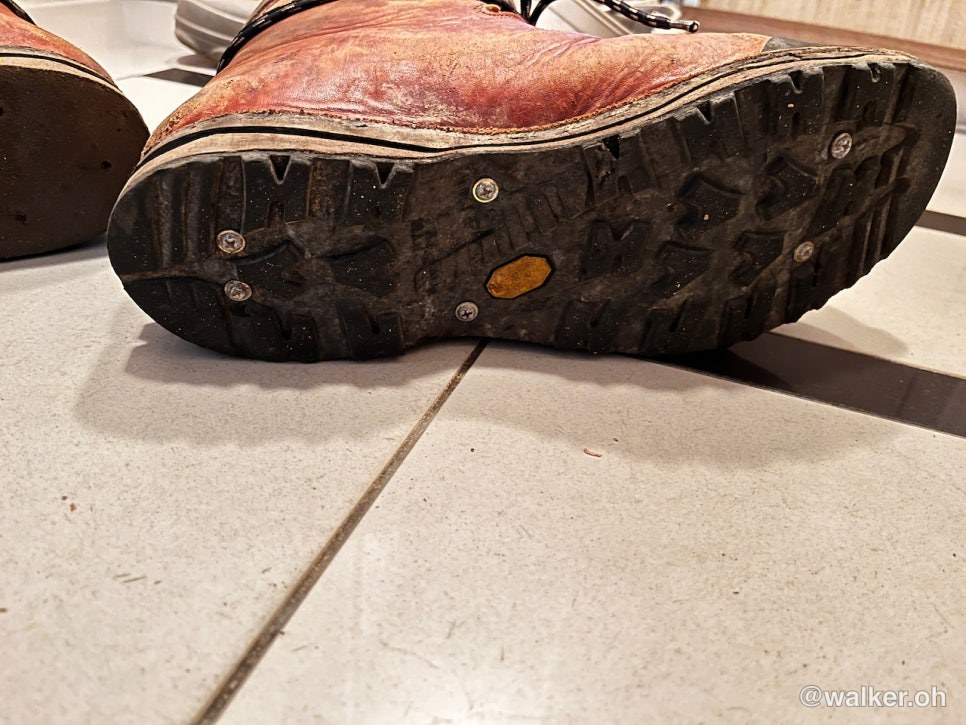
Inadequate gear — my hiking boots were about 10 years old. They looked plenty worn on the outside, but the leather was still fine and there was still tread left, so I just wore them, and that was the mistake. The grip and midsole portions of the outsole disintegrated and came off from hydrolysis. It happened before we even reached the Yeonhacheon shelter; as an emergency fix, a national park ranger at Yeonhacheon screwed the sole back on and lashed it with cable ties… but it came off again before we even reached the next shelter. After that I couldn’t walk with my usual gait — I had to keep lifting my right knee higher than normal with each step, which led to fatigue, cramps, slower pace, and all sorts of problems.
Hiking boots may not have been the answer at all. There’s more running involved than you’d think, and the Zamberlan Tofane — about 1kg per boot — eats up a lot of your energy. I started thinking trail running shoes might actually have been the right call. The Hwadae traverse team that rode the same bus that day didn’t all finish either, but most of them were dressed in super-thin vest-style packs and trail running shoes. They were running hard with just two silicone water bottles strapped on, traveling really light, while I was stuck with gear and clothing that was neither one thing nor the other.
No long LSD training — looking back, I can’t really say I’d gotten my body ready. It’s an off-road course of at least 34km — if you want to be generous, it’s about the feel of a full marathon. There was no way riding the bike a few times and dropping 4kg was going to get me through it. I need to put in more training day to day.
Not enough rest — like most people would, I have a regular job, and we left on a Friday evening. It’s not my usual bedtime, and no matter how nice a limousine bus is, it’s still less comfortable than a bed. On departure day, you really want to avoid coffee all day so you get sleepy and tired enough to actually sleep on the bus…
The bailout…
For anyone preparing for a single-day Seongjung traverse or the Hwadae traverse, I’d urge you to prepare a lot more than you think you need to. For starters, Seongsamjae itself sits above 1,000m of elevation. From that height it takes at least 3 hours just to bail out, and even the fastest escape route, Seseok shelter to Georim village, is 6km. With almost nothing left in the tank and plenty of fatigue piled up in your thighs and calves, those 6km become a battle of pure willpower — your physical strength is already at zero. What I’m saying is, even bailing out isn’t easy.

Here are the times for each section.
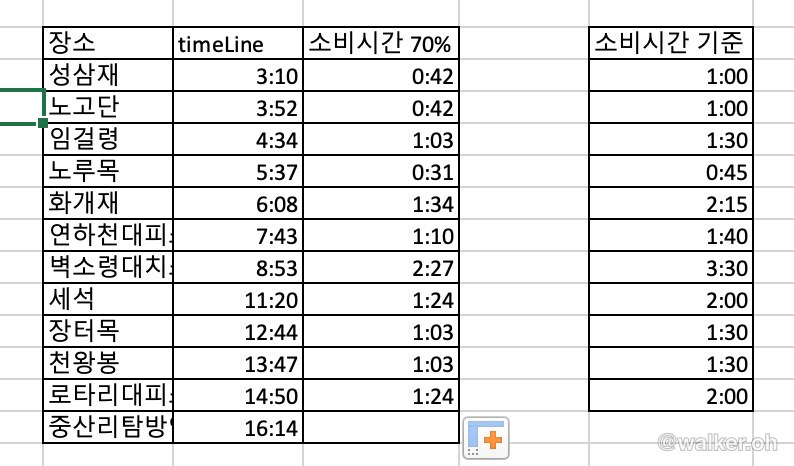
These are the times our team estimated. The section times above are based on the time-spent column on the right, and the left column is our — ambitious? — plan to move 30% faster. The guided bus pickup was at 17:30, so the idea was “We’ll be down in time for a glass of makgeolli!!” — a completely absurd scenario. But the benchmark for success is that the times in the left column should roughly hold up; if anything you want to be faster, never slower.
Previous image Next image
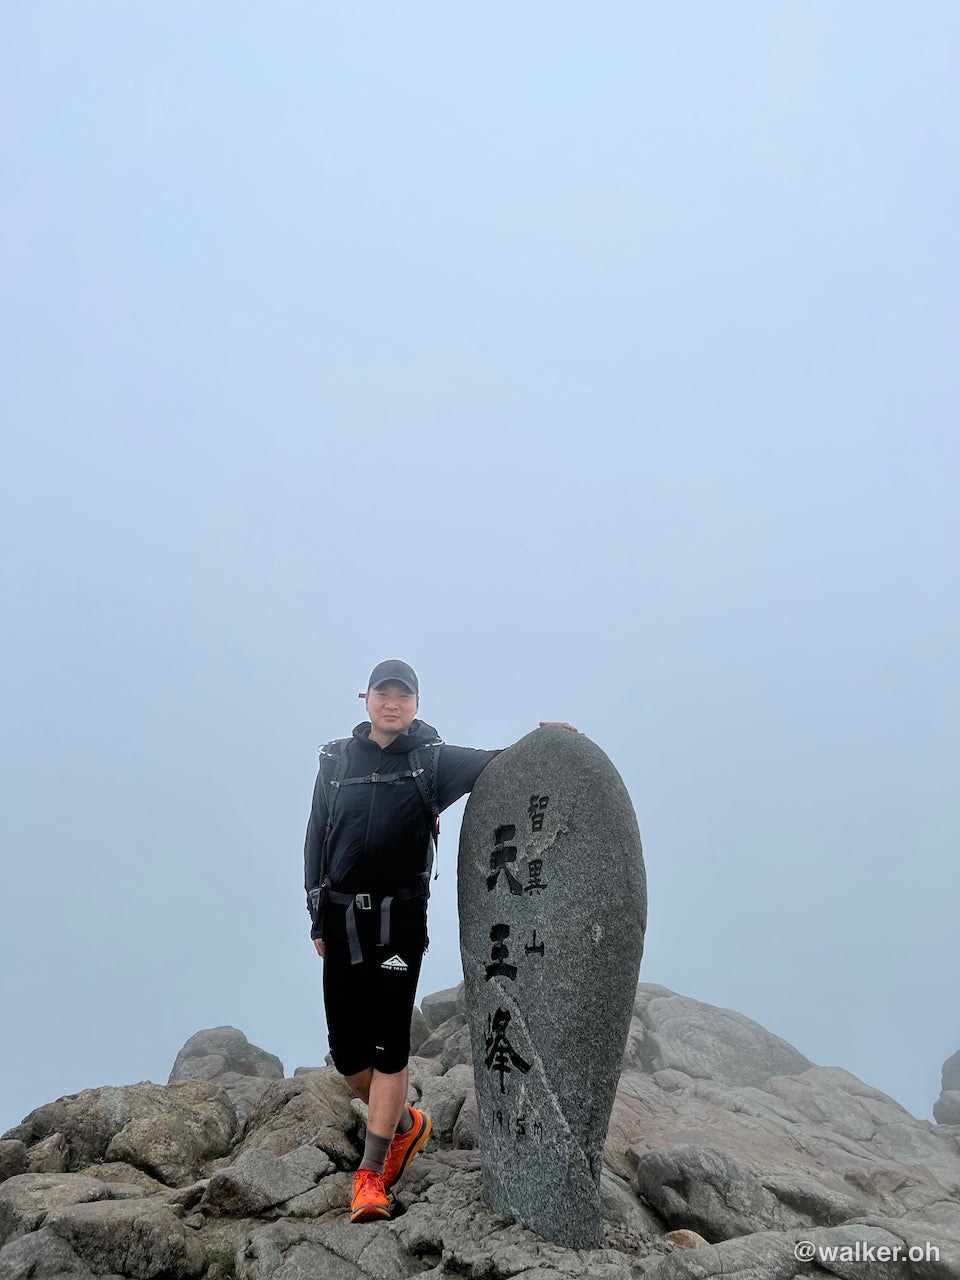
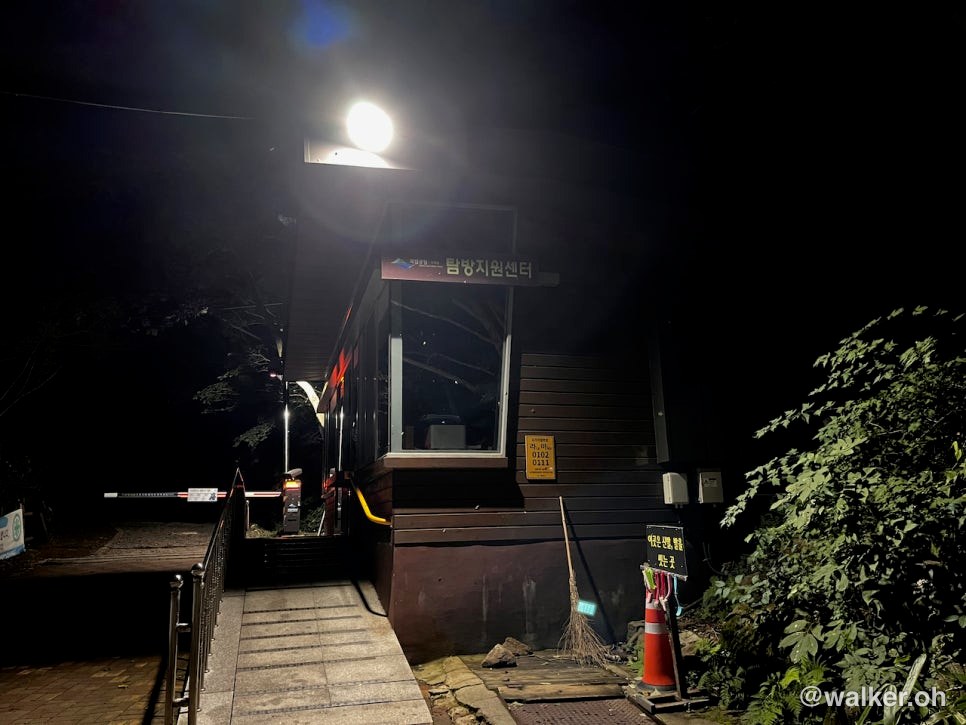
I’ve been to the entrance of Jirisan more than five times now, but there’s always something that makes my heart swell. It’s a truly wonderful place.
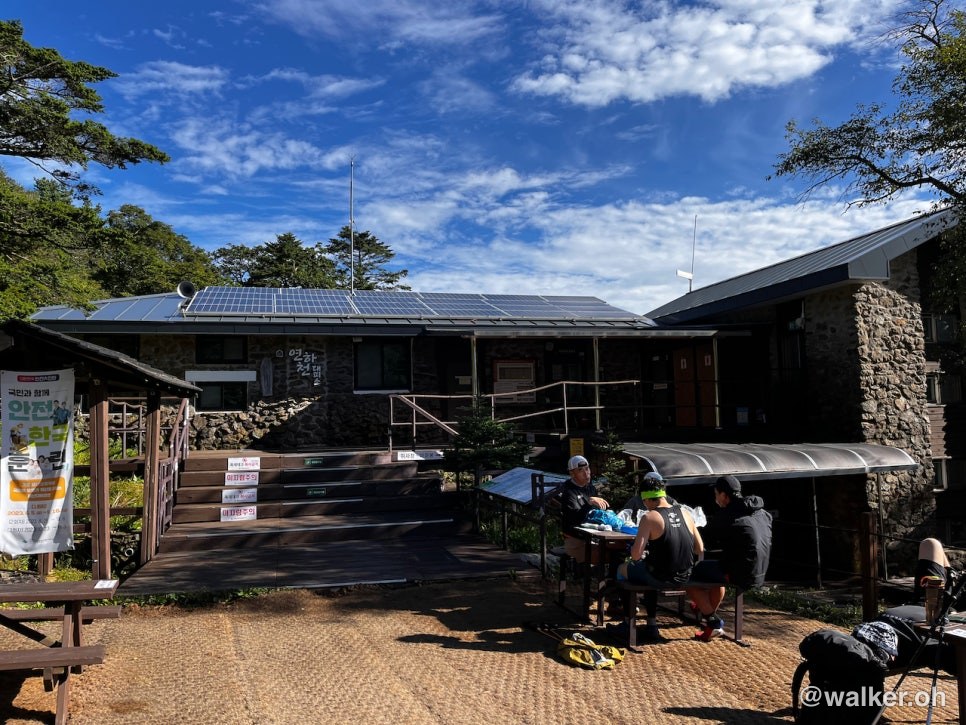
A big thank-you to the staff at the Yeonhacheon shelter who patched up my boot so well. If they hadn’t managed even that temporary repair, I don’t think I’d have been able to bail out to Georim.
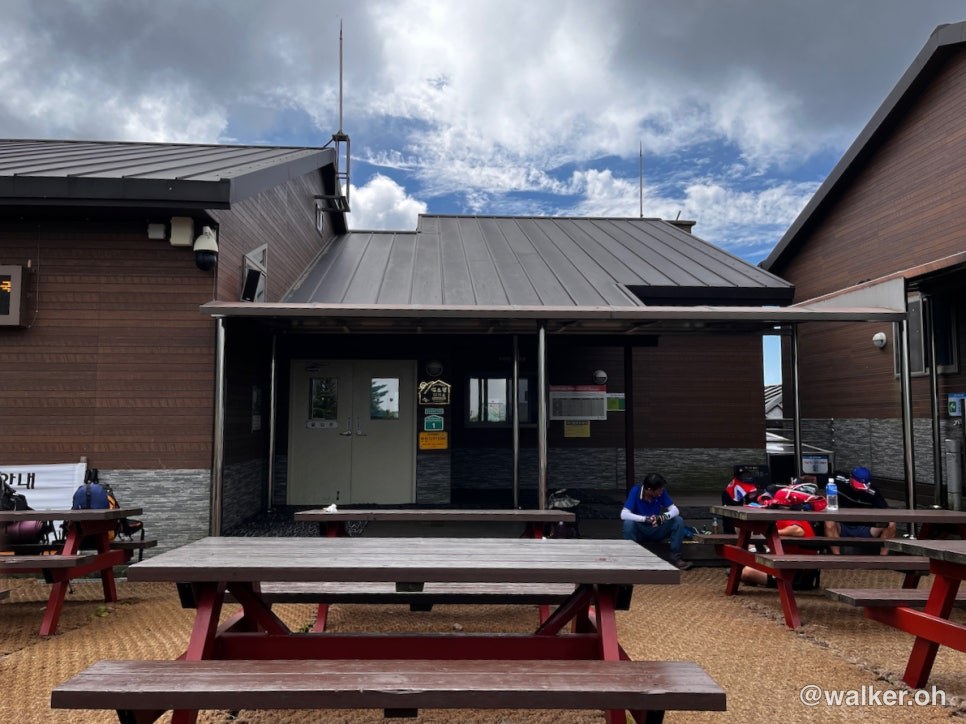
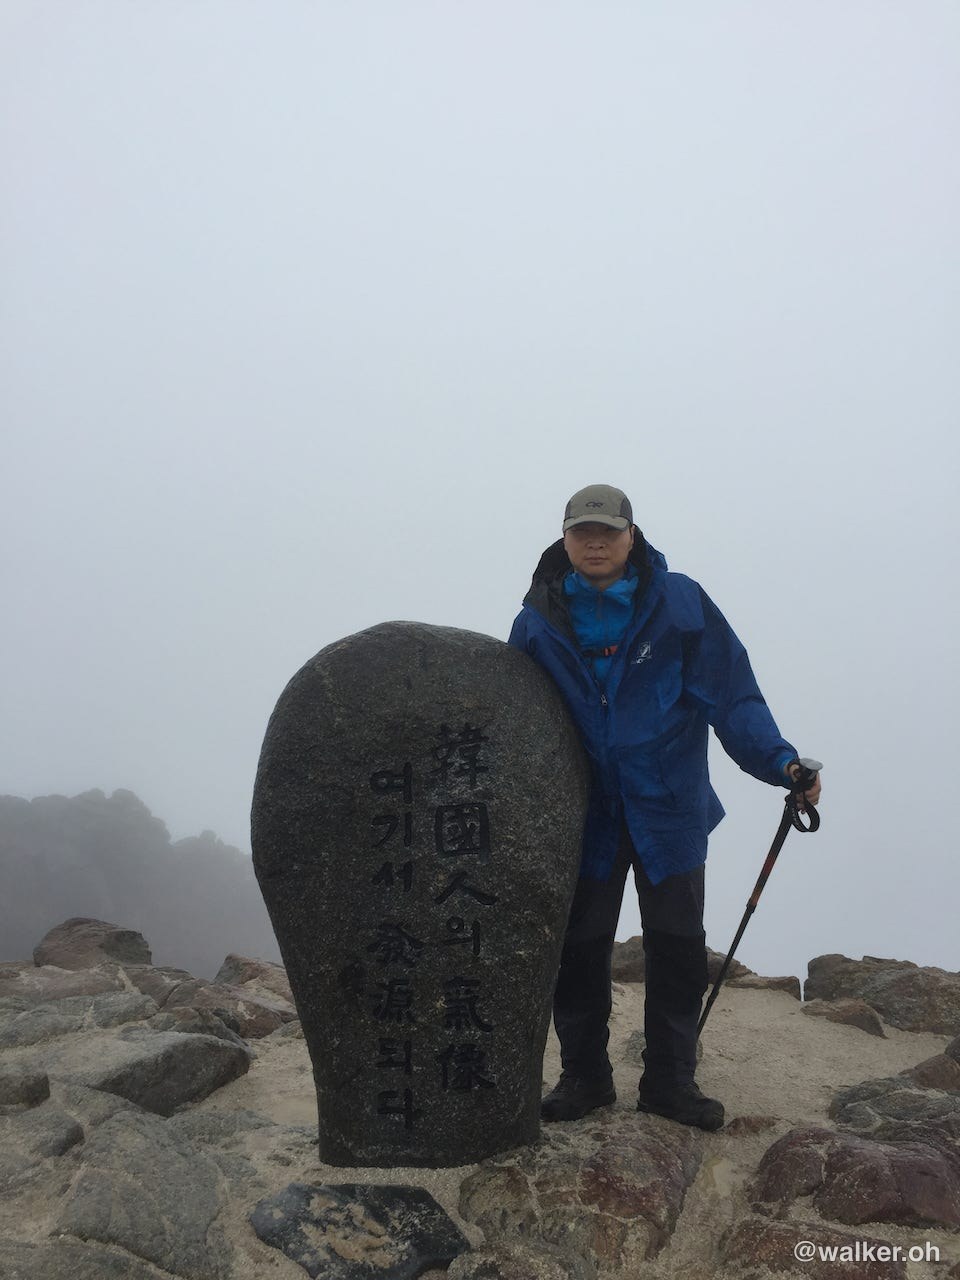
This is the Byeoksoryeong shelter. Time-wise, we did actually make it to Byeoksoryeong on schedule, but my boot sole was coming off again.
Previous image Next image
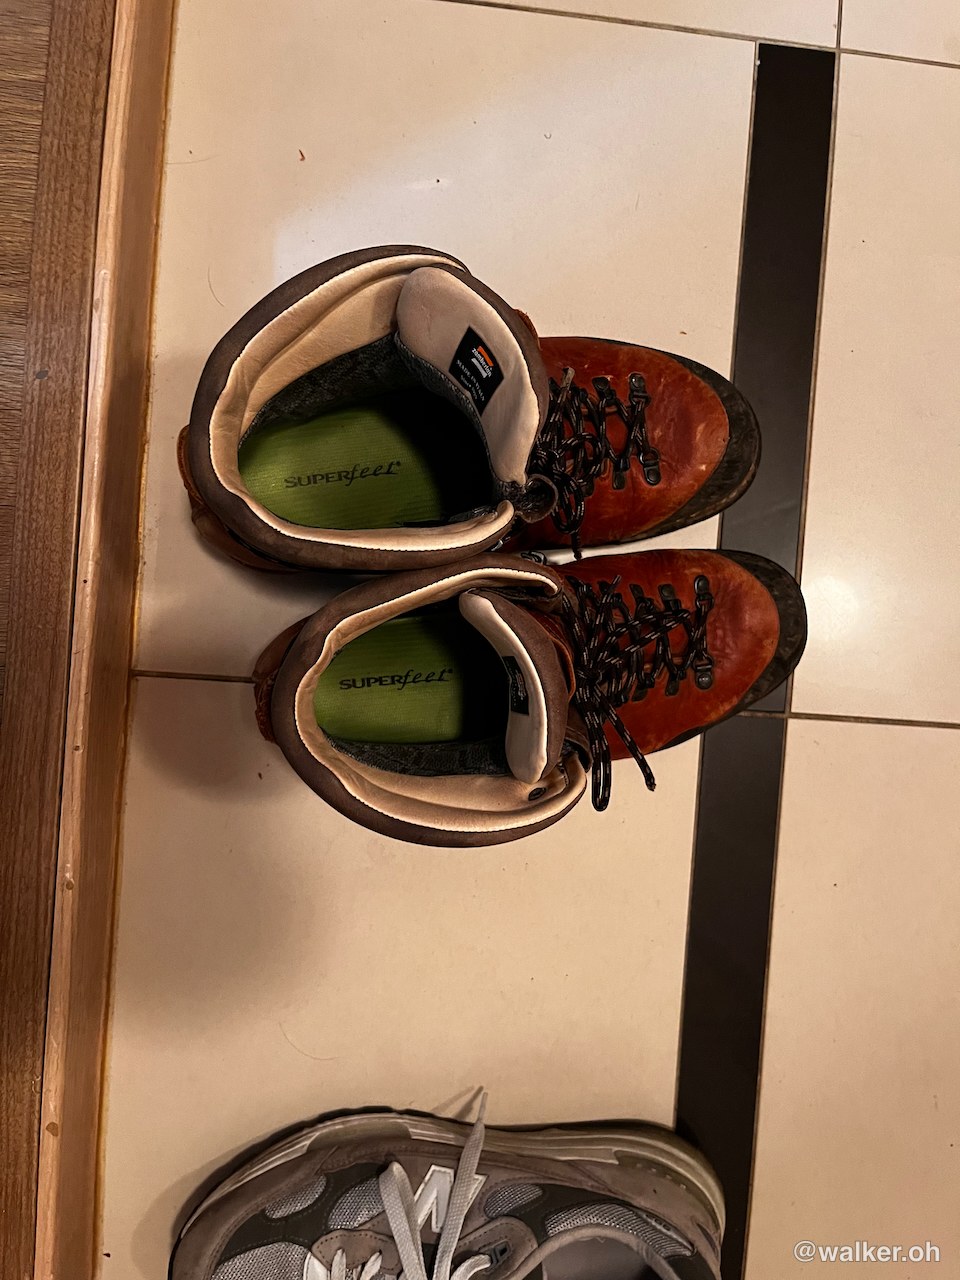
This is the state of my boots once I got home. I’ll agree that the Zamberlan Tofane is a well-made mid-cut hiking boot. They really are tough. But if you use them the way I did — never resoling them for 10 years and rotating through several boots and shoes — hydrolysis will eventually make the soles unusable. So definitely use them within 4 years, and if you want to keep them longer, either swap in a recently made sole or replace the boots with a new pair.
I threw the boots above away. The leather was still in good enough shape to resole and keep using, but another problem came up. When the screws went in to fix the sole, it seems they punctured the Gore-Tex bootie inside. So every time I crossed a wet spot, moisture seeped in, and when I crossed a shallow stream, water came flooding in completely. A new pair runs about 330,000 won, and I was quoted 100,000 won for a resole. It got me thinking that hiking boots can no longer really be a product you use forever — though that’s just my own personal take.
For a boot that’s supposed to be properly waterproof, I do wonder whether the Gore-Tex film really lasts as long as everything else… even if you don’t puncture it the way I did. The leather, on the other hand, looks like it could easily go another 10-plus years. I waxed it now and then and treated it with universal leather cream, so it cracked and peeled less than you’d expect.
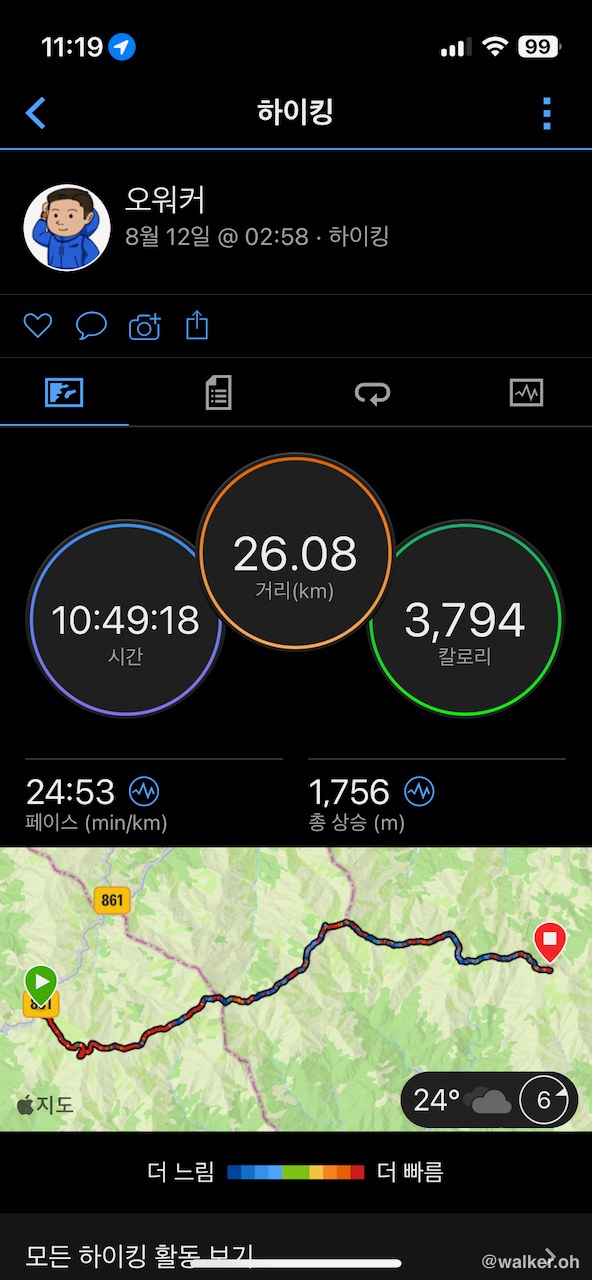
This is my pace up to Seseok shelter. Slow, right… A bit over 2 km/h, which is indeed too slow for a single-day traverse. You need to manage at least 3 km/h to take in Jangteomok and Cheonwangbong and still make it down. Let me say it once more: on Jirisan you have to budget at least 3 hours for the descent too. I remember the descent taking 2 hours even in really good condition, so call it roughly 3 hours. Most descent routes are very steep. They put a lot of strain on your knees, ankles, and the surrounding muscles. Flat stretches and up-and-down sections are one thing, but on the descent it’s worth pulling out your poles to ease the load on your knees and ankles.
The very fact that I took this on with completing a specific route as the goal feels a little foolish in hindsight. With a two-day trip you can recover to some degree, so maybe it would’ve been doable — but I’ll admit I also took the Seongjung traverse too lightly, as if it were no big deal compared to the Hwadae traverse.
I’m definitely going to train with LSD work and a light, trail-running-style approach to hiking, and take it on again next year. If there’s some old guy out there running in nothing but a tank top, dressed like those Hwadae traverse veterans — that’s who I want to be.
Thanks for reading this long, dull account of a failed Seongjung traverse.
#JirisanTraverse #ZamberlanTofane #SeongjungTraverse #Seongsamjae #Cheonwangbong #TrailRunning #Georim #JirisanBailout
Contact: bumseok.view [at] gmail [dot] com
Related posts
-
Jirisan Traverse Passbook: Collecting Shelter Stamps from Hwaeomsa to Cheonwangbong
-
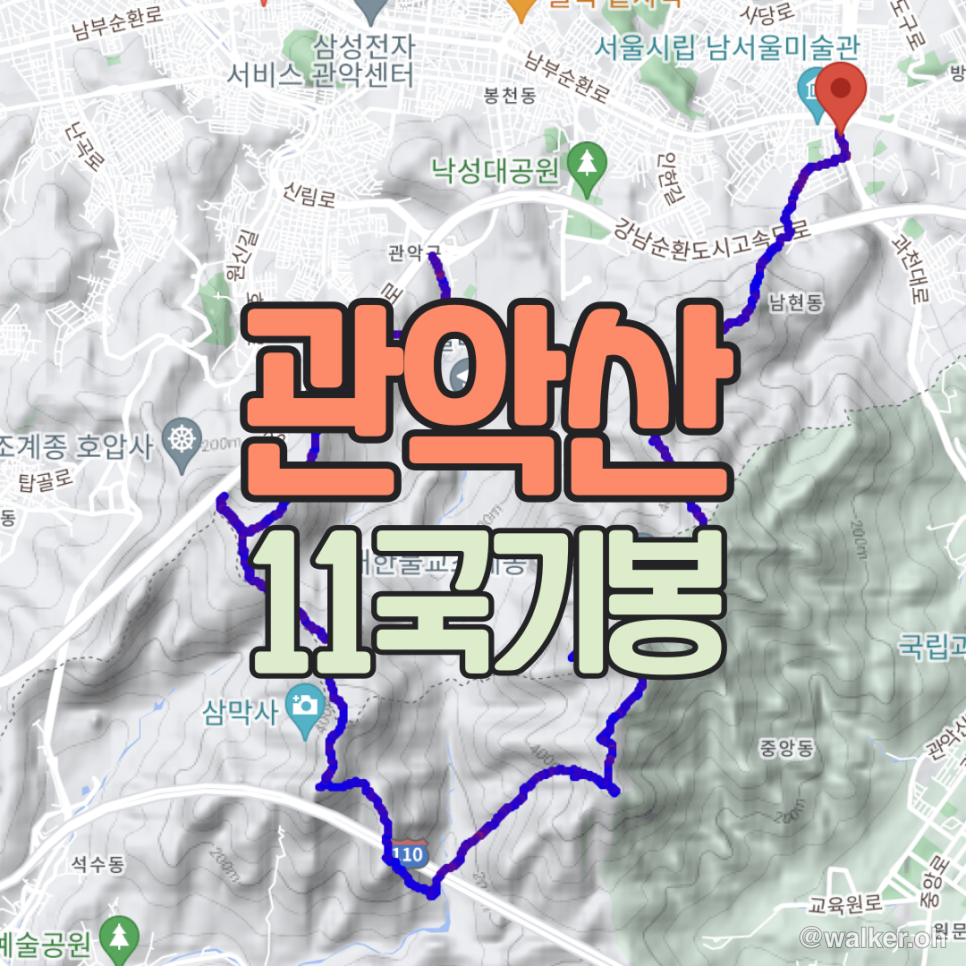
Gwanaksan Full Ridge Traverse: 11 Flag Peaks, 20km Course from Sadang Station
-
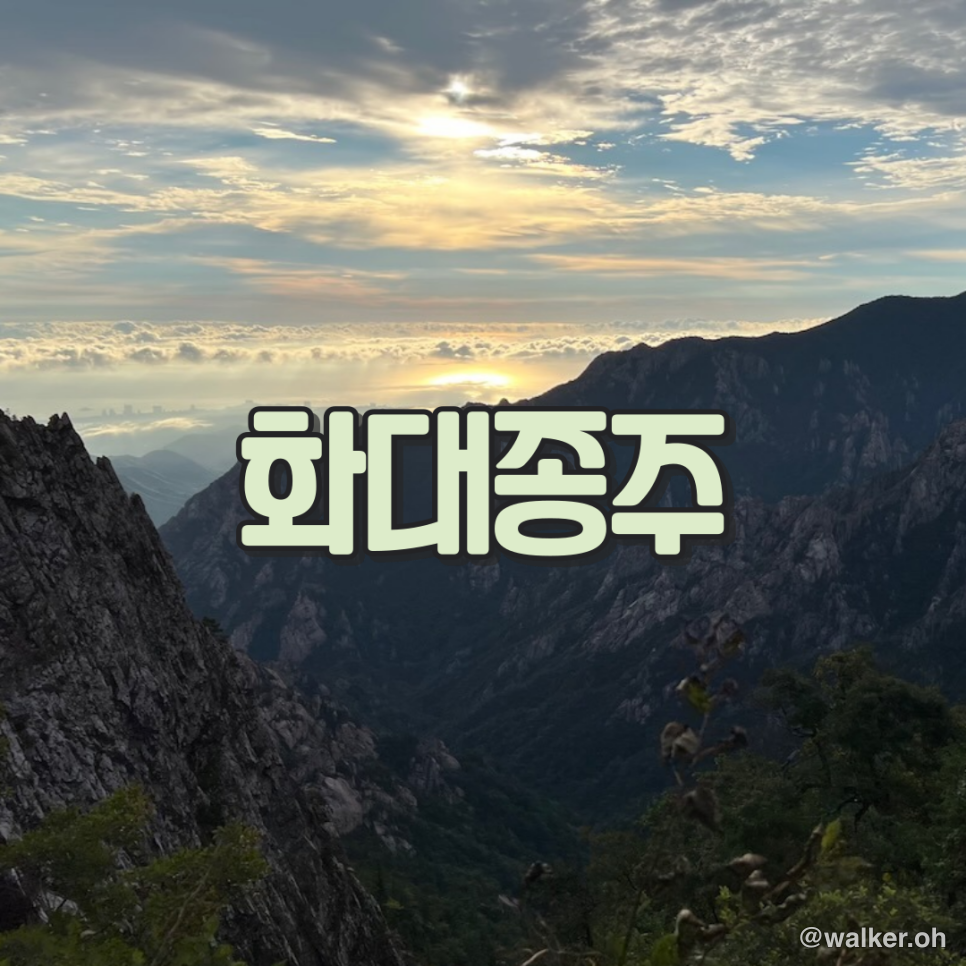
Hiking Jirisan's Hwa-Dae Traverse: A 46.2 km Section-by-Section Guide
-
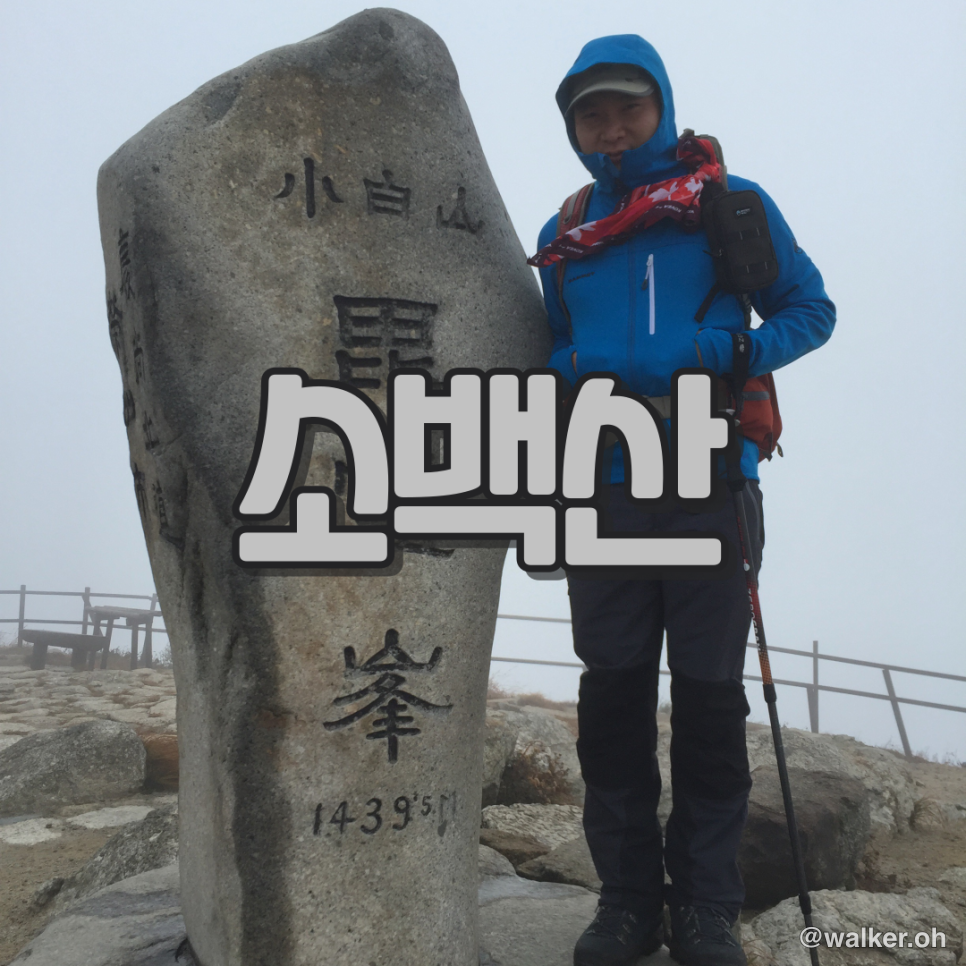
Sobaeksan Jukgu Traverse: A Brutal Autumn Day Hike from Jungnyeong to Guinsa