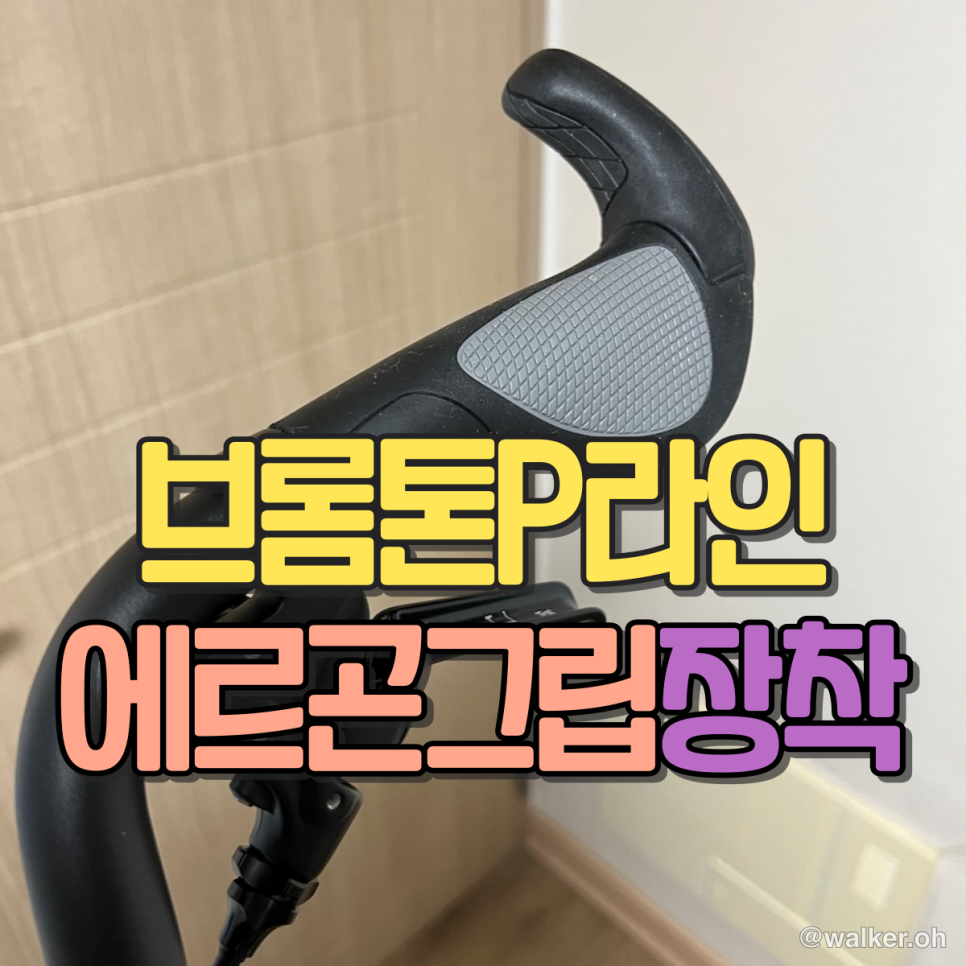
Brompton Grip Swap: Installing Ergon GS2 Grips in a Parking Lot
Gear · Published 7/28/2023 ·
I pulled the Brompton out of the car to swap the original grips for Ergon GS2 grips. It’s a simple enough job to do in a corner of the parking lot. For tools, I used the Brompton Toolkit that’s always built into the bike. Most of the fastening and removal of the parts used in a Brompton’s build and assembly can be handled with the Brompton Toolkit.
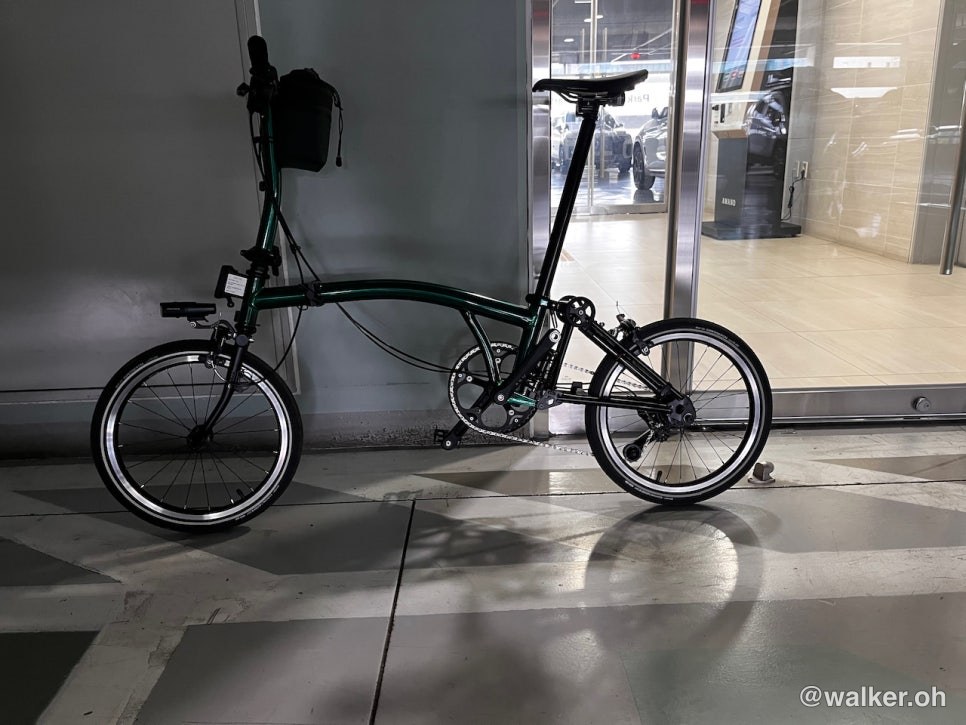
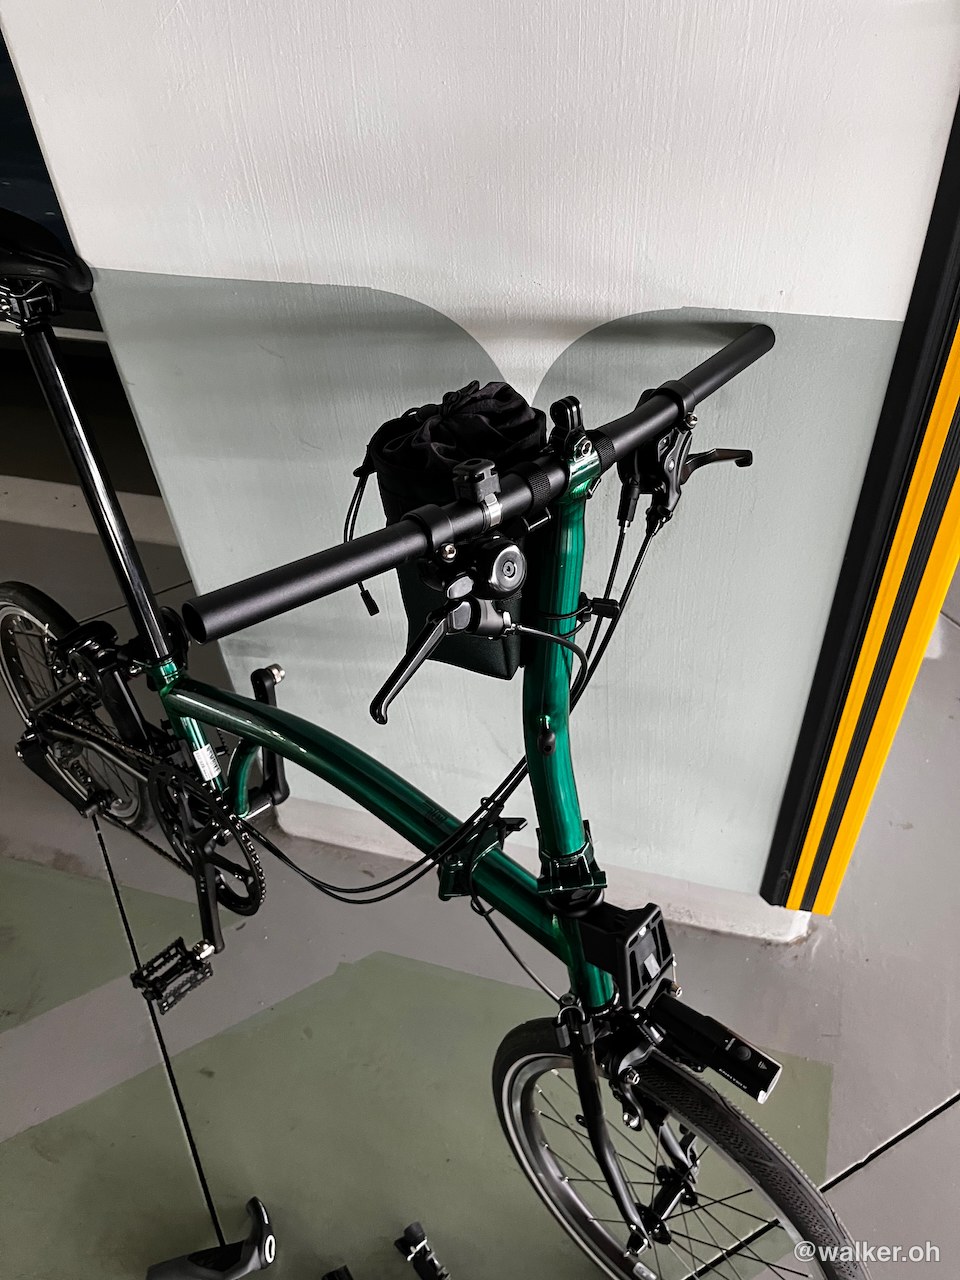
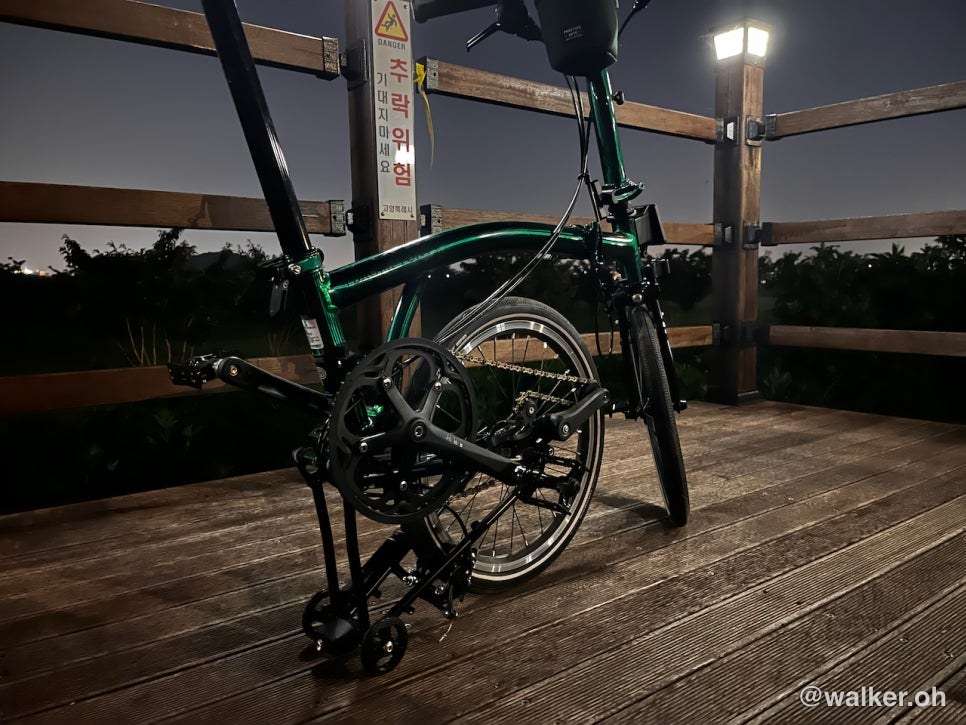
Here’s my green Brompton, slowly shedding more and more of its stock parts. It’s starting to look like a proper fast little machine.
These are the stock grips. The fit isn’t bad and they’re nice and light, but on rides over an hour they cause all sorts of aches, and I’d love to be able to shift into different hand positions — which just isn’t possible with this design. They’re simply grips, after all…
I’m going to ditch those grips and put on some aftermarket ones. To do that, I need to nudge the brake levers inward bit by bit. That’s because the Ergon grips are much longer. The stock grips clamp their tightening torque from the inside, so they stay put just as they are, but the Ergon grips only clamp at the very outer end — meaning if the outer side can’t grab the handlebar, there’s nothing to clamp onto. So on a Brompton with M-bars, you have to trim a little off the inner end of the Ergon grip to make it fit. That’s because the M-bar’s structure limits how far inward you can move the brake levers. The S-bar I bought this time is almost completely horizontal, so moving things inward a little at a time isn’t a problem at all.
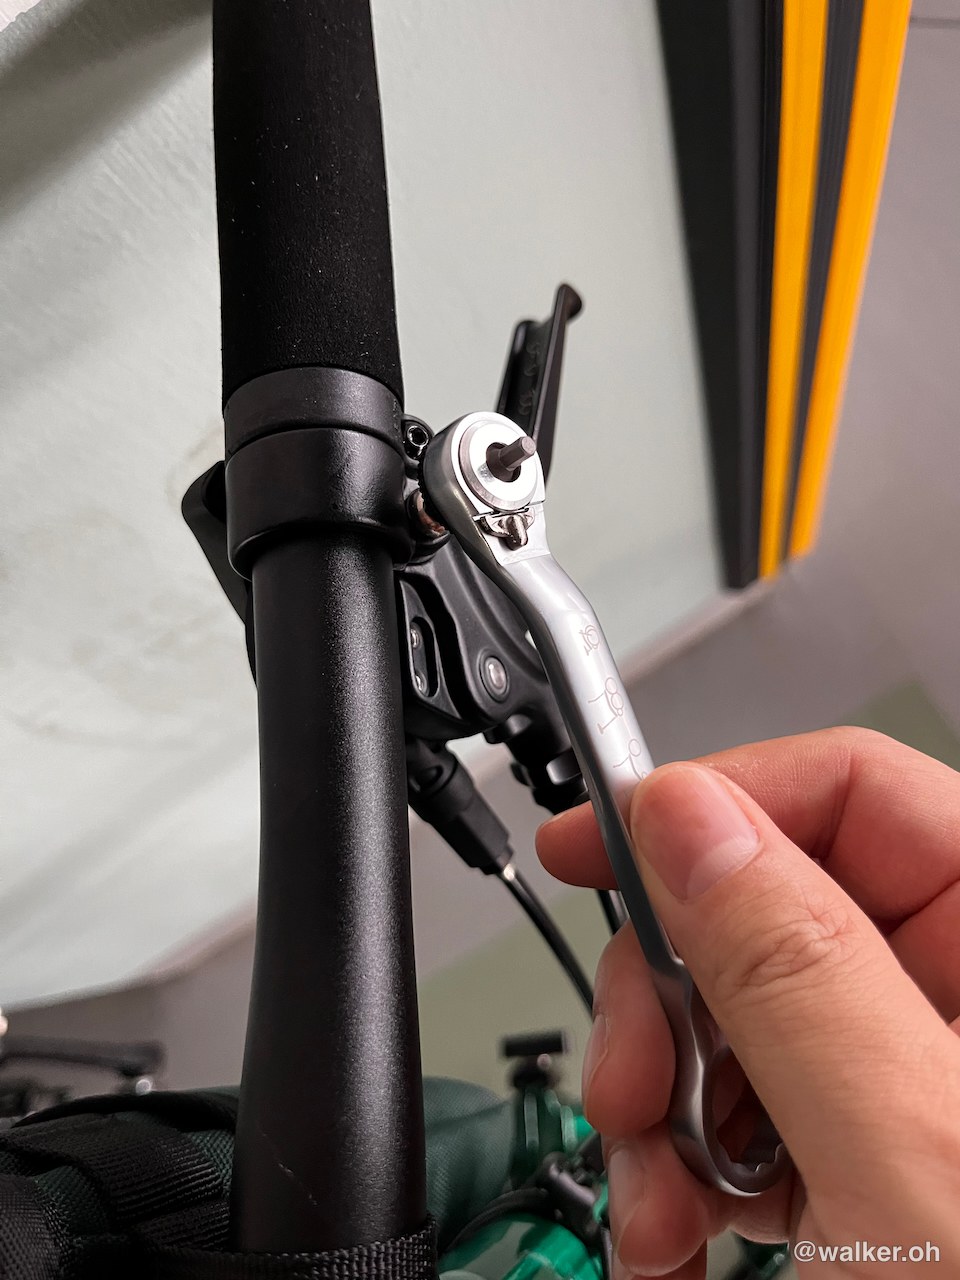
I used the hex wrench from the toolkit to gently loosen things and slide them over.

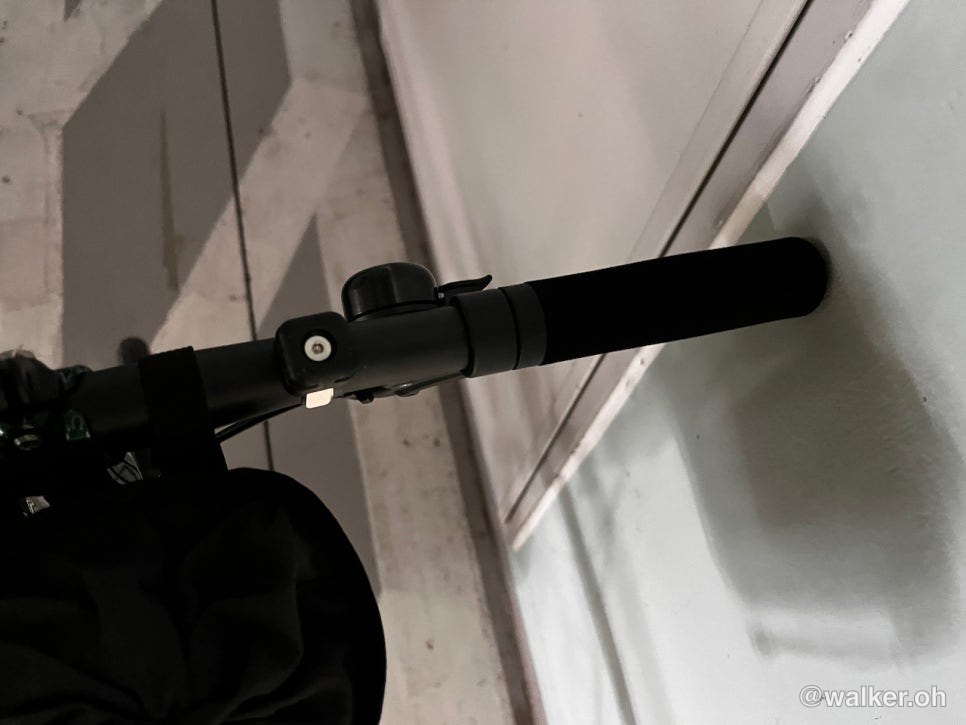
And then I removed the old grips. Now the bare bar is showing. Down the road I’d like to swap that handlebar out for carbon. I want it a bit lighter.
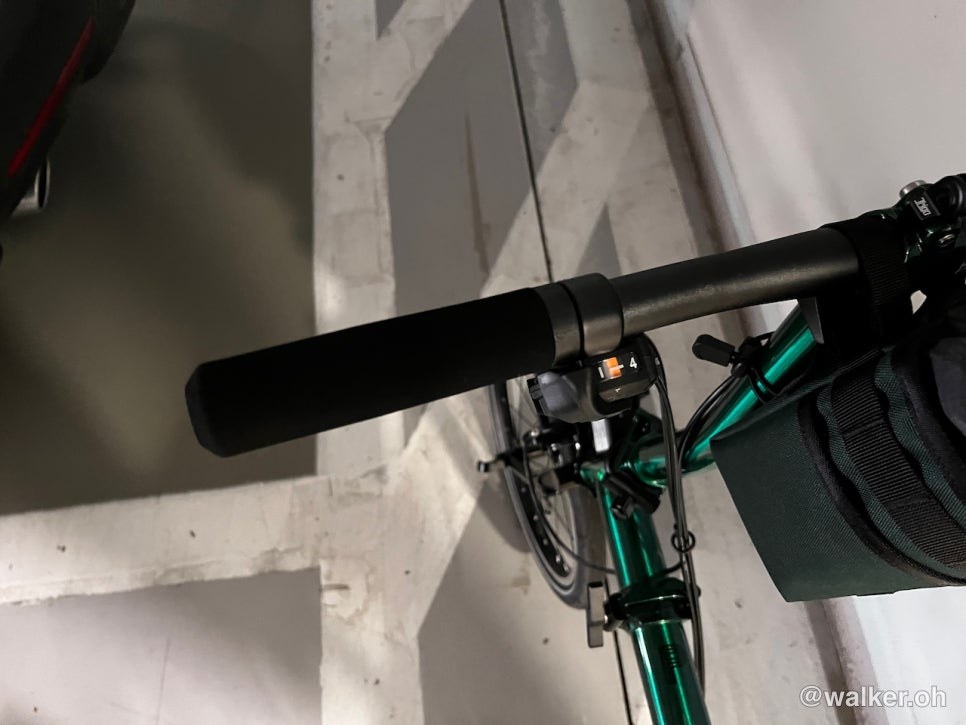
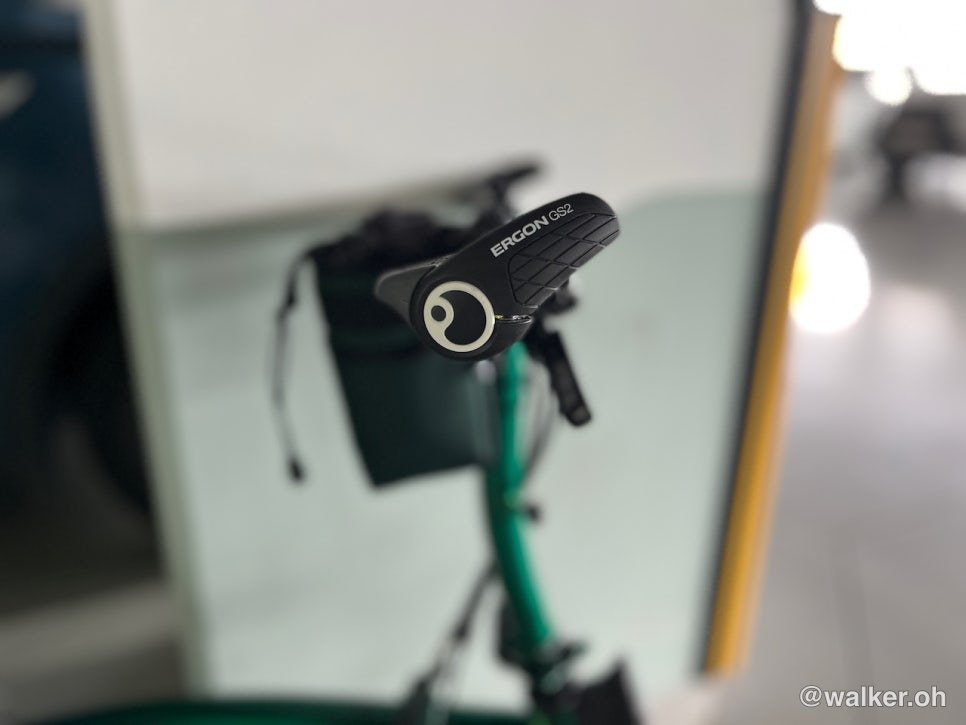
Nothing fancy about this bar. Now I slip the Ergon grips on.
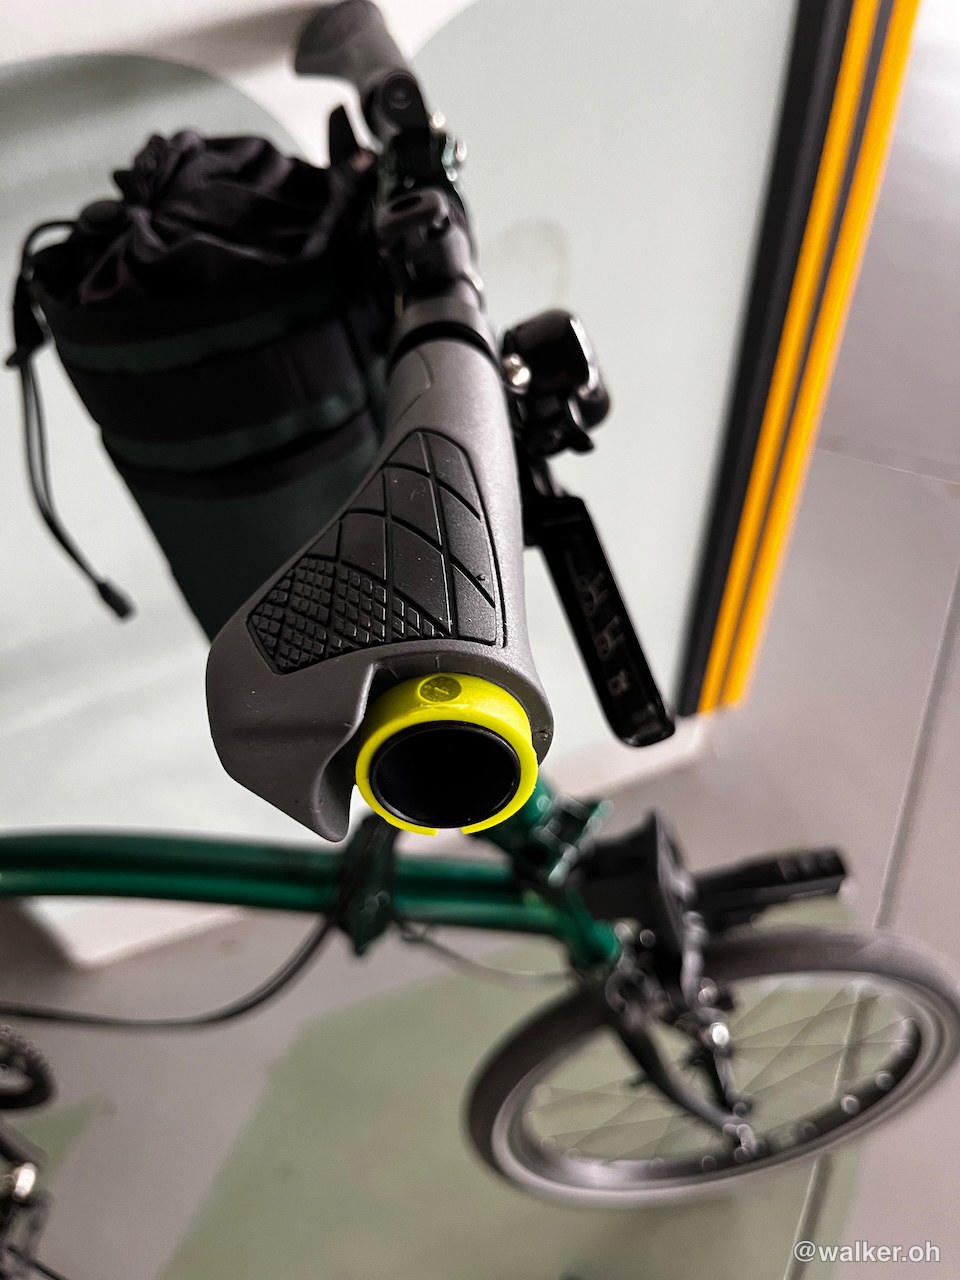
Push them all the way to the very end.
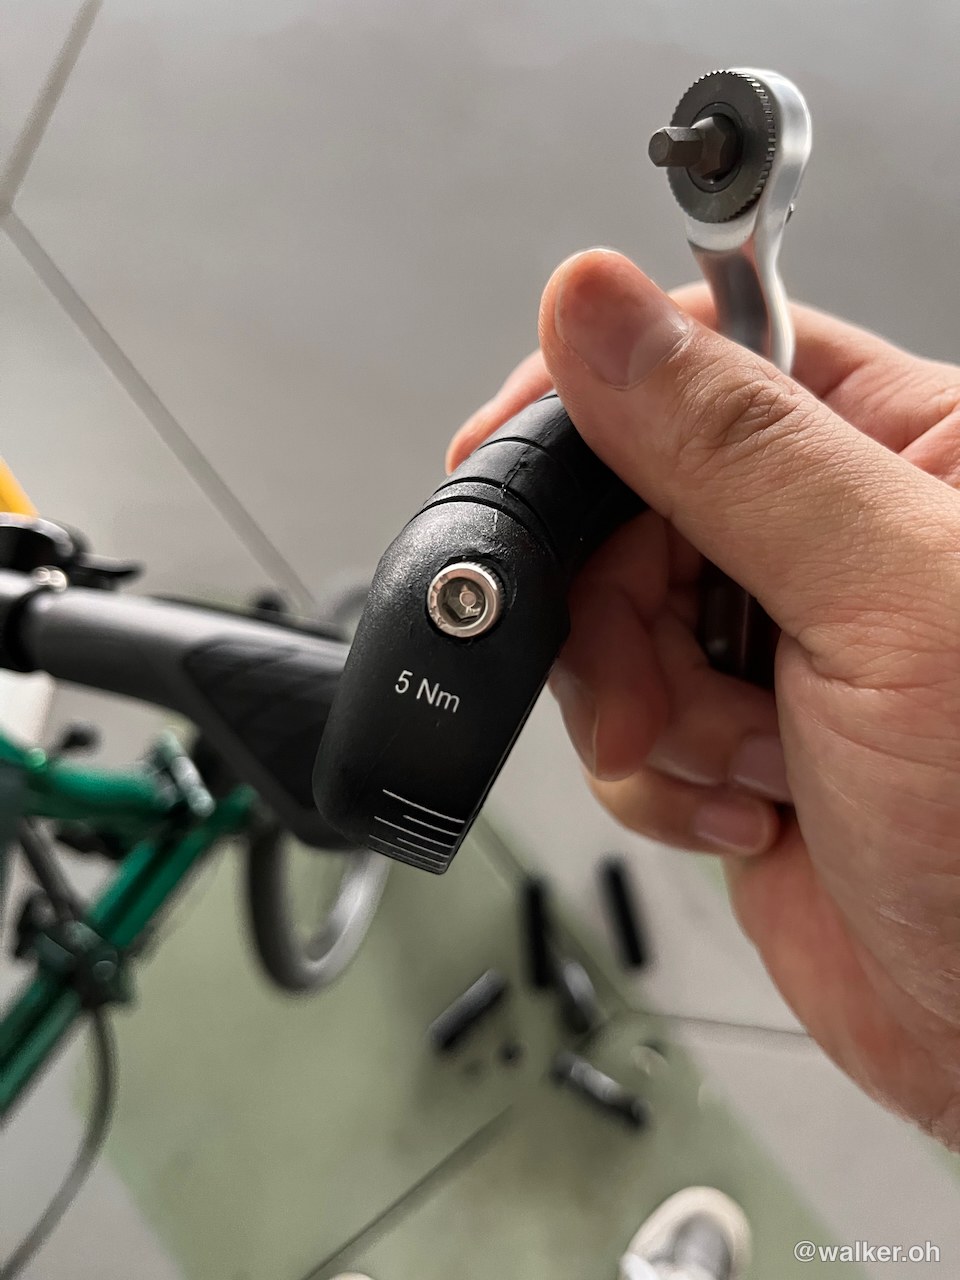
The spec calls for 5nm of torque, but I don’t have a torque wrench… so I just tighten it by hand. If you want it to stay put without slipping, you’ve got to crank it down good and tight.
Then you just cap the hole with the end plug. Same goes for the other side, right?
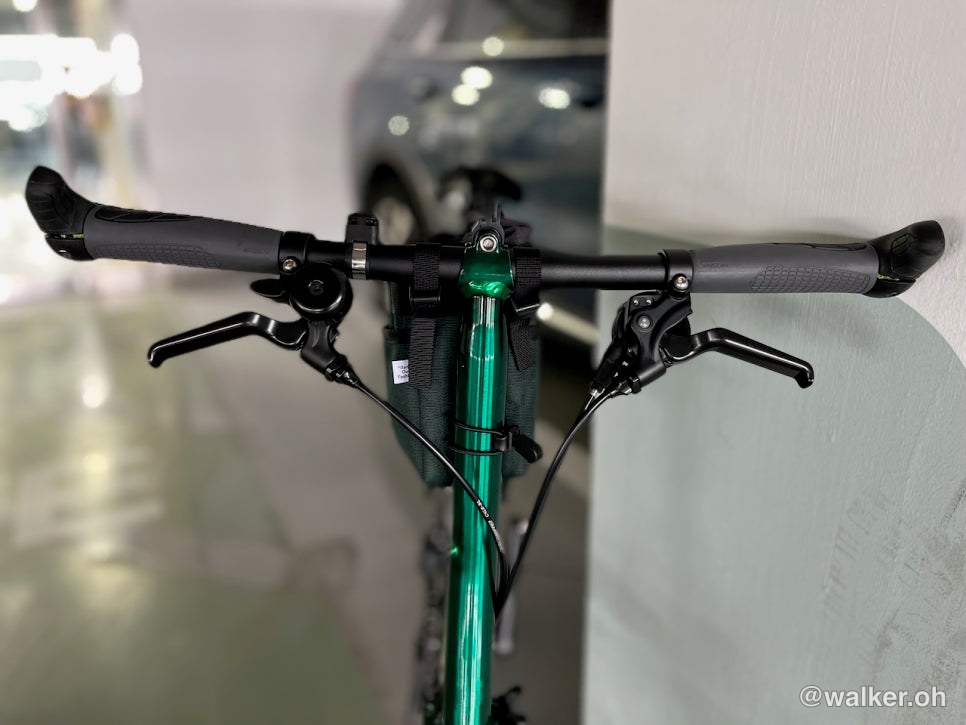
After the swap, all that’s left is to lock the brake levers in position. I roughly leveled both sides, and since I’ll be tweaking the angle little by little as I ride anyway, I just set them to a default for now.
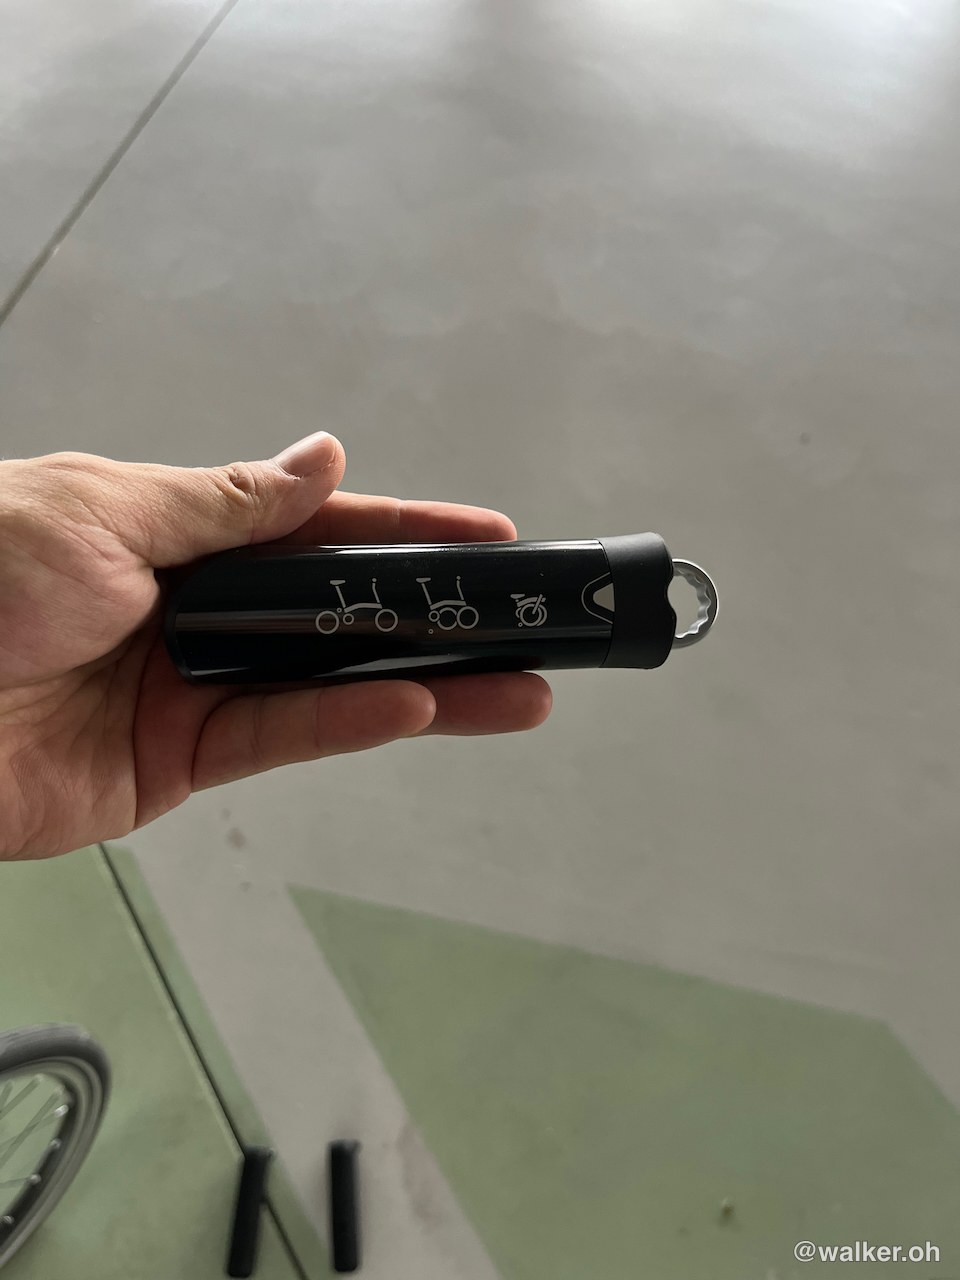
Once again, the Brompton Toolkit more than earned its keep today — both its price and its weight.
It’s a bit pricey and it does add quite a bit of weight, but it’s a toolkit that lets you do a fair amount of maintenance anywhere, whenever you need to. Still, it’s awfully expensive…
With the new grips on, I treated myself to a little ride along the Han River. I’d had too much to drink the night before so my condition was terrible, but I cruised an easy 30 km or so. The grip swap was great because it gave me at least three different hand positions to use. That said, no matter what you do, riding for more than an hour puts a strain on your wrists and your whole body, so I think it’s best to ride at a relaxed pace and rest now and then after a while. We’re… not racers… it’s not a road bike… it’s just a minivelo cruising along at an average 20 km/h.
Thanks for reading.
#브롬톤 #브롬톤P라인 #에르곤gs2 #브롬톤튜닝 #브롬톤한강라이딩 #브롬톤경량 #내돈내산
Contact: bumseok.view [at] gmail [dot] com