Resizing a Used Titanium Garmin Watch Band with the Right Tool
Gear · Published 6/15/2023 ·
일상 시계로도 쓰고 싶어서 시곗줄을 찾아보다가, 당근마켓에 티타늄 시곗줄을 판다는 글이 올라온 걸 보고 덥석 데려왔습니다. — let me just translate.
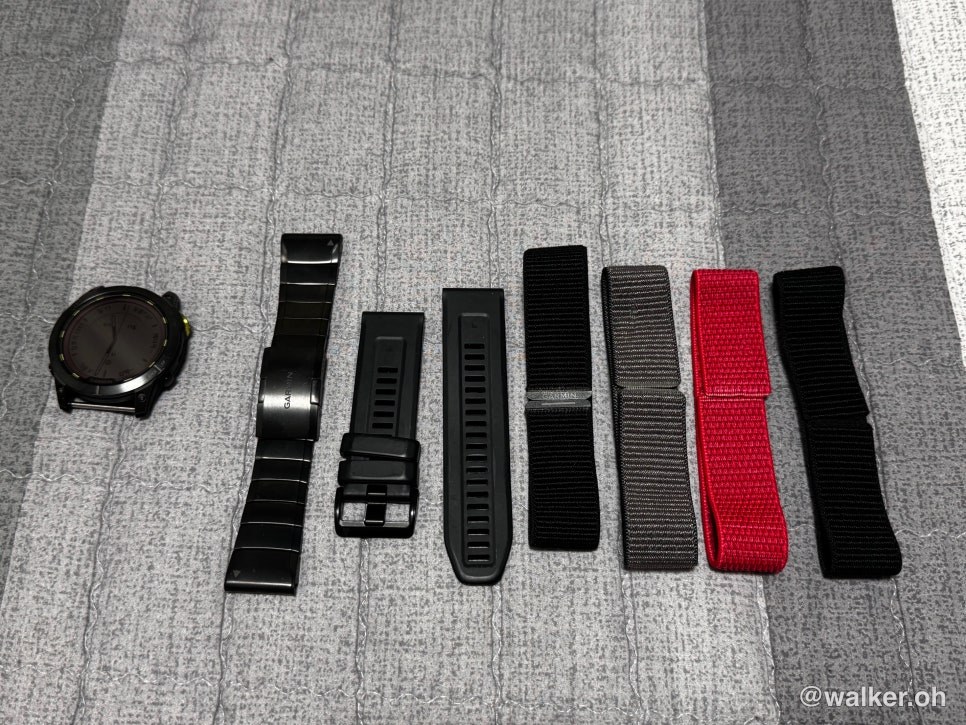
I wanted something I could wear day-to-day too, so I started hunting around for a watch band. That’s when I spotted a listing on Karrot for a titanium band and grabbed it. A brand-new titanium band runs about 450,000 won, so it’s not something you buy on a whim… and honestly, I had a sneaking suspicion that the “titanium” bands on AliExpress would just turn out to be stainless steel. So I picked up a used one on Karrot for less than half the price. The only catch… the previous owner had really, really thin wrists.
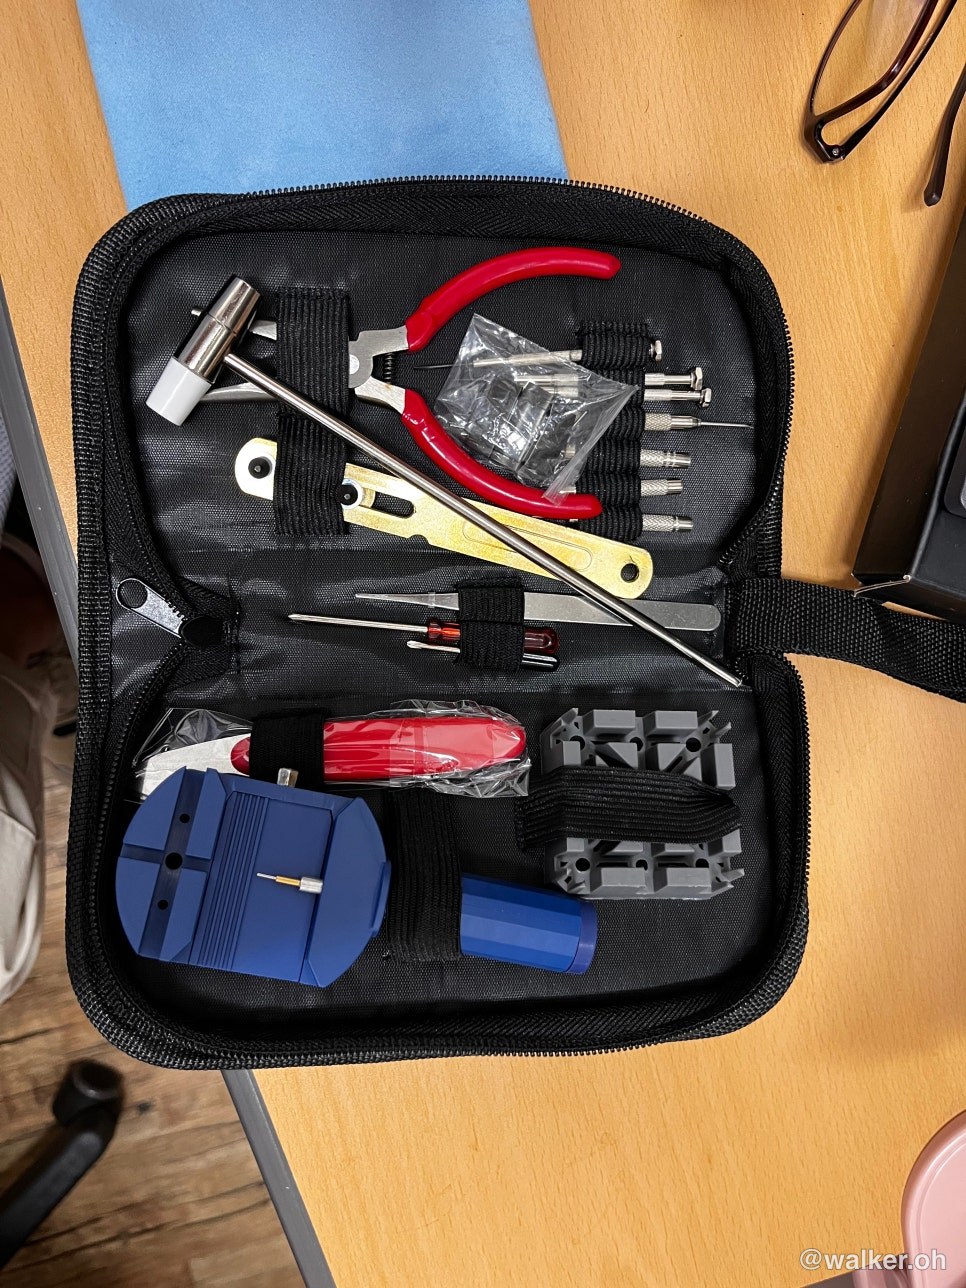
I rounded up every tool in the house and tried my best to resize it, but it was hopeless, so in the end I just bought the proper tool. It showed up with lightning-fast, rocket-speed delivery.

Cost me under 10,000 won. It comes with all the tools you need for adjusting a watch band, and unless you’re doing this professionally, it’s a perfectly fine kit for the handful of times you’ll ever need it.
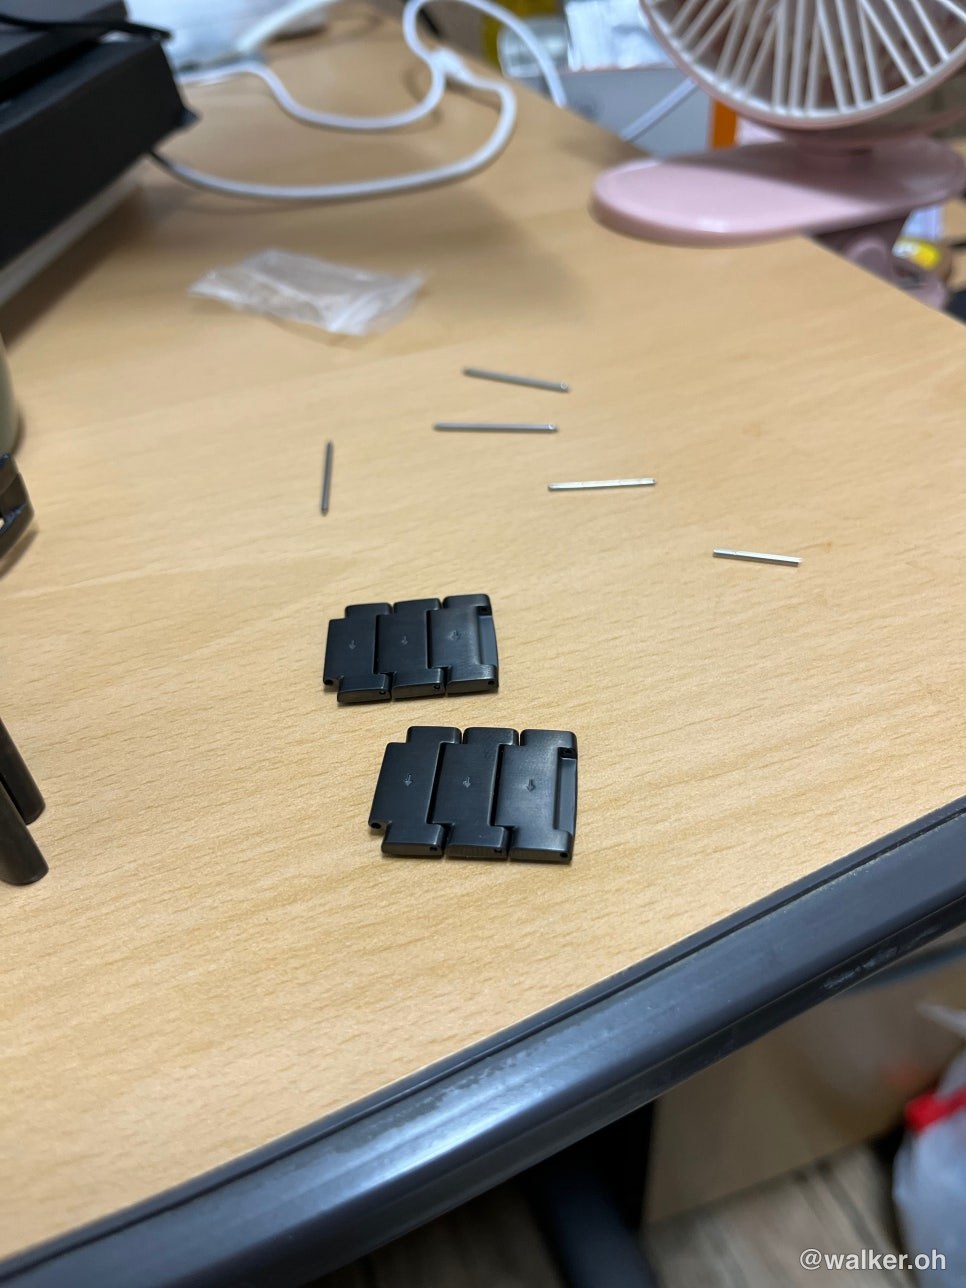
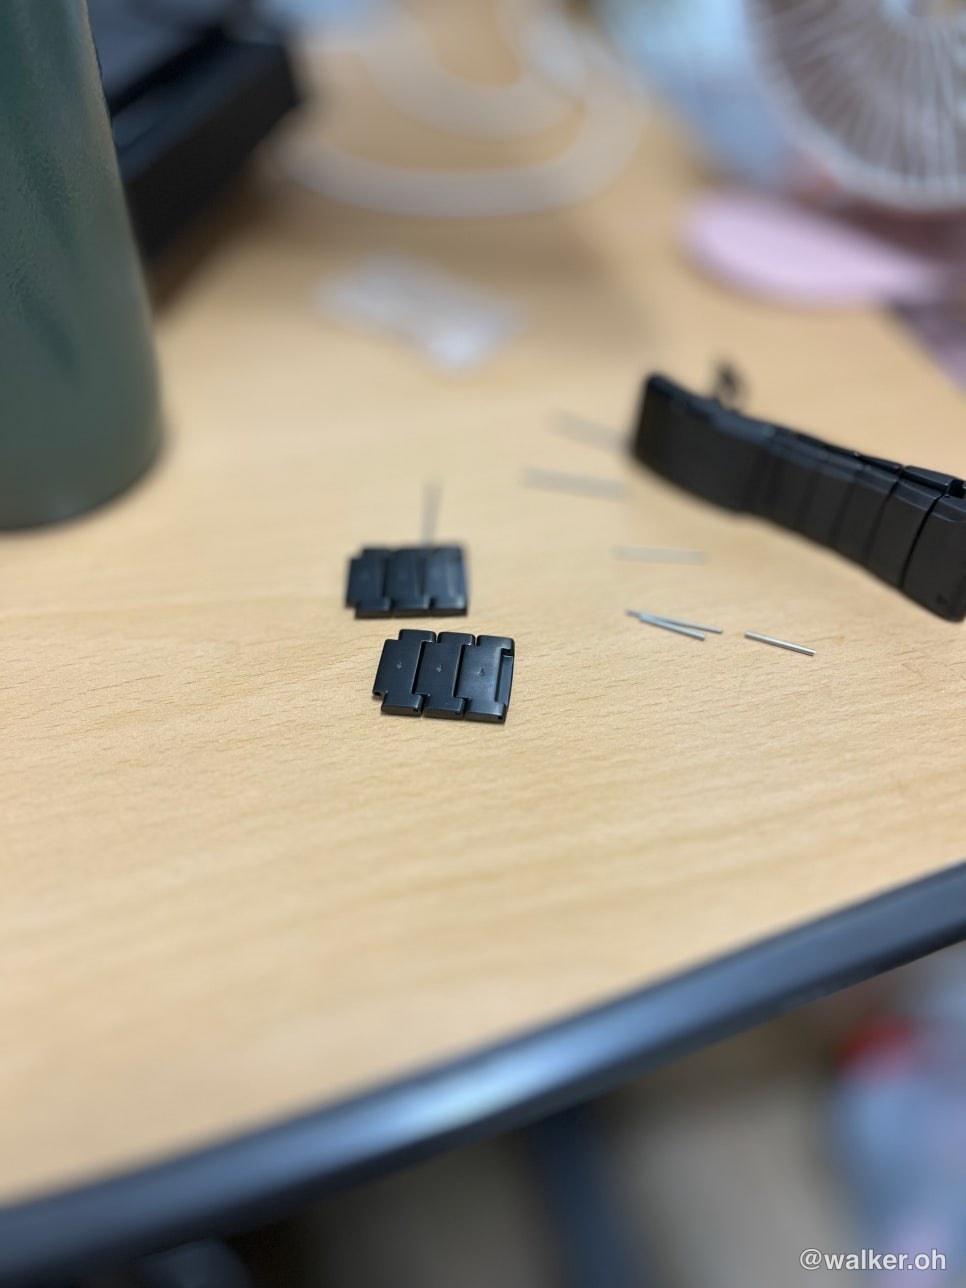
When I looked into it, Garmin watch bands actually use several different attachment methods. Some generations use the standard spring-bar pin setup you see on most watch bands, while others — like mine — connect with two tubes. The most recent design uses 1.5mm screws that you tighten with a driver.
Mine is a very old band, so it uses the method where two tubes cross over each other to lock together. I’m not sure which design is actually better, but this style of connection requires a dedicated tool. Most people would just take it to a watch shop and pay around 10,000 won to have the links swapped, but I figured I’d order the tool and have a go at it myself, just for fun.
Previous image Next image
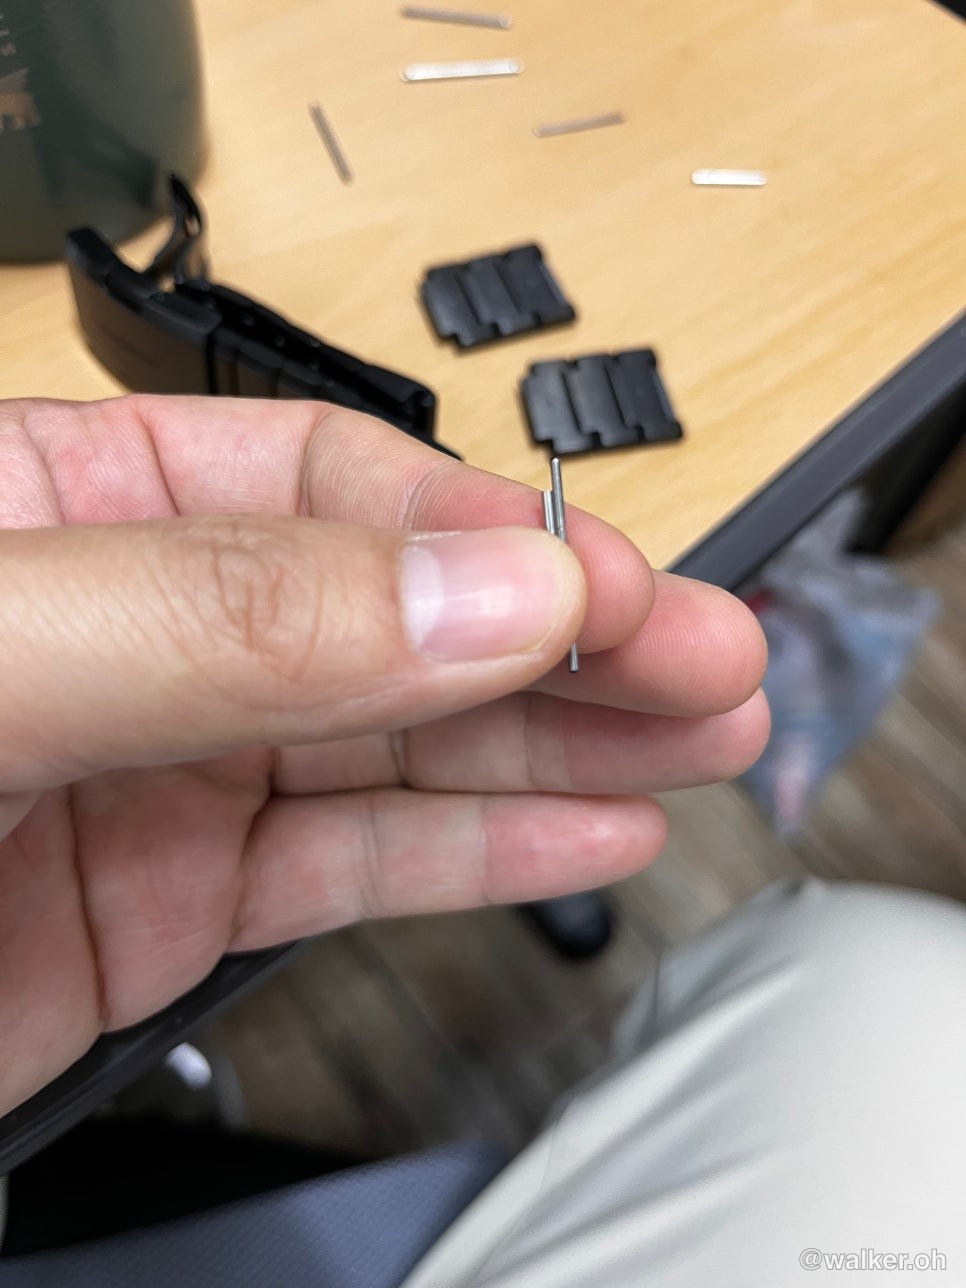
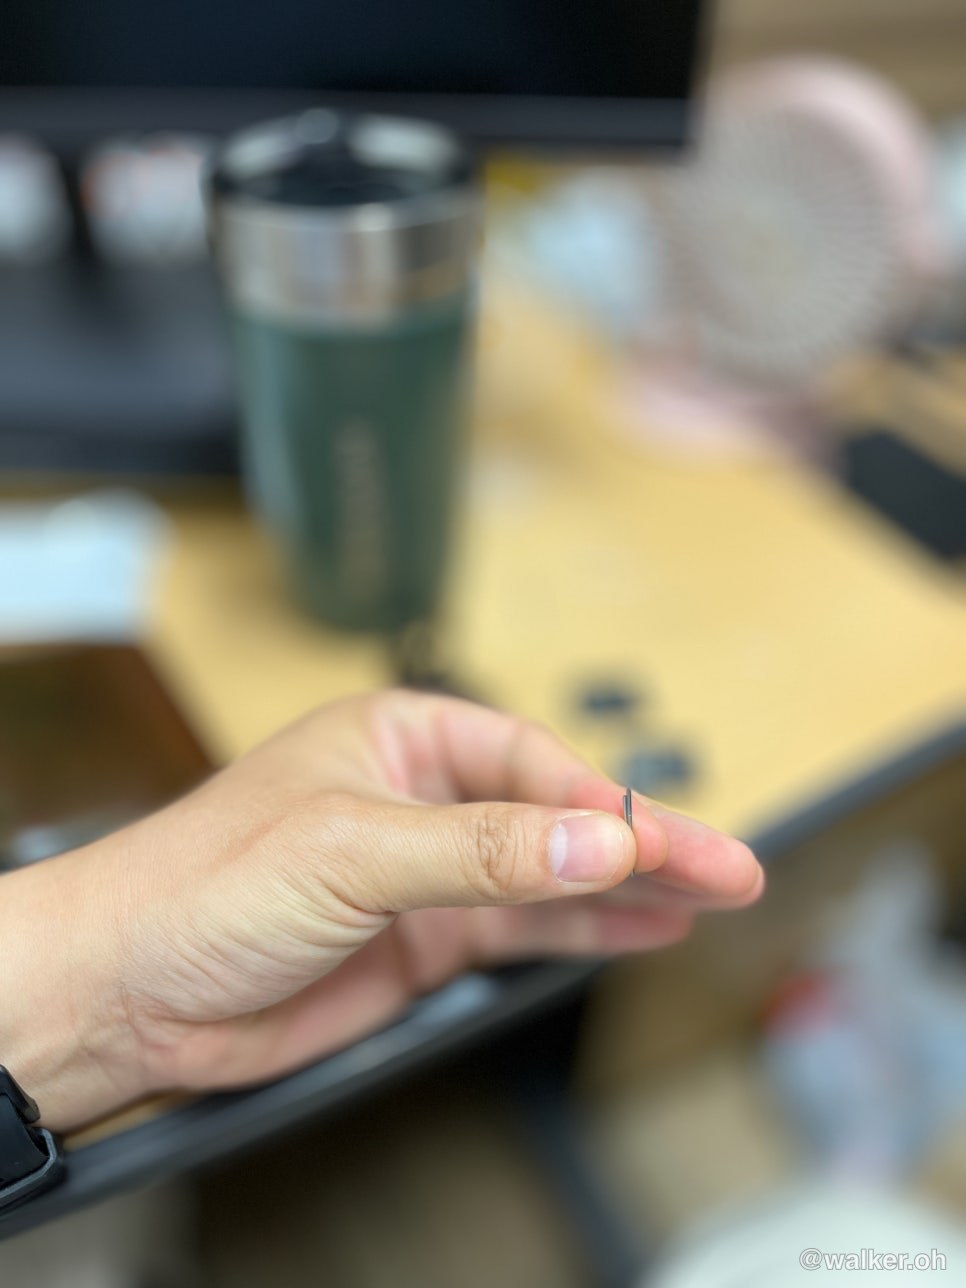
Of those two pins up there, one is the female piece and one is the male. The female piece fills the gap between the small links and acts as a bearing. The male piece slides inside it and holds both sides together — so to take it apart, you have to push the male piece out and separate them.
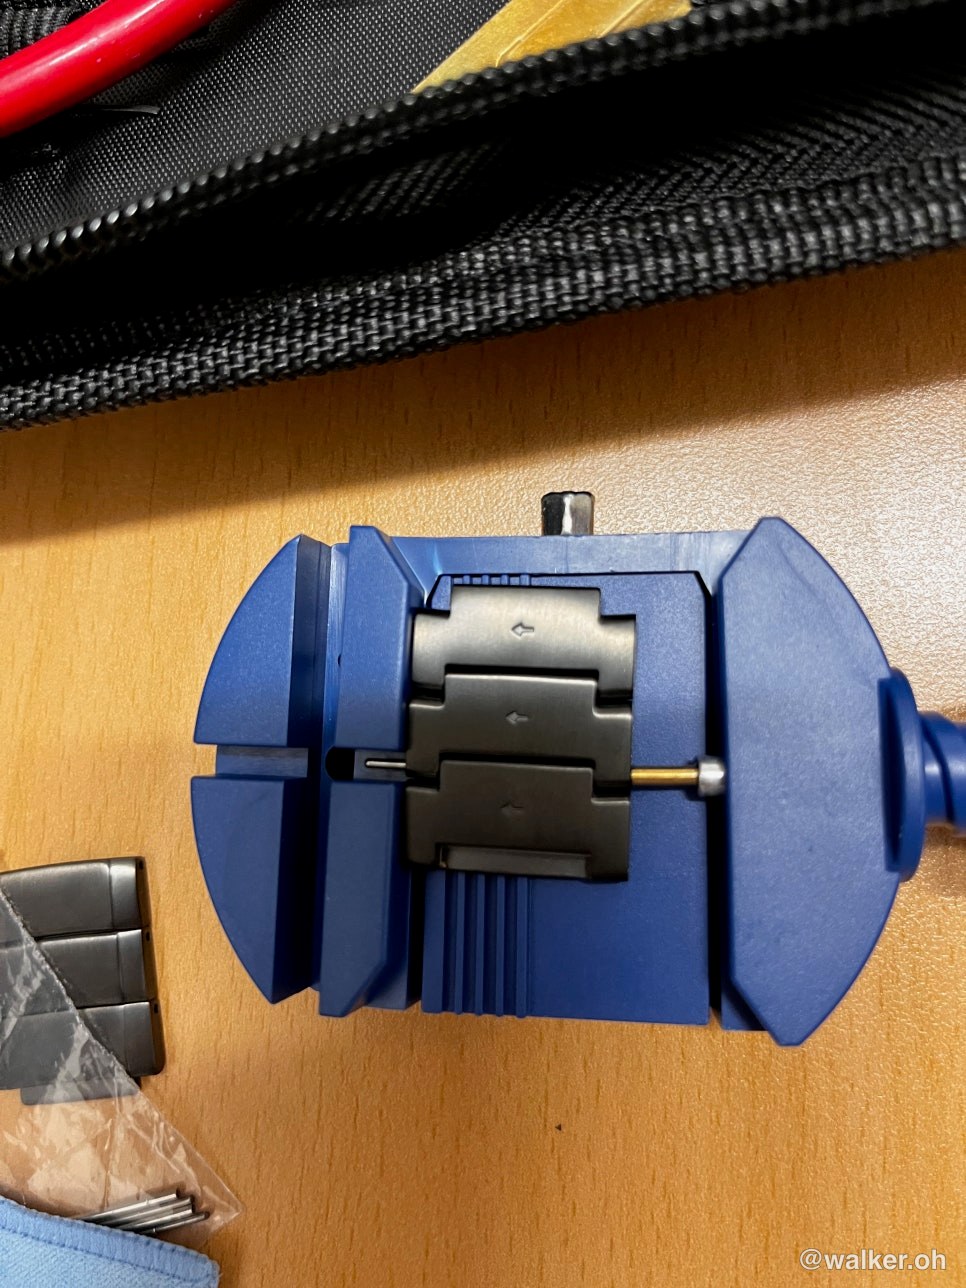
First you use that tool to push the male pin out in the right direction. It only goes so far. After that you have to switch to a different tool to separate it completely.
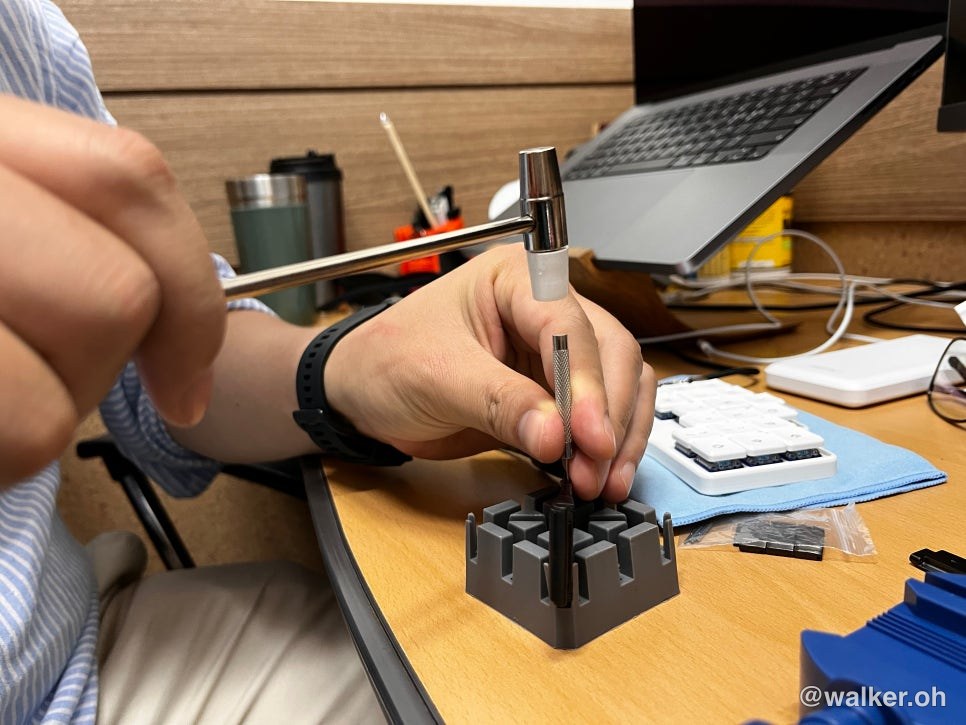
That stand has holes all across the bottom, so the pin can pass through while you tap away with the hammer. I used it to gently tap the pins out, and to put them back together again.
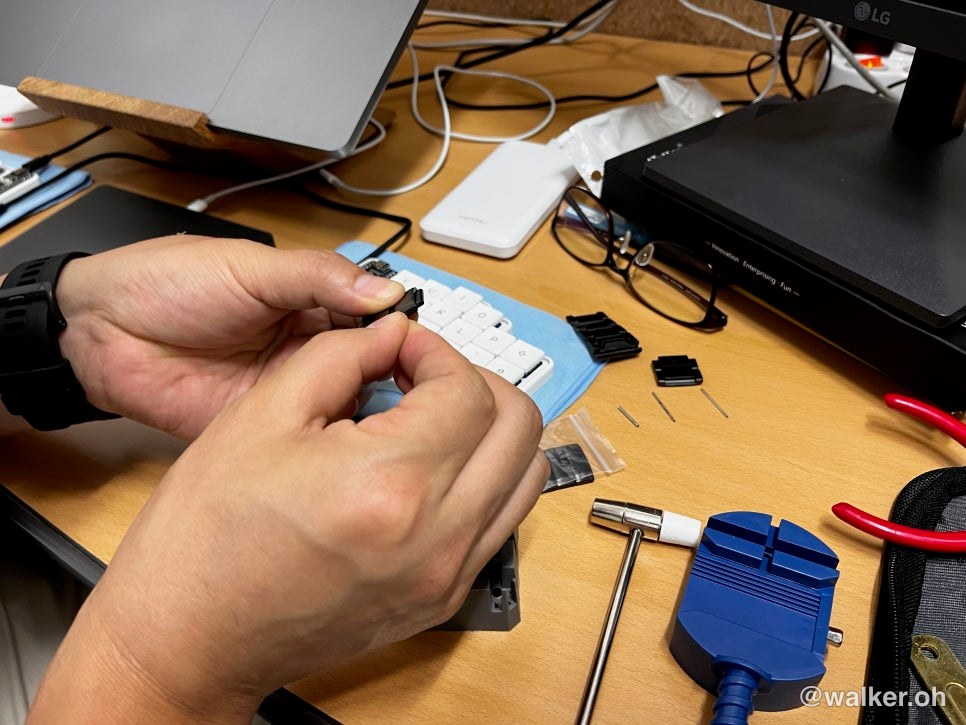
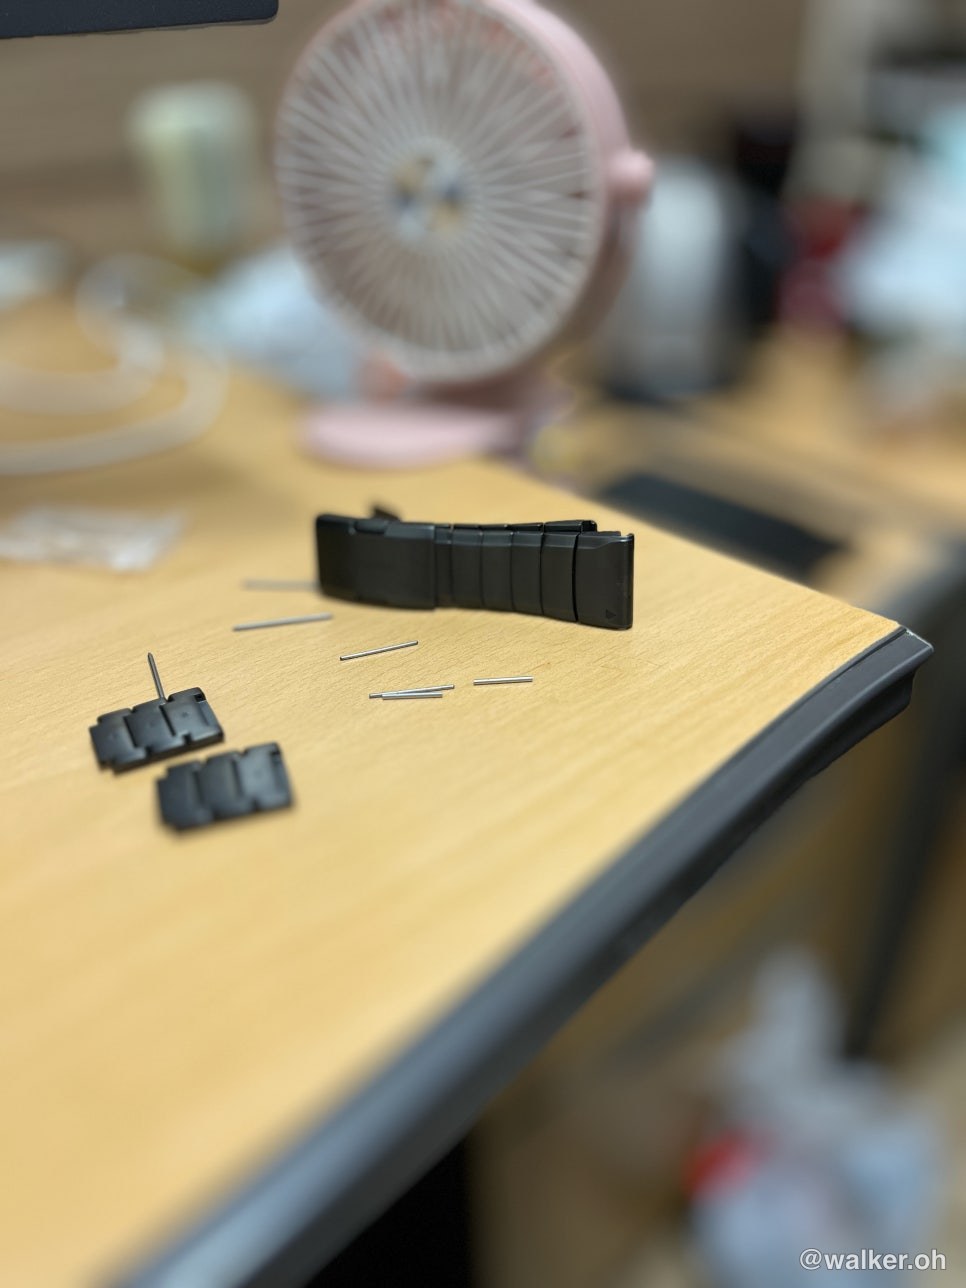
Carefully assemble the female piece, slide the male piece back in, and tap link by link with the hammer until each one is joined.
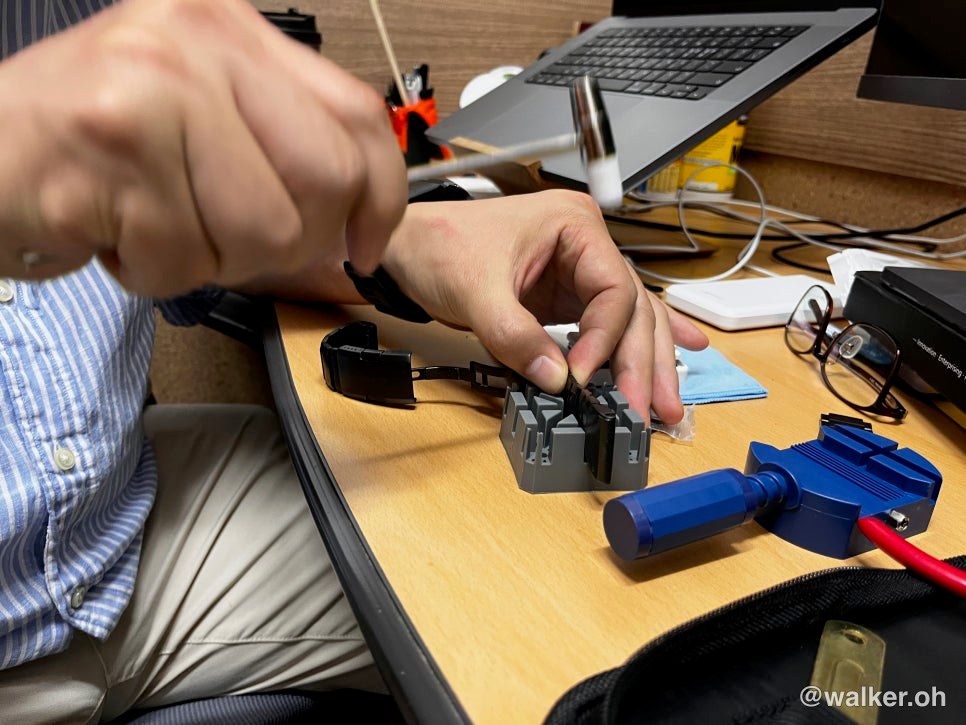
Reassembly isn’t the reverse of disassembly — it’s the same direction. I made sure everything passed through following the arrow. Honestly, it didn’t look like it would make any difference if you went the other way.
And the tools I’d used went right back where they belong. ^^
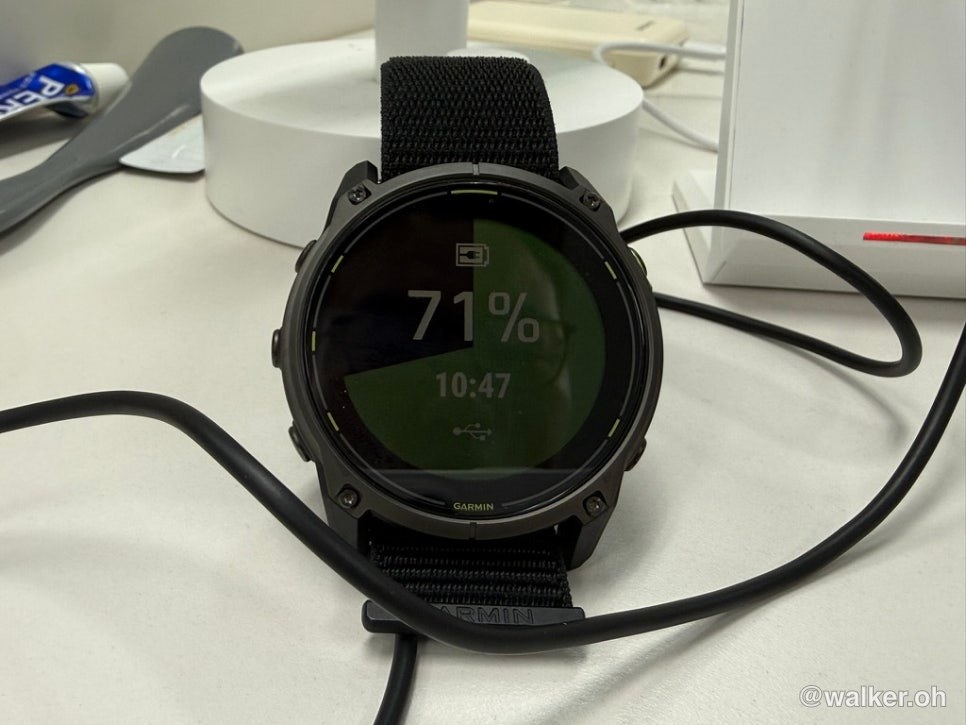
And as you can see in the photo below, it came out sized just right for my wrist.
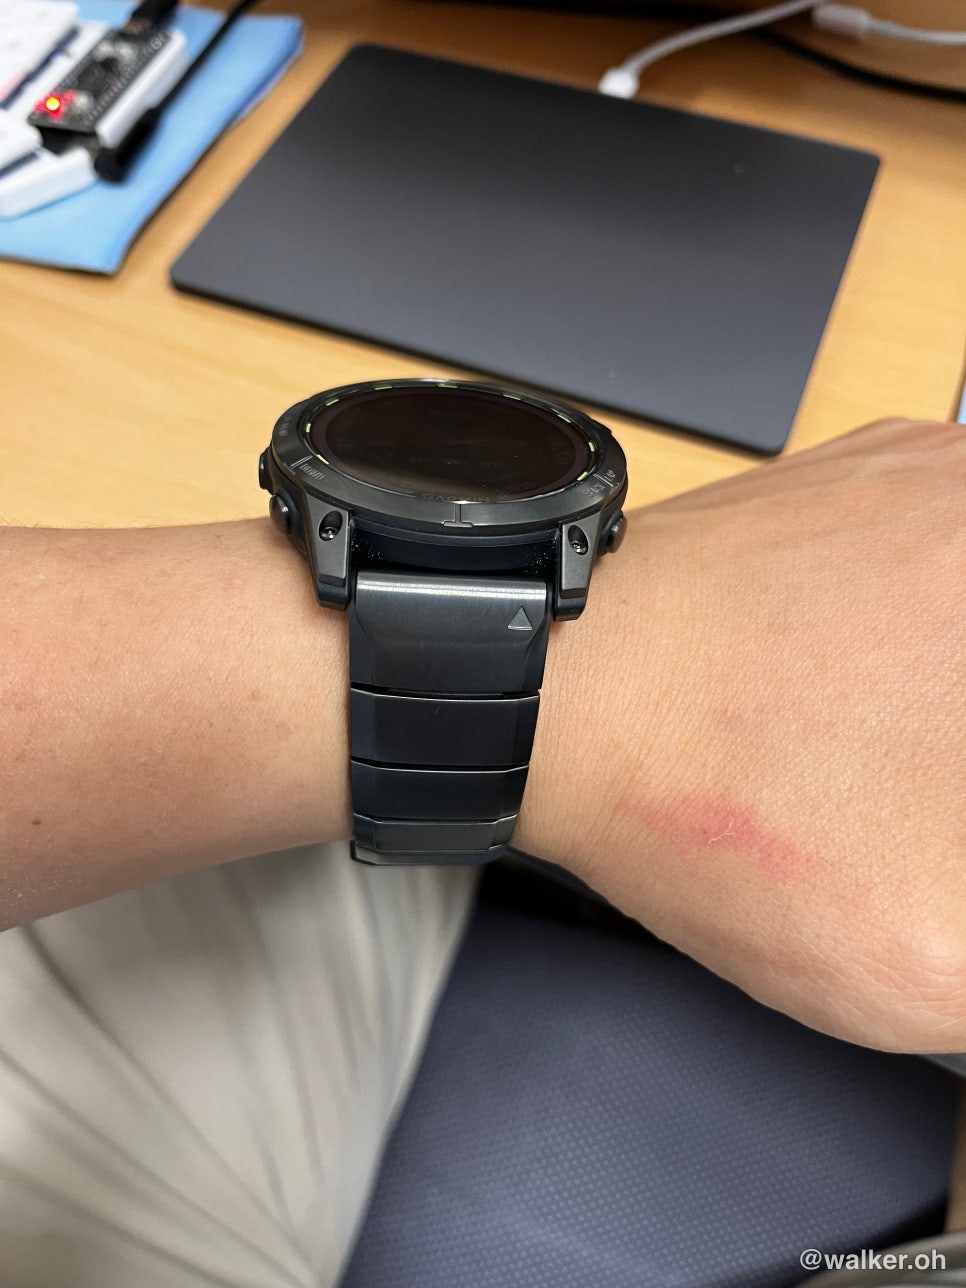
I adjusted it so the watch has a little bit of play against my wrist but won’t spin all the way around.
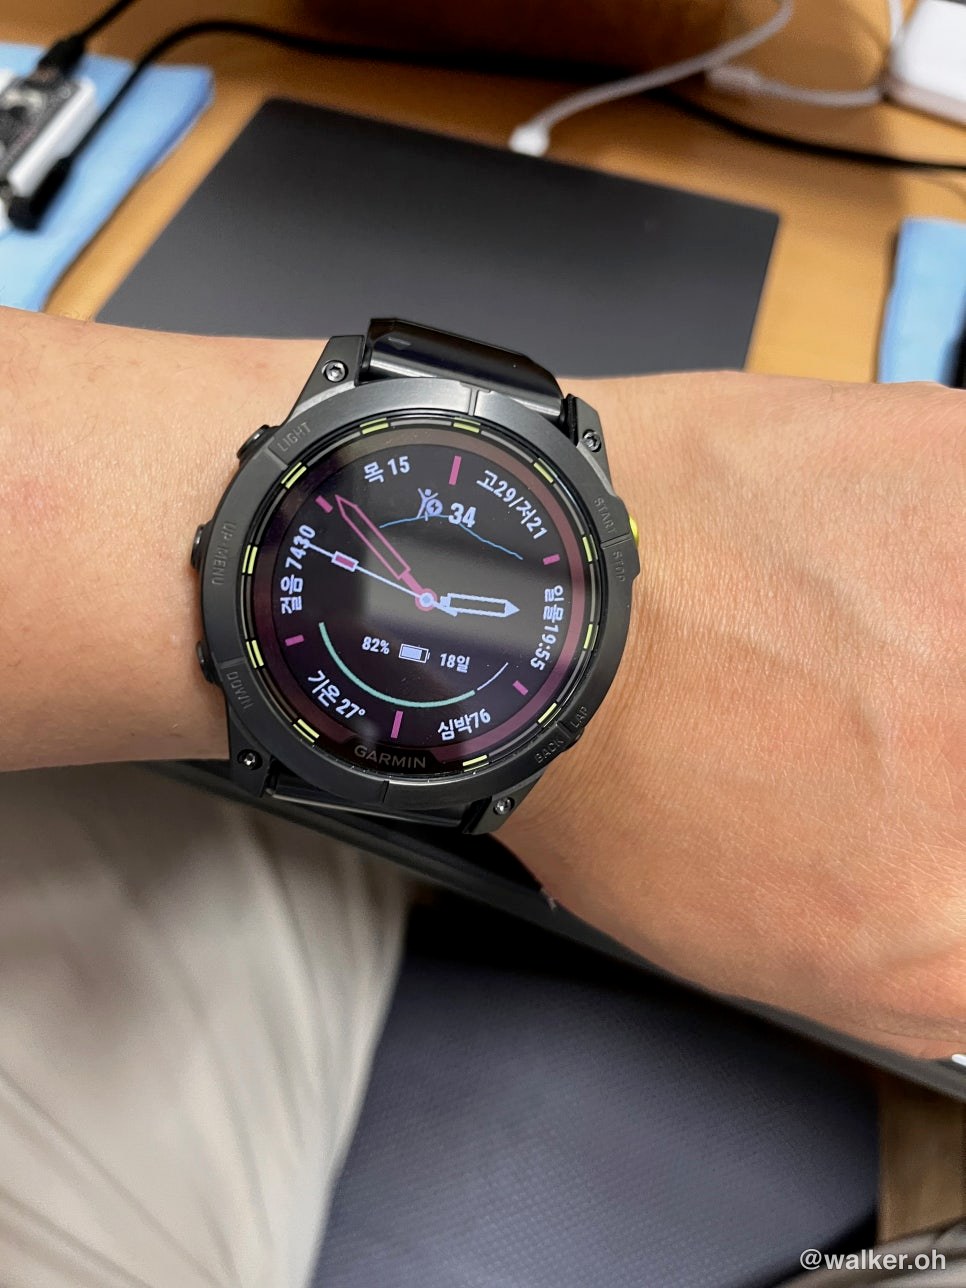
It sits nice and snug on my wrist.
At first I was a little thrown off since it wasn’t the usual spring-bar pin setup, but once I actually gave it a try, it went just fine. Leaving this here as a little log of everyday life.
Thanks for reading.
#GarminEnduro #GarminWatchBandAdjustment #TitaniumWatchBand
Contact: bumseok.view [at] gmail [dot] com