파평산 백패킹: 서울 근교 초보 추천 코스와 주차장 가이드
Camping · Published 6/19/2023 ·
수도권에서 백패킹… let me translate.
To go backpacking from the greater Seoul area, you have to either cut straight across the city or loop all the way around it. Either way, you’re looking at two hours minimum.
If you head west from Seoul and take the outer ring expressway and Jayu-ro, or the Seoul–Munsan Expressway, you can roughly make it all the way to parking in about an hour and a half.
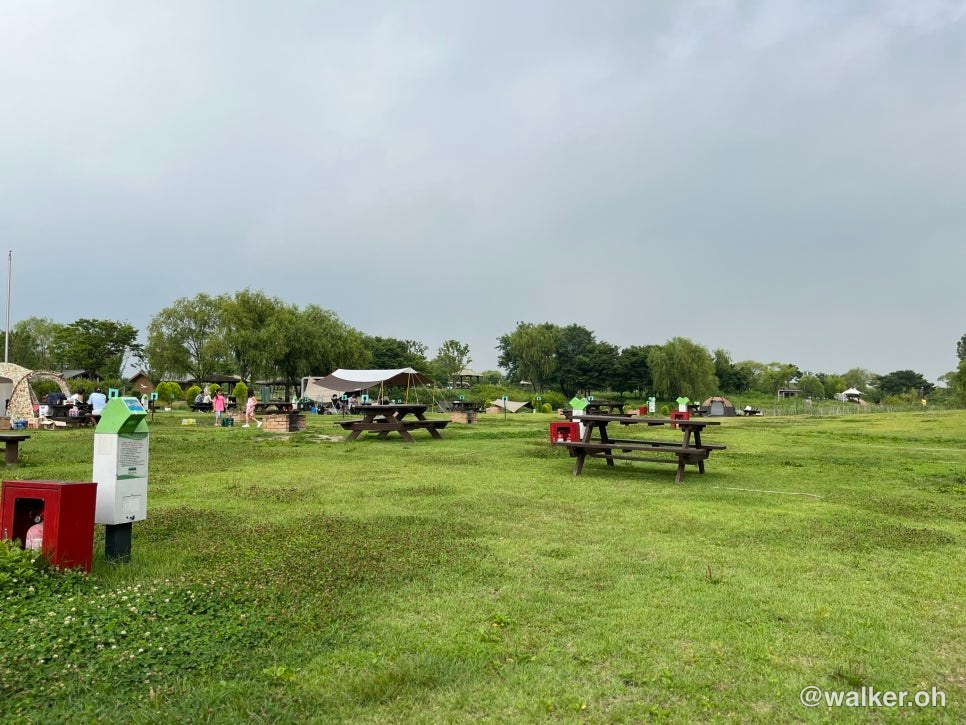
For the parking lot below, just punch in Papyeong Sports Park parking lot. Even if it’s full, drive a little further up in the direction you’re heading and you’ll find a grassy patch(?) where several cars can park. Parking is free, too.
[Papyeong Sports Park Parking Lot
16-50, Cheongsong-ro 484beon-gil, Papyeong-myeon, Paju-si, Gyeonggi-do
](#)
It was an unusually hot day, but I’d been wanting to get out backpacking for a while. My companion was a first-timer, so I looked for a mountain that was close by and not too demanding. At first I considered Nogosan, but it gets way too crowded(?) and I didn’t think we’d be able to camp in any kind of peace, so I pushed on a bit further. I set off from Ilsan and it took me about 50 minutes. Once you’re on the Seoul–Munsan Expressway it’s quick, and after getting off at Jayu-ro you can be parked within 20 minutes.
There’s no traffic and the access is great, but there aren’t many convenience stores nearby. When you’re stocking up on food or drinking water, if you spot a convenience store before you reach the parking lot, don’t hesitate — pull in and grab what you need.
You hardly need trail directions; the signposts are excellent. A short way in from the trailhead you’ll hit a fork: the left route is steep but gets you to the summit fast, while the right route is longer but more gentle. This used to be a military zone, and judging by the bunkers scattered around, it was probably more of a supply road — there’s an unpaved track wide and graded enough for military vehicles to drive up. Slow and easy, or fast and steep — pick whichever suits how you’re feeling on the day.

This is the staircase leading down, seen from the summit deck. There are loads of campsites all over this mountain — there’s even a tent pitched down below.
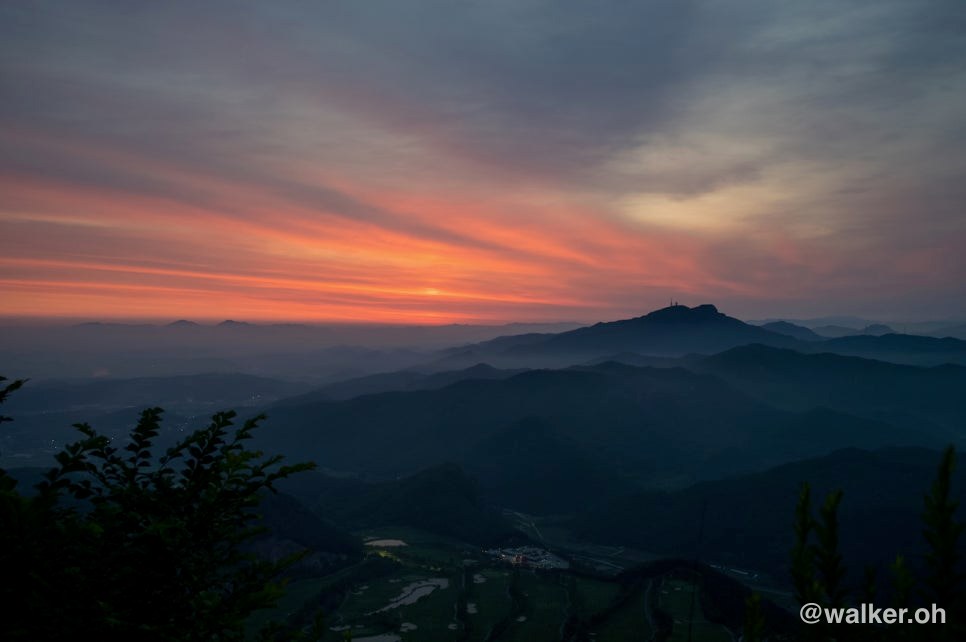
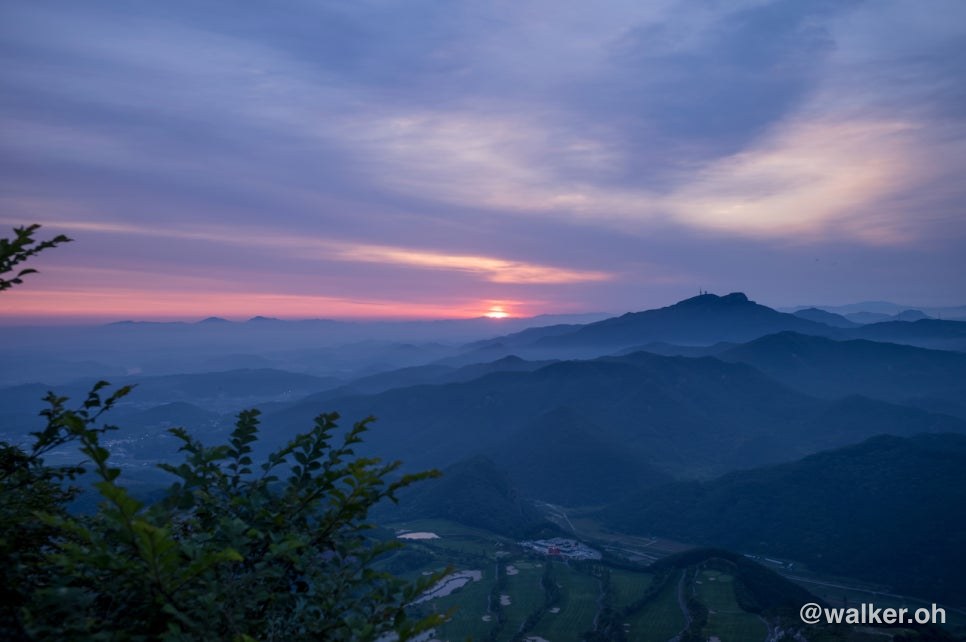
This mountain has peaks where you can take in both the sunset and the sunrise. Visibility wasn’t great that day, but I still got to enjoy a view like this.
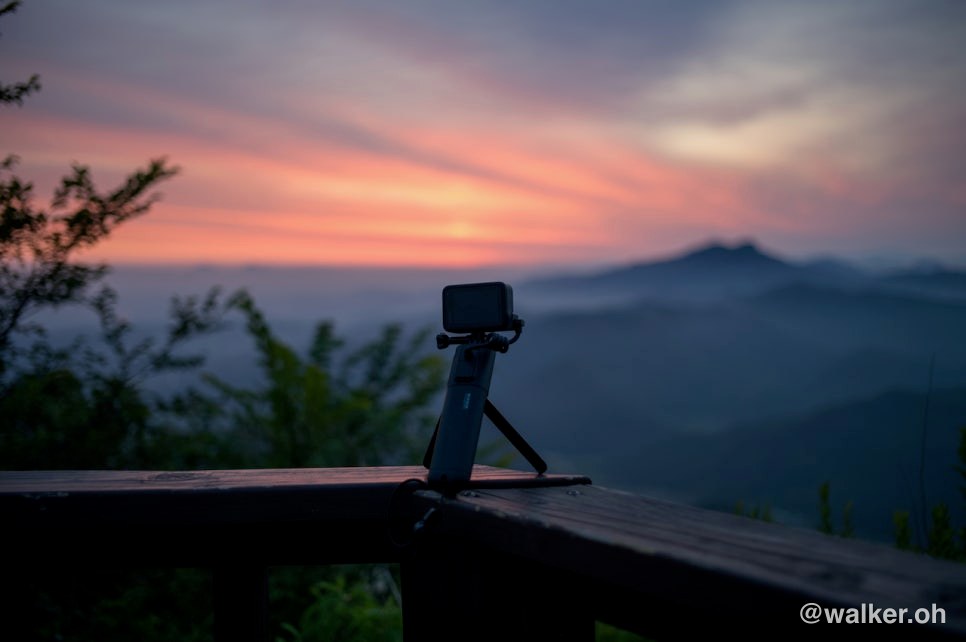
I tried shooting a time-lapse, too, but I don’t know how to edit video yet — still learning.
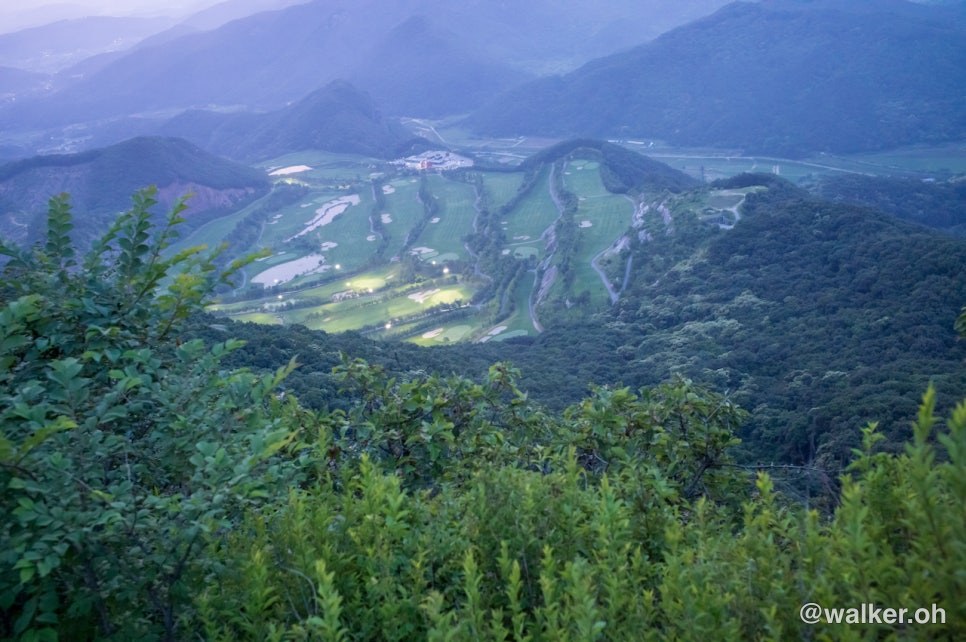
There’s a golf course down below, but you don’t really hear any noise from it. The only slight downside is that its lights stay on all night, so if you’re hoping for pitch-black darkness, that’s a bit of a letdown. That said, the light pollution doesn’t reach up to the campsite.
The sun coming up, with a thick layer of cloud underneath. The summit sits at about 495 meters — just shy of 500. As a rough rule, on a 500-meter-class peak, even when it’s a tropical night of around 25 degrees down below, the summit stays around 22 degrees, a little on the cool side. It hadn’t rained in a while so the mosquitoes were out in force, but even so, for summer, I slept pretty comfortably.
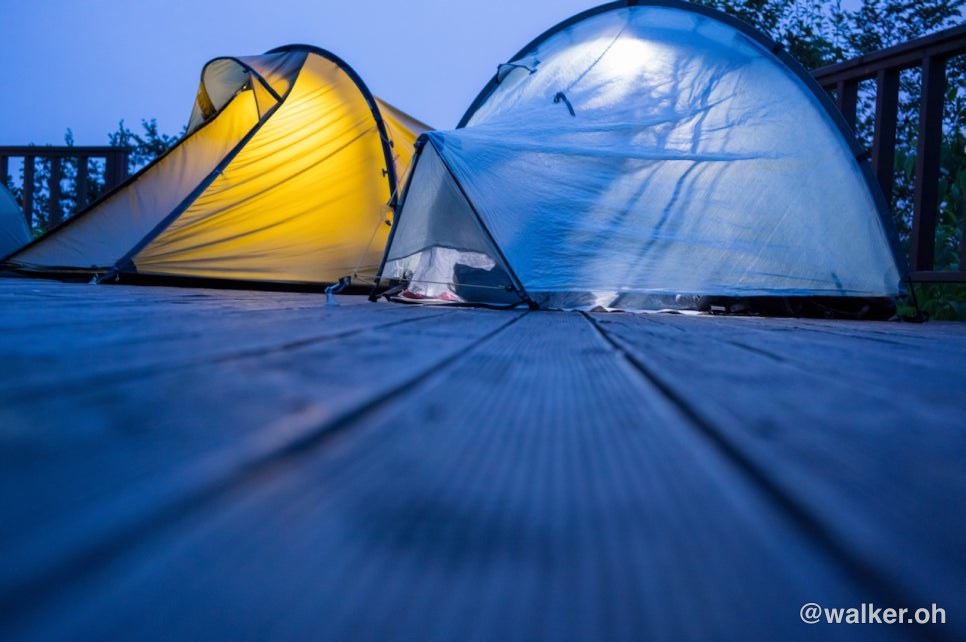
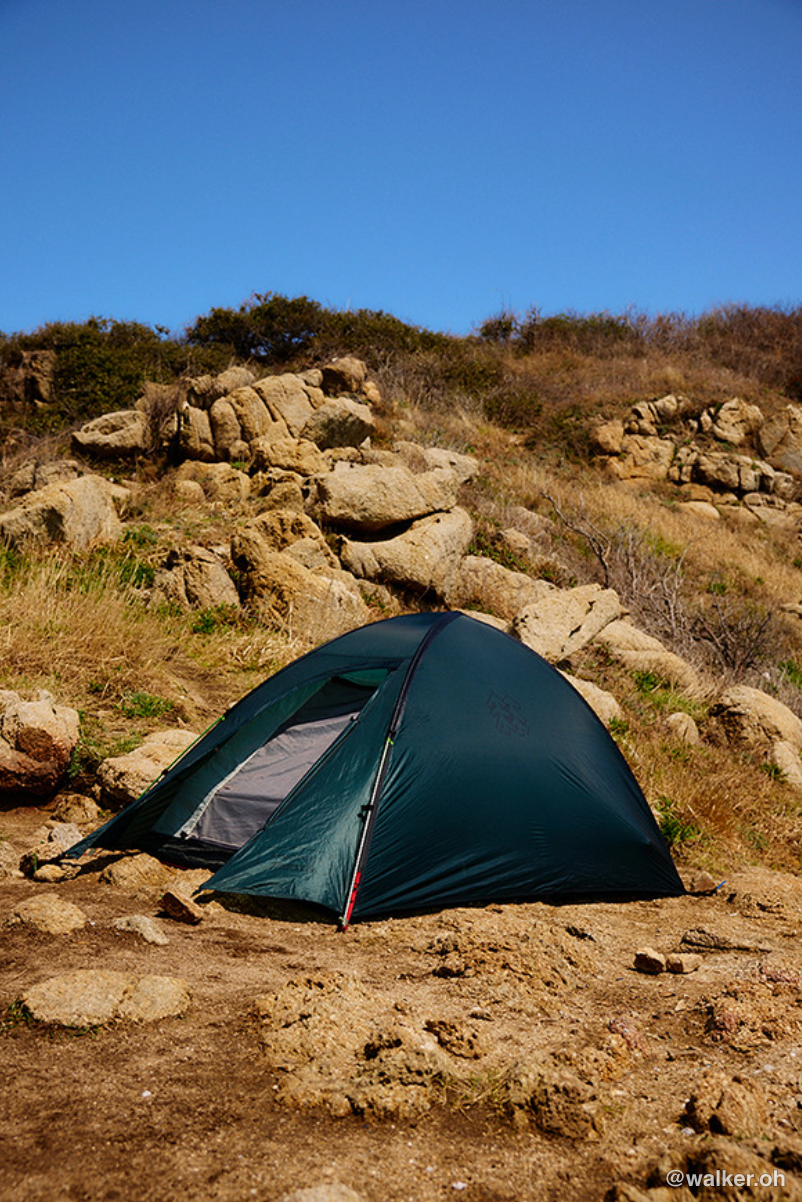
I broke in my Dyneema Moment DW Li tent for the first time. It’s incredibly light and goes up with just two stakes, and the ventilation is fantastic. Even the slightest breeze makes it wonderfully cool, and the inner is mesh. You can opt for a solid inner when you buy it, but honestly even the solid version is cold in winter. I figured the better ventilation and lack of condensation was the bigger win, so that’s the one I went for. Being a non-freestanding tent, it needs flat ground and a fair bit of space, but it should work at most of the camp spots on Korean mountains. Squeezing it in between rocks would be tough, of course.
Previous image Next image
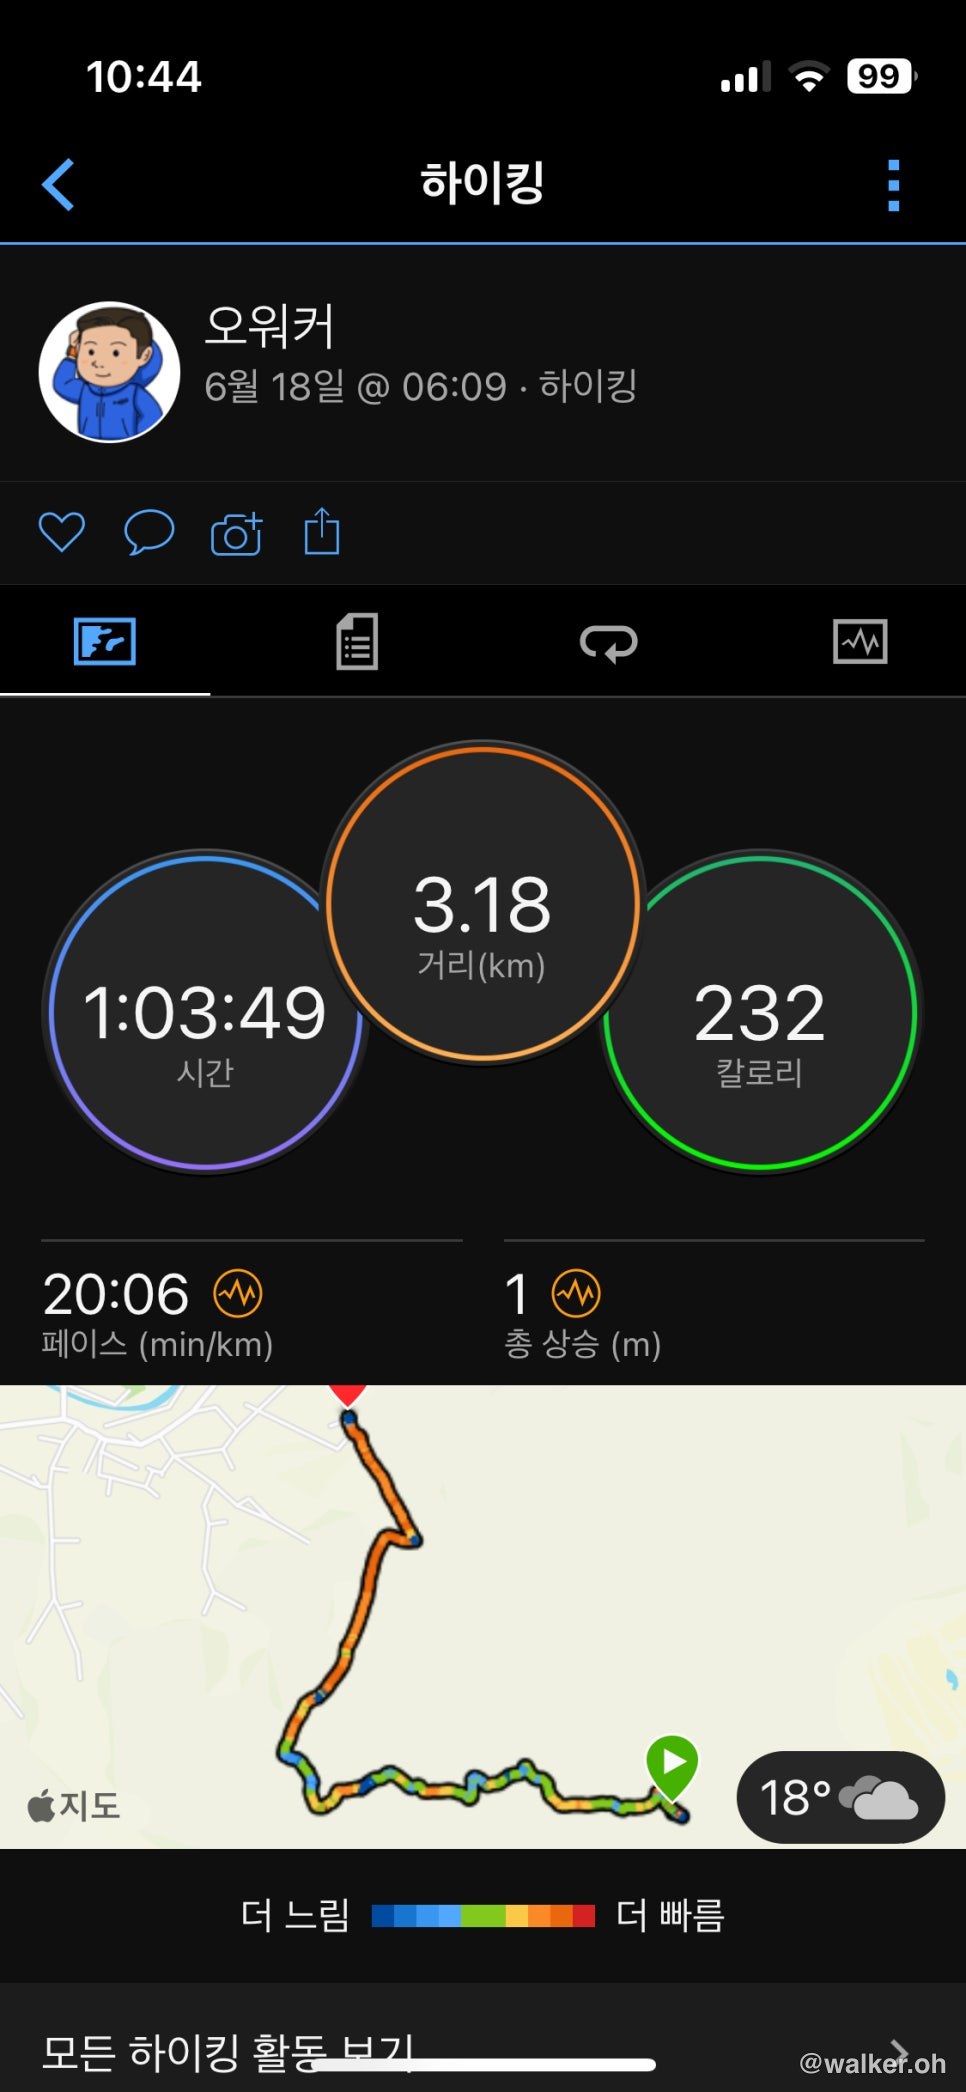
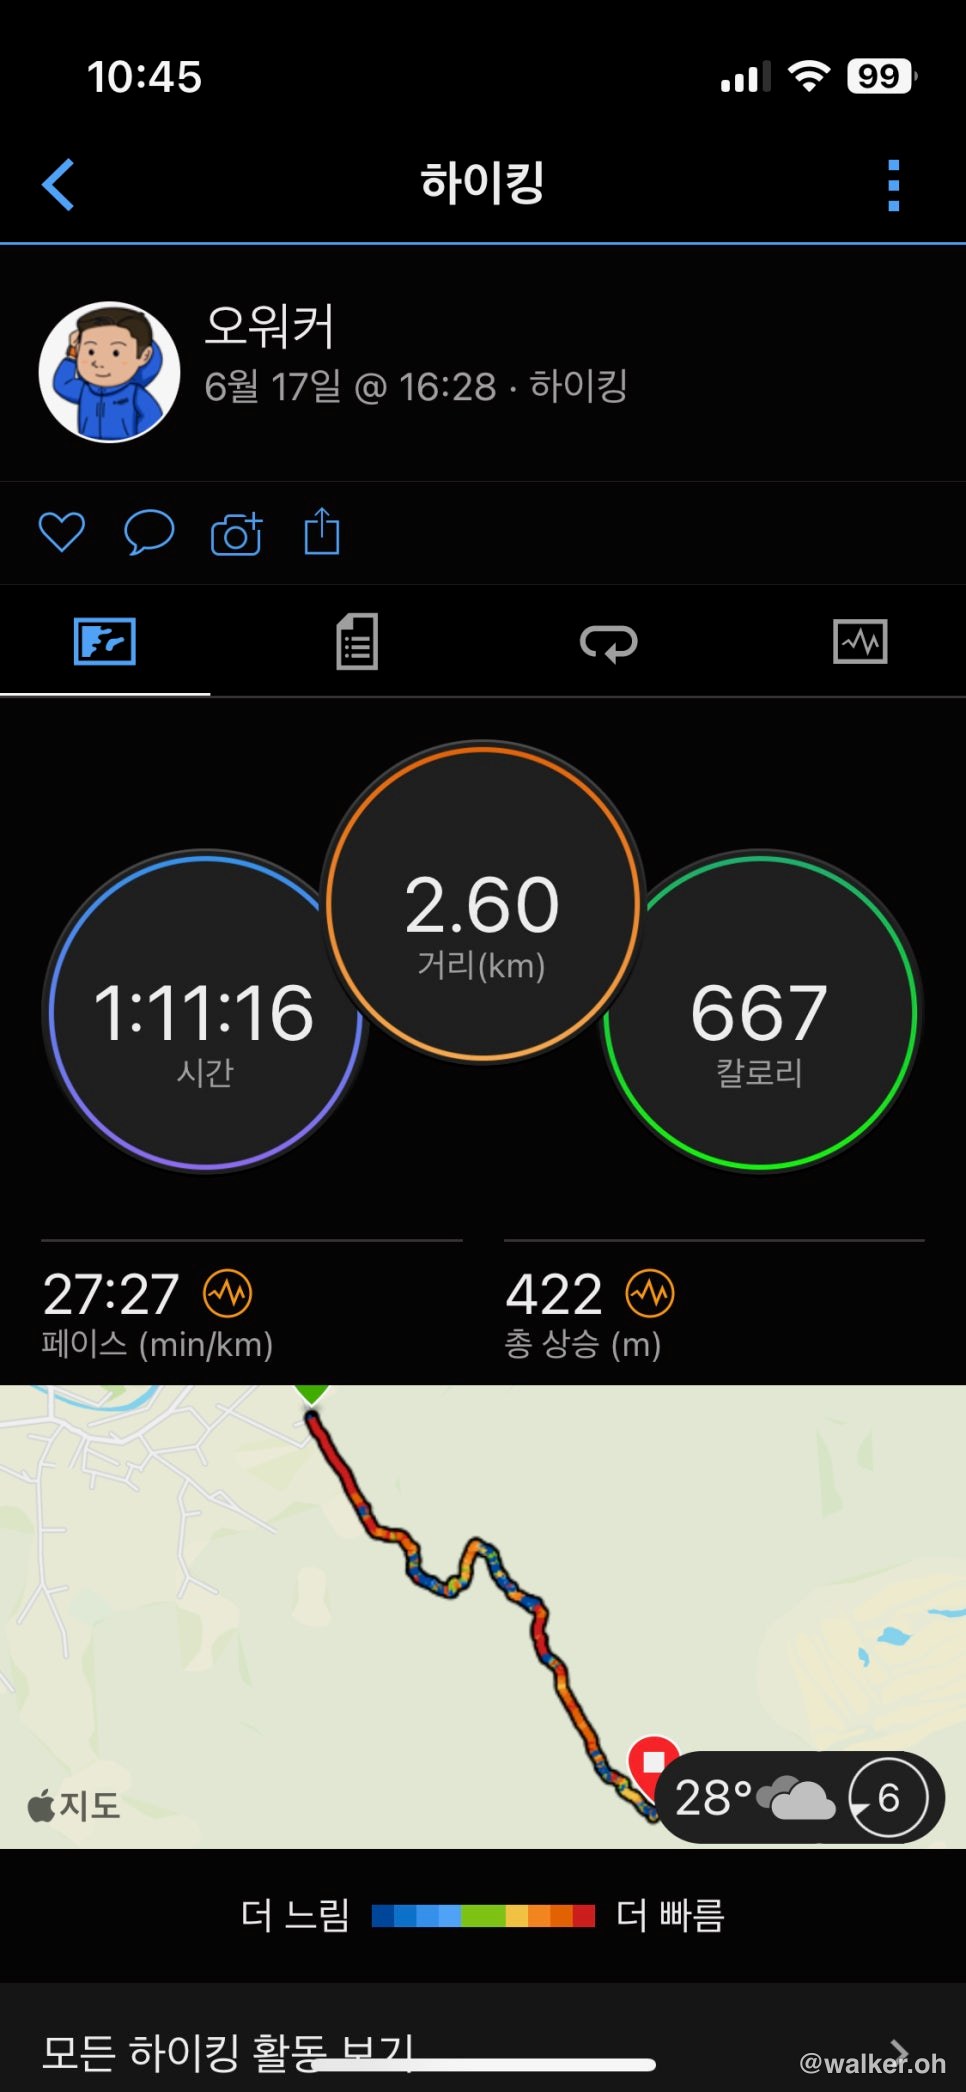
The left is the descent, the right is the climb. On the way down I forgot to start my watch and only switched it on a few hundred meters in. I took the easier route down — call it about 3.5 km. The steep route comes out at 2.6. Since the descent has almost no elevation gain, the calorie burn is about on par with a stroll. The climb still racks up over 500 kcal, though, and it’s enough to work up a sweat.
It’s a classic dirt mountain (earth, not rock), so it can get slippery after or during rain — make sure you’ve got your poles and proper hiking boots.
At the summit there’s a deck and a pavilion where you could squeeze in six or more tents. There are also several spots lower down that fit multiple tents, so you’ll never have to turn back for lack of a place to pitch — it’s a great mountain for backpacking beginners to get a feel for it.
There’s not much water on the mountain. There is a check dam, but it dries up fast when it doesn’t rain. You have to carry up all your drinking water. There’s no water to filter, so keep that in mind.
As always, pack out every bit of trash so it looks like no one was ever there — that’s what keeps backpacking possible for next time.
Photos were taken with a Leica M11, a Summicron 35mm, and an iPhone 13 mini.
Thank you.
#파평산 #파평산백패킹 #파평산주차장 #파주백패킹 #낮은백패킹산 #초보백패킹산 #서울근교백패킹 #경기도백패킹 #다이니마텐트 #초경량텐트 #라이카 #라이카M11 #summicron
Contact: bumseok.view [at] gmail [dot] com