Brompton Seatpost Insert: Easy DIY Seat-Height Memory Install
Cycling · Published 11/13/2022 ·

The Brompton is a minivelo you fold and unfold several times a day.
And every time you fold it, you’ve got to deal with the seat height.
With a regular bike you set it once and pretty much never touch it again, but not so with a Brompton.
So this is a part you end up adjusting constantly.
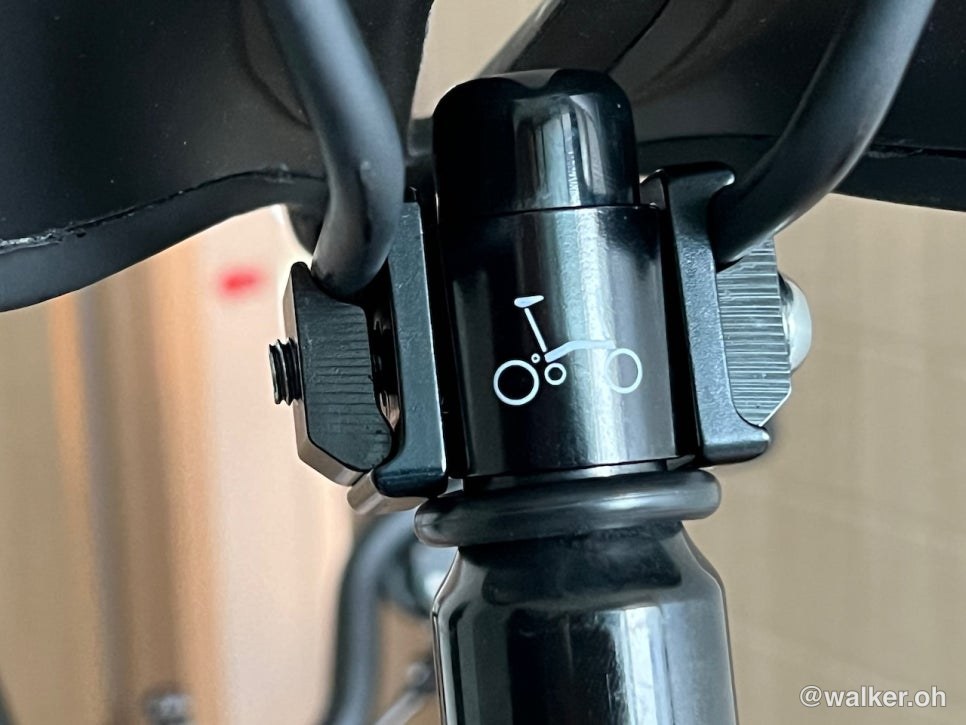
The insert limits how far the seatpost can be pulled out when you’re setting the seat.
In other words, once you’ve dialed it in to your height, you can pull it out to exactly that point every time after.
It’s a wonderfully handy little part. If you ride a Brompton and haven’t installed one — or don’t have one —
I really recommend ordering one and giving it a try.
First, to install the insert you need to take the seat apart. All you need for that is a set of hex wrenches.
As you disassemble, there are various washers among the parts holding the seat in place — just make sure you remember how those go, or snap a photo, and you’ll save yourself some grief.
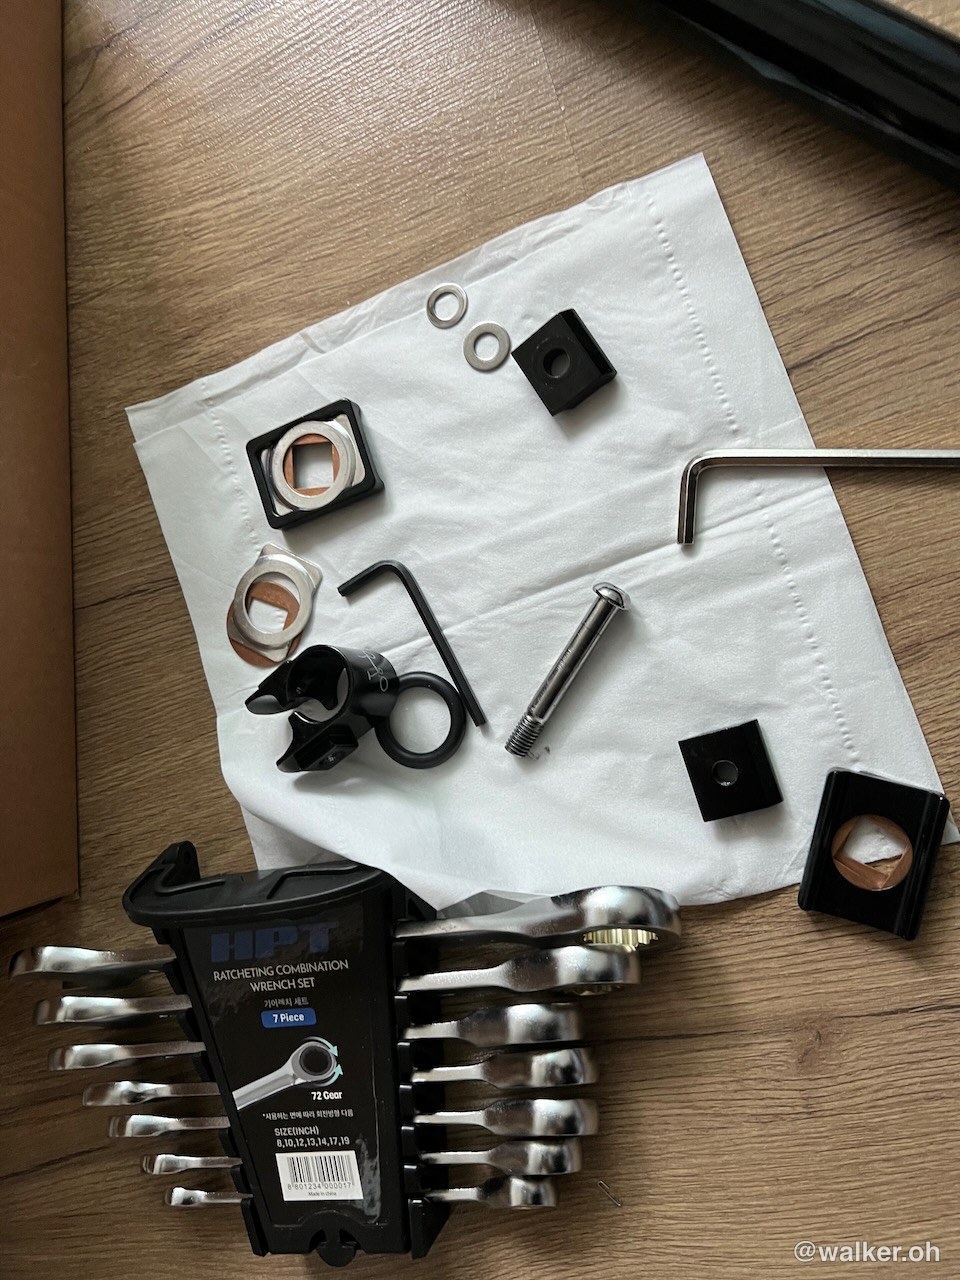
I took everything apart and laid it all out nicely. Later I just worked backwards from the photo and put it all back together.
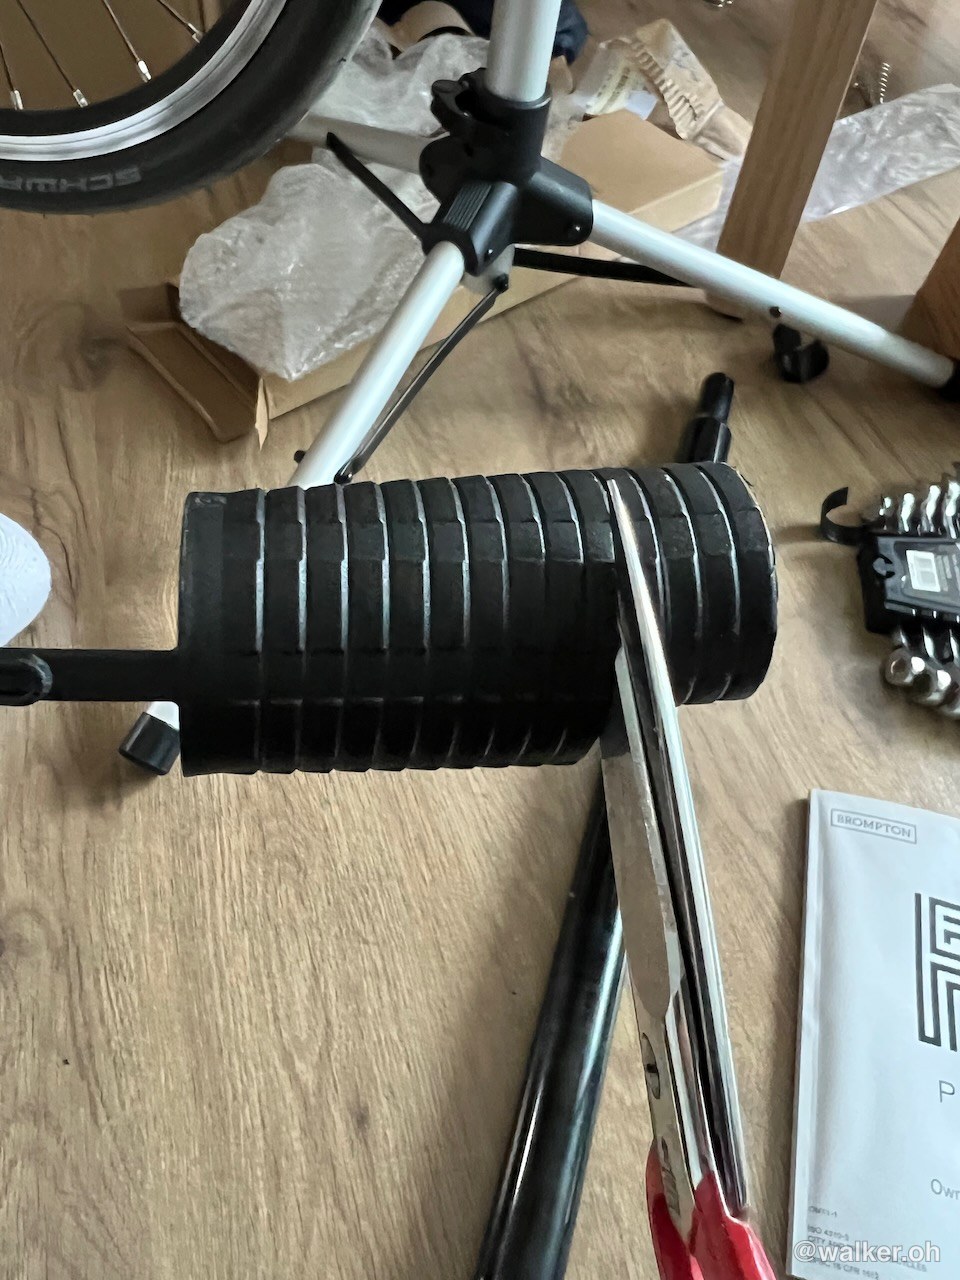
You trim the insert to size before using it.
Out of the box, the saddle barely pulls out at all. You cut it down to match your own height.
The insert goes inside the seatpost. You just drop it in and that’s it.
Reassembly is the reverse of disassembly. Pop in the insert, slide in the seatpost, put the saddle back together, and you’re done.
The P Line I bought isn’t an early P Line — it’s more of a P Line that’s pretty close to a C Line — so I didn’t even bother with a torque wrench. I just hand-tightened it roughly and rode off. ^^;;
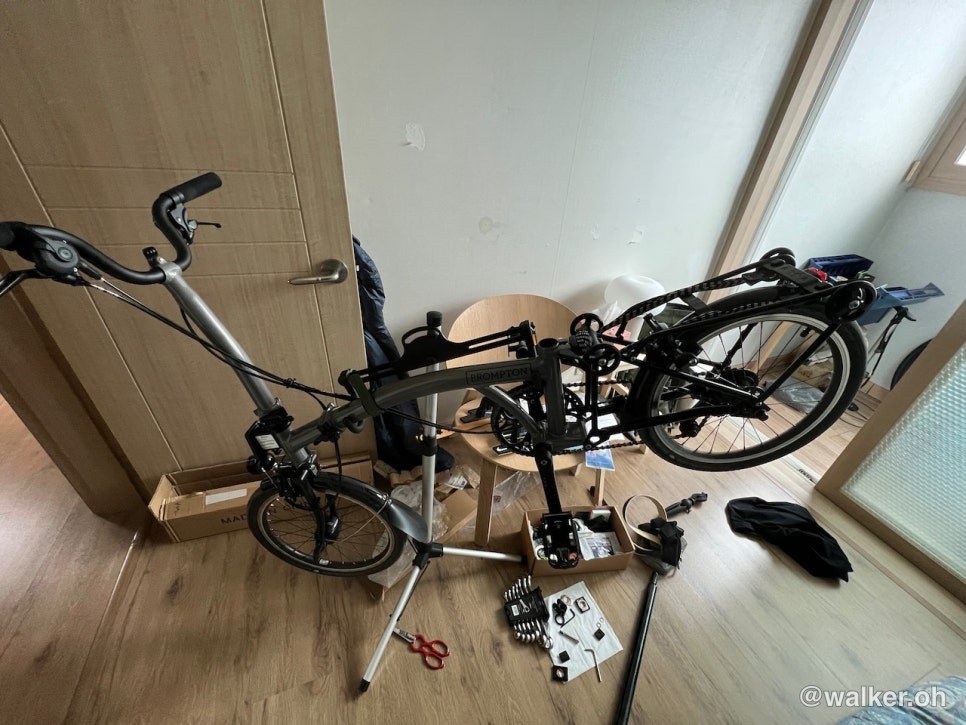
Since I had it up on the work stand anyway, I took some detailed shots here and there.
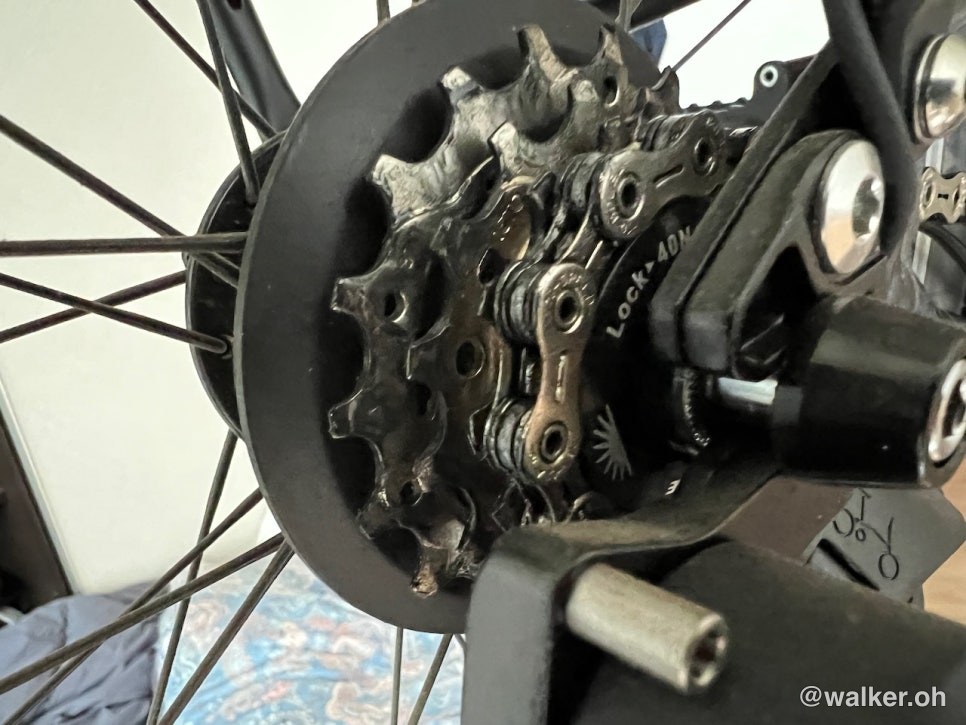
Here’s the rear gear. The re-released P Line is still all stock for now.
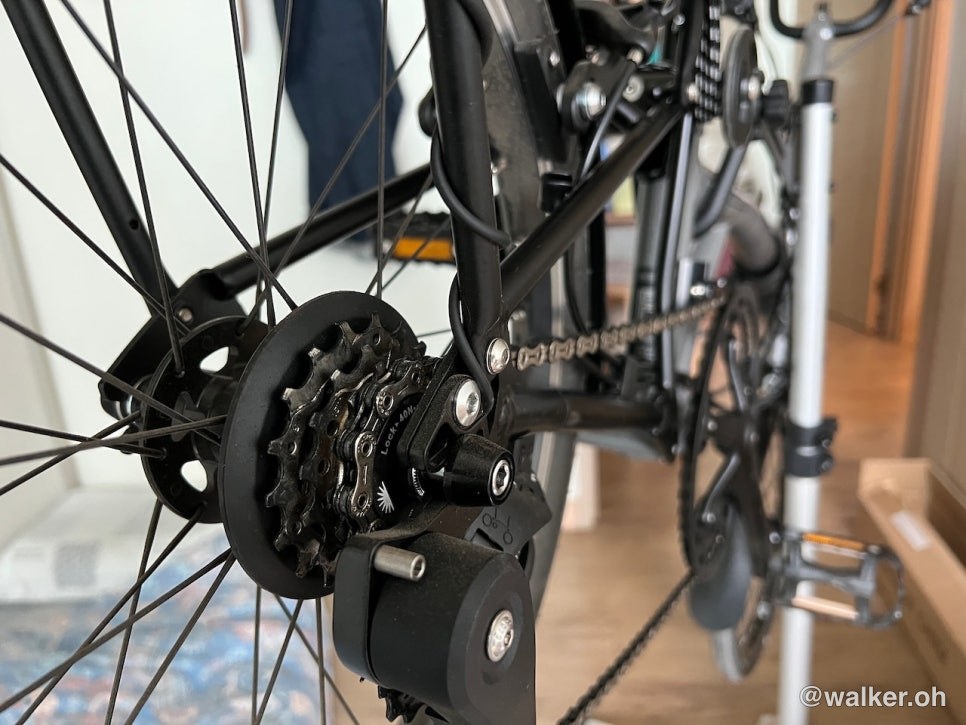
That tangled cable is the power line running from the dynamo to the rear light.
It comes off the dynamo mounted on the front wheel and runs all the way to the back.
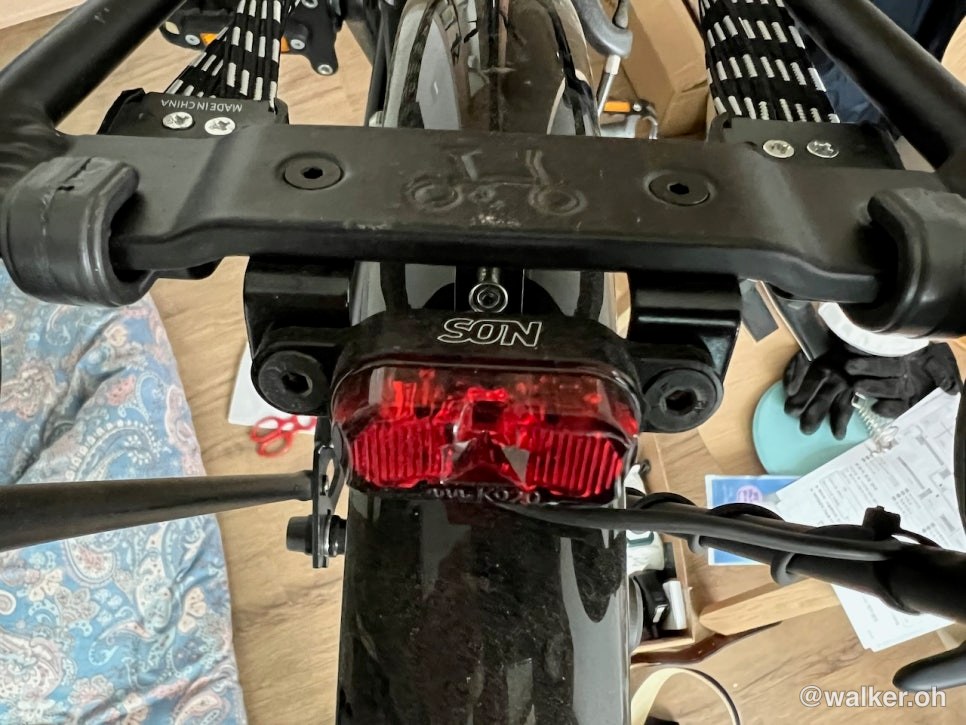
The rear light. It’s a real beauty.
It looks even better in person, and the part is smaller than you’d expect.
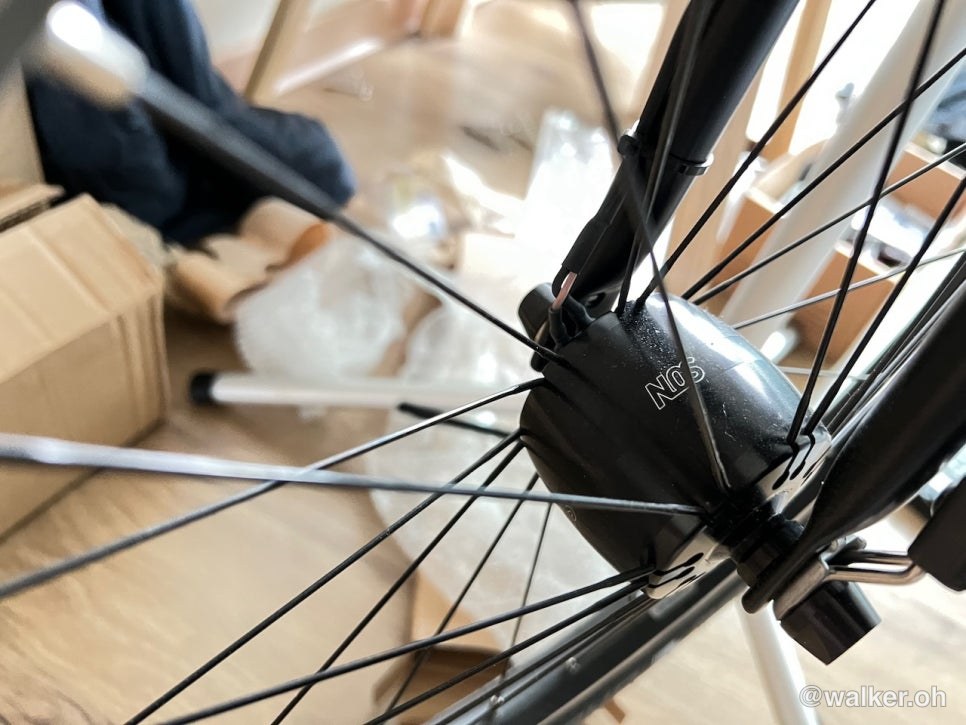
The front dynamo. Nothing fancy. Just black on black…
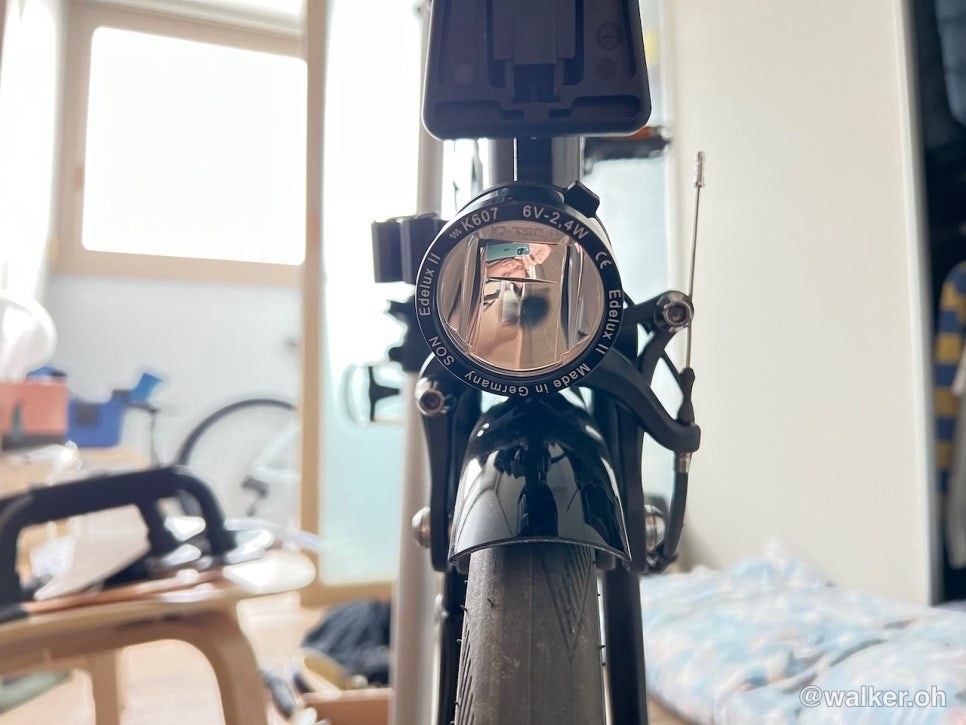
The front Edelux II, black model.
Normally I leave it OFF and switch it on when it gets dark or the weather turns bad. Turning it on and off is easy — just a flick of the lever.
Honestly, being free from the hassle of charging is fantastic.
Aside from filming with the GoPro, I really don’t want to add any more parts that need charging or run on batteries. ^^;;
So that’s how I installed the insert — the seat-position memory device that fixes what’s probably the single most annoying thing about a minivelo.
Even a klutz like me can manage it.
You can do the job without a bike stand, too. I only used one because I’d bought a cheap one and figured I might as well.
Personally, I think you get what you pay for.
I went too cheap on my bike stand (work stand), and what showed up was exactly worth what I paid.
It wobbles, it threatens to tip over… I’m making do with it, but it doesn’t exactly inspire confidence when you’ve got an expensive bike clamped on it for work.
Once I start doing serious maintenance down the road, I’ll have to replace it.
You’d think I’d have learned this lesson by now, going through life, but every so often I slip up anyway.
This time I bought the stand without a second thought, used it exactly once, and I’m already not happy with it. ^^;;
I’ll just have to grin and bear it for now.
#BromptonInsert #BromptonInsert #EdeluxII #HubDynamo #SonHub #SON
Contact: bumseok.view [at] gmail [dot] com